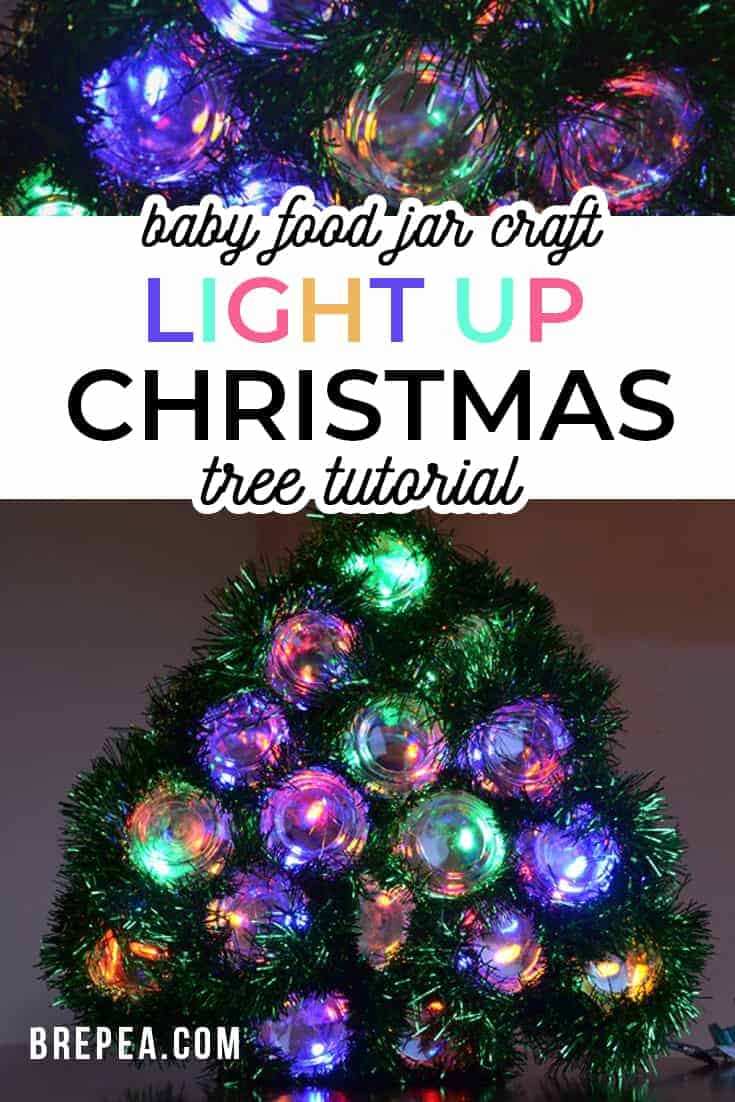
Baby Food Jar Crafts: Light Up Christmas Tree
When you’ve got a baby in the house eating solids, you inevitably end up with a plethora of baby food jars.
What do you do with all those jars?!
You could just recycle them. But what if you made some super cool baby food jar crafts?
I can’t say that I came up with this idea on my own, my mom actually made one “before being crafty was cool.” She’s the ultimate craft hipster.
I’ve always wanted one of my own, so when my little Bean was in the baby food stage I saved every single jar with the intentions of using them for crafty goodness.
Here’s how you can make your own baby food jar light up Christmas tree!
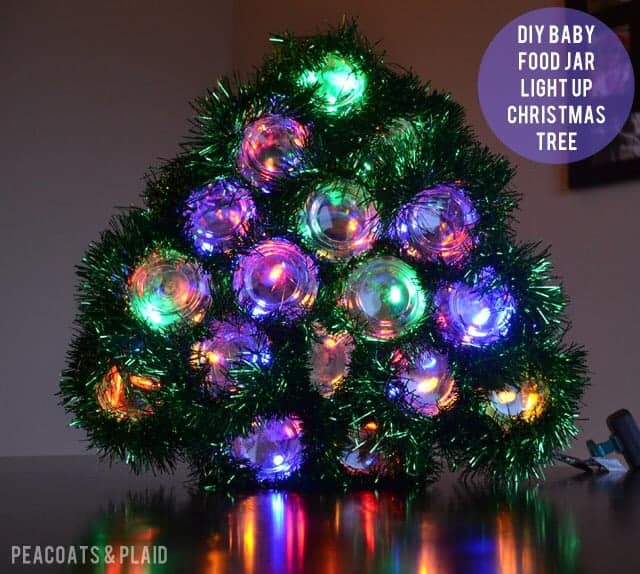
Repurposed Baby Food Jar Crafts Idea: Light Up Christmas Tree
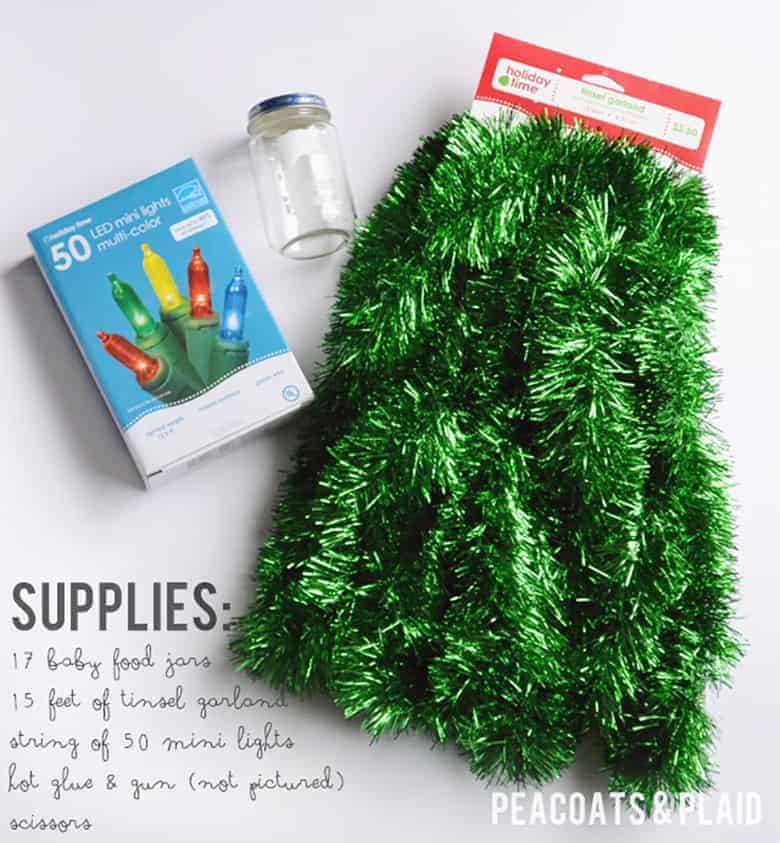
SUPPLIES
- String of 50 LED Christmas lights (this one is battery operated!)
- 17 long baby food jars
- 15 feet of tinsel garland
- Hot glue gun + hot glue
- Scissors
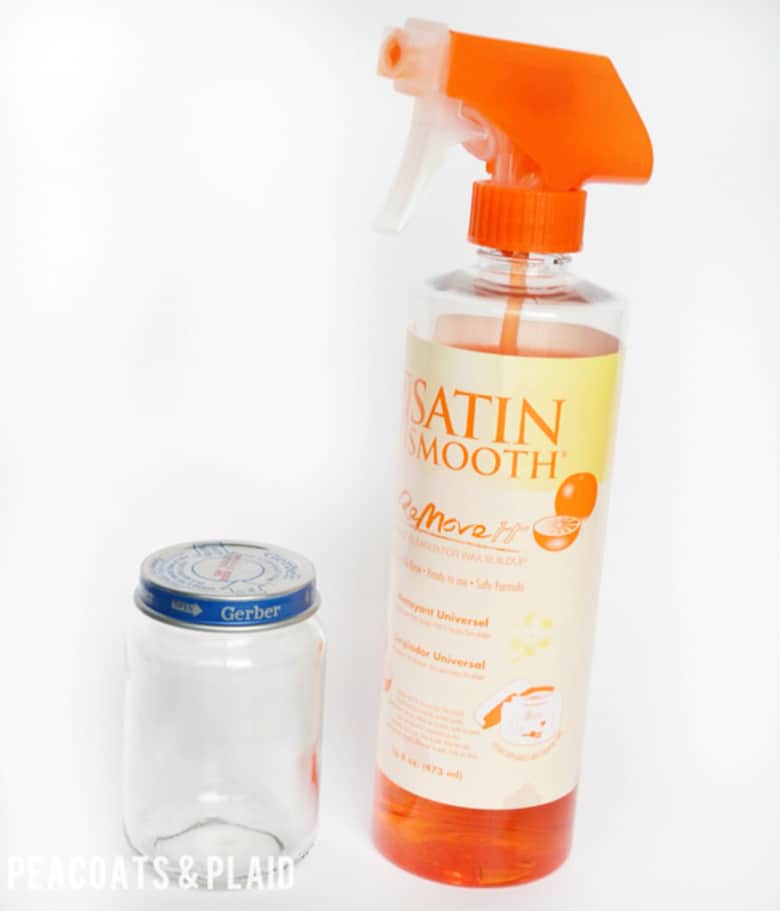
Step One: Clean up the baby food jars
Start by making sure the jars are washed and dry, and that most of the residue is cleaned from the outside of the jars. If you don’t get it all off, no big deal. It will be covered later.
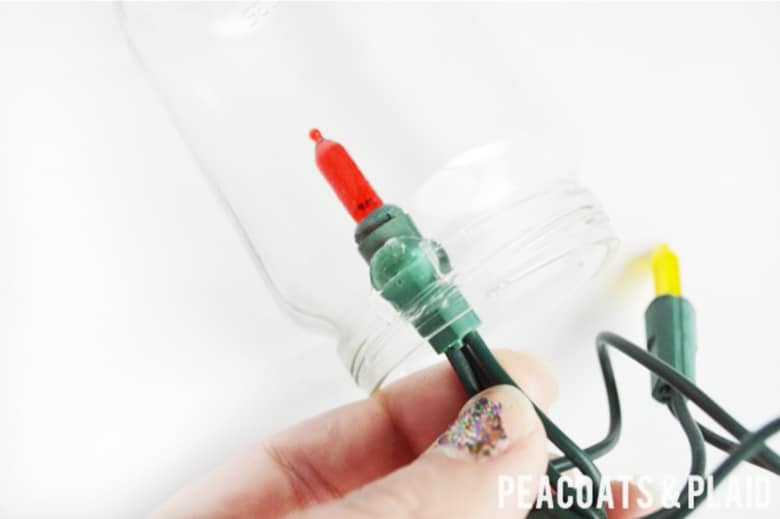
Step Two: Start inserting the Christmas lights into the base jars
Start at the end of the lights that you plug in. Attach 2 lights to the inside of the jar with hot glue.
Step Three: Finish assembling the base
Attach 3 lights to the inside of the one more jar with hot glue. This jar and the jar from step 2 will make up the base of the tree.
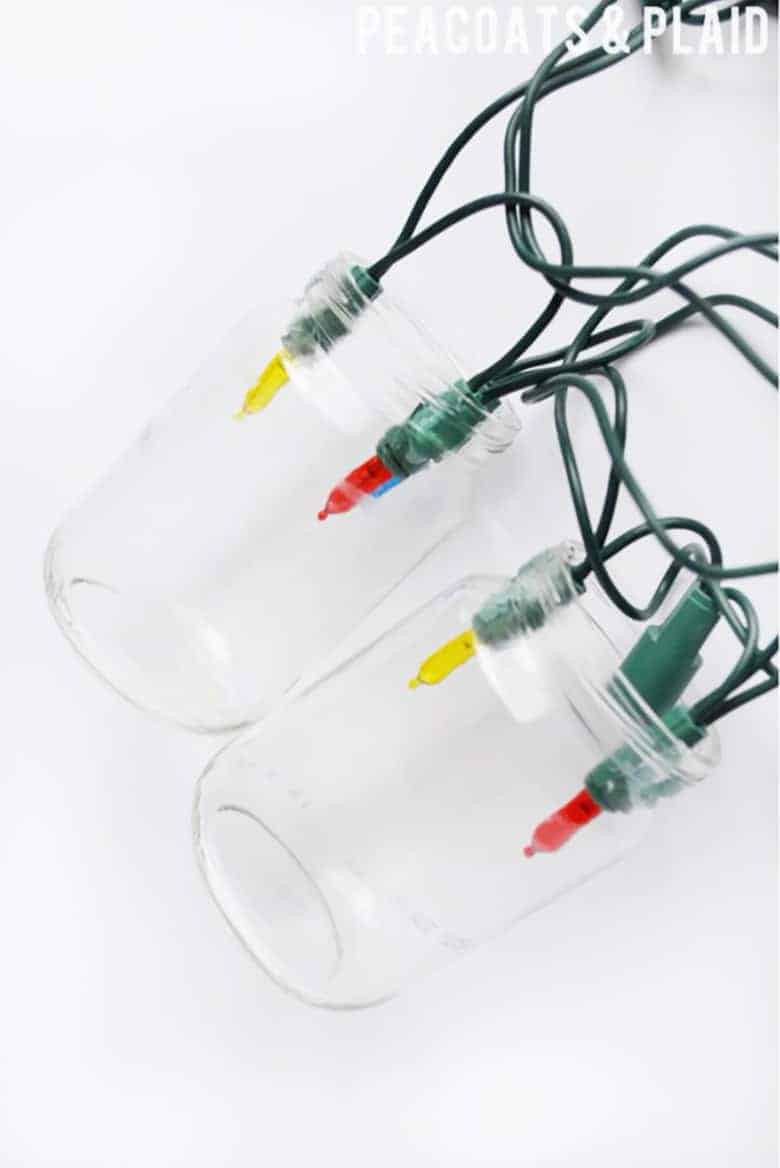
Using hot glue, attach the tinsel garland around the bottom and between the 2 jars.
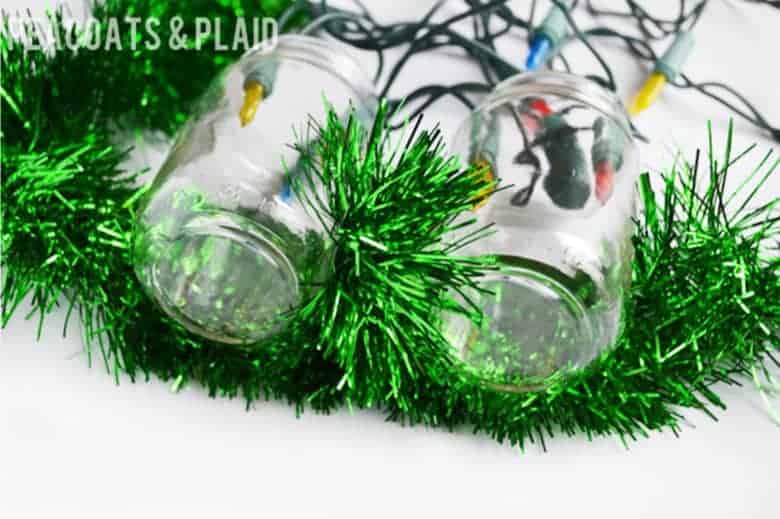
Glue the jars together and finish off the base by attaching garland all the way around the top of the 2 jars. Cut the remaining garland off and secure loose end with more hot glue.
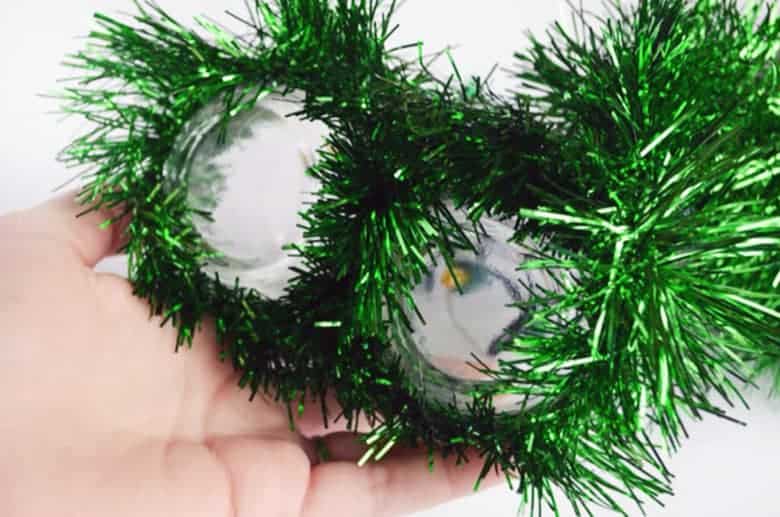
Step Four: Start assembling the bottom layer of the tree
Glue 3 lights to the inside of two more jars starting with a jar that will go on the outside of the layer. Make sure you are working up the tree in a weaving pattern with the lights (right to left then left to right).
These jars will be hanging off the side of the base and will make up part of the bottom tier of the tree (which will have 5 jars total).
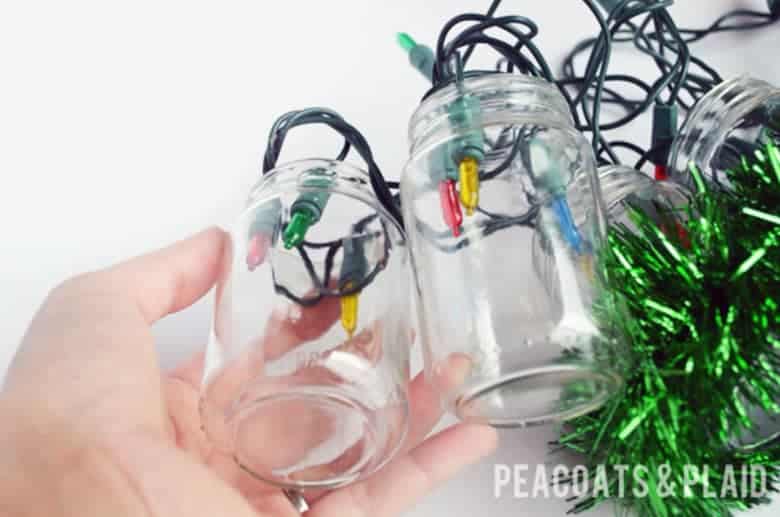
Attach tinsel around each jar individually with hot glue.
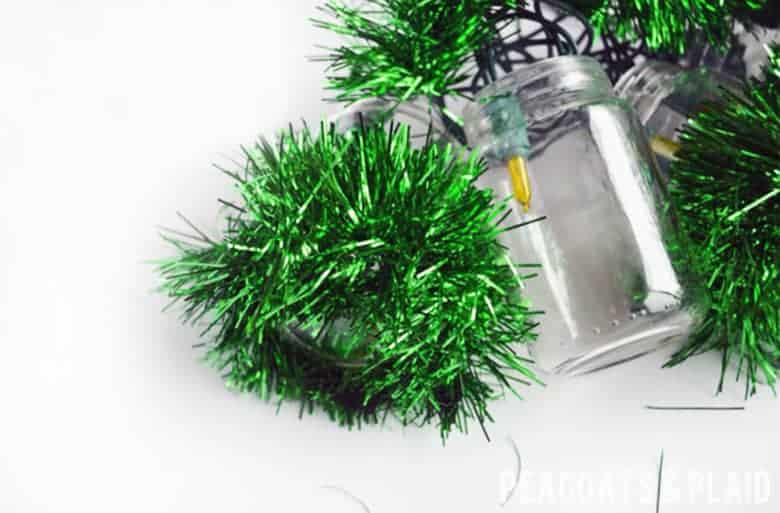
Glue the jars together.
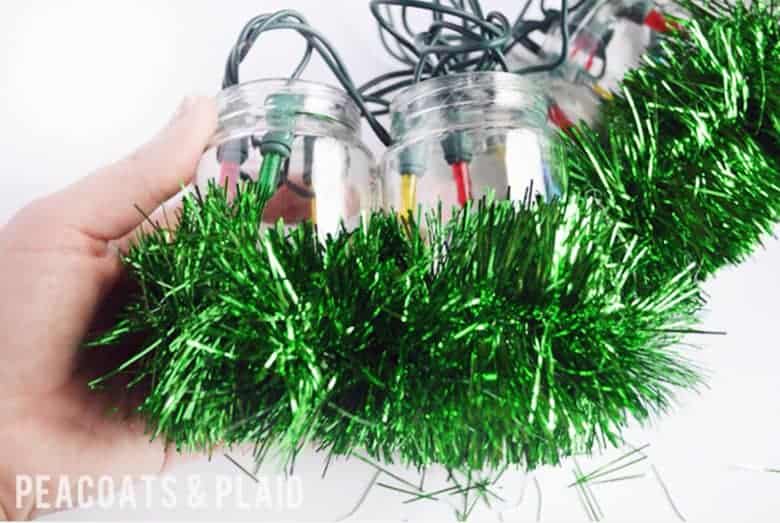
Attach this section of three jars to the base with hot glue. The 2nd jar should be slightly hanging off the edge of the base.
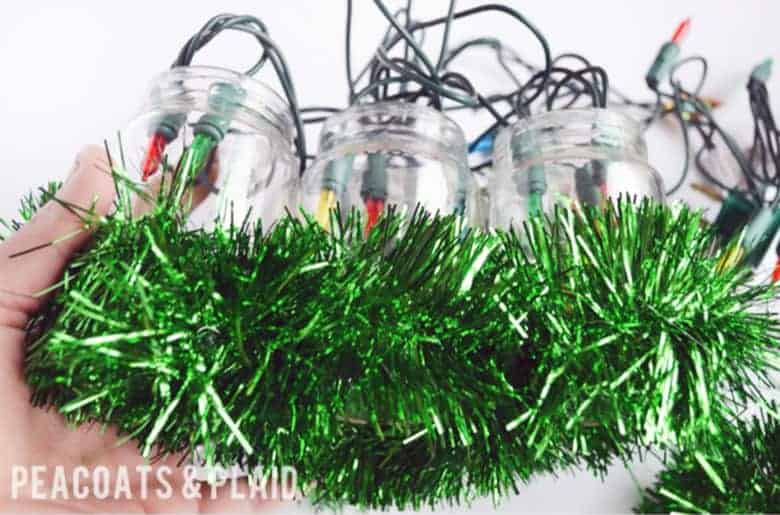
Glue 3 more lights to the inside of the next jar. Attach to the middle of the base with hot glue.
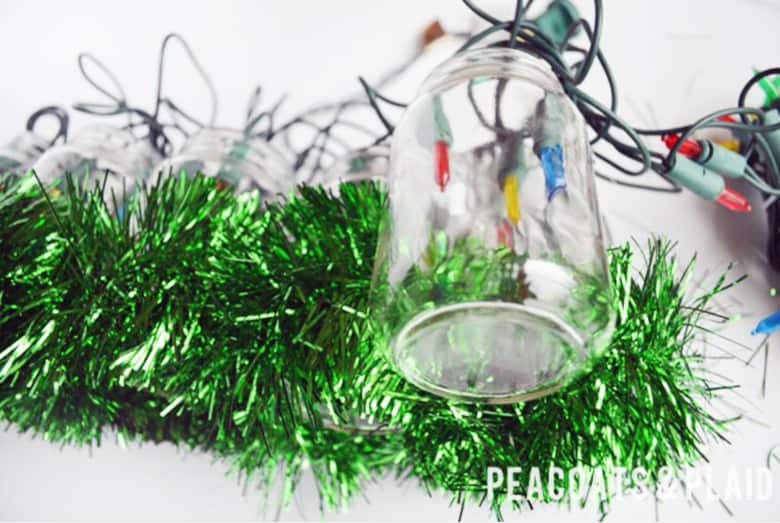
Repeat the steps to make the 2nd edge of the bottom tier as you did before. Finish off the row by gluing tinsel to the top of the middle jar.
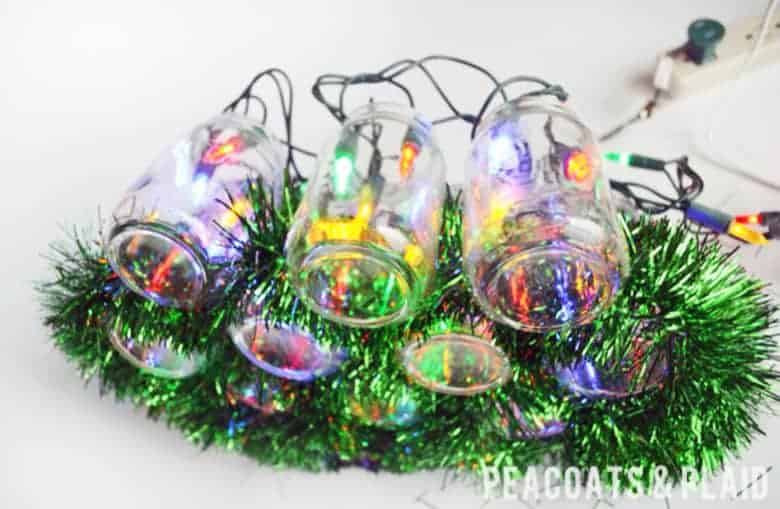
Step Five: Finish making the rest of the layers of the tree
Work through the next 4 rows by gluing 3 lights to the inside of a jar, attaching to the previous row in a pyramid shape.
Repeat that step until you finish out the row, then attach tinsel garland to the sides, between, and top of the row with hot glue.
Here is the amount of jars each row should have (starting from the bottom):
Base (2), Row 1 or bottom (5), Row 2 (4) Row 3 (3) Row 4 (2) Row 1 or top (1).
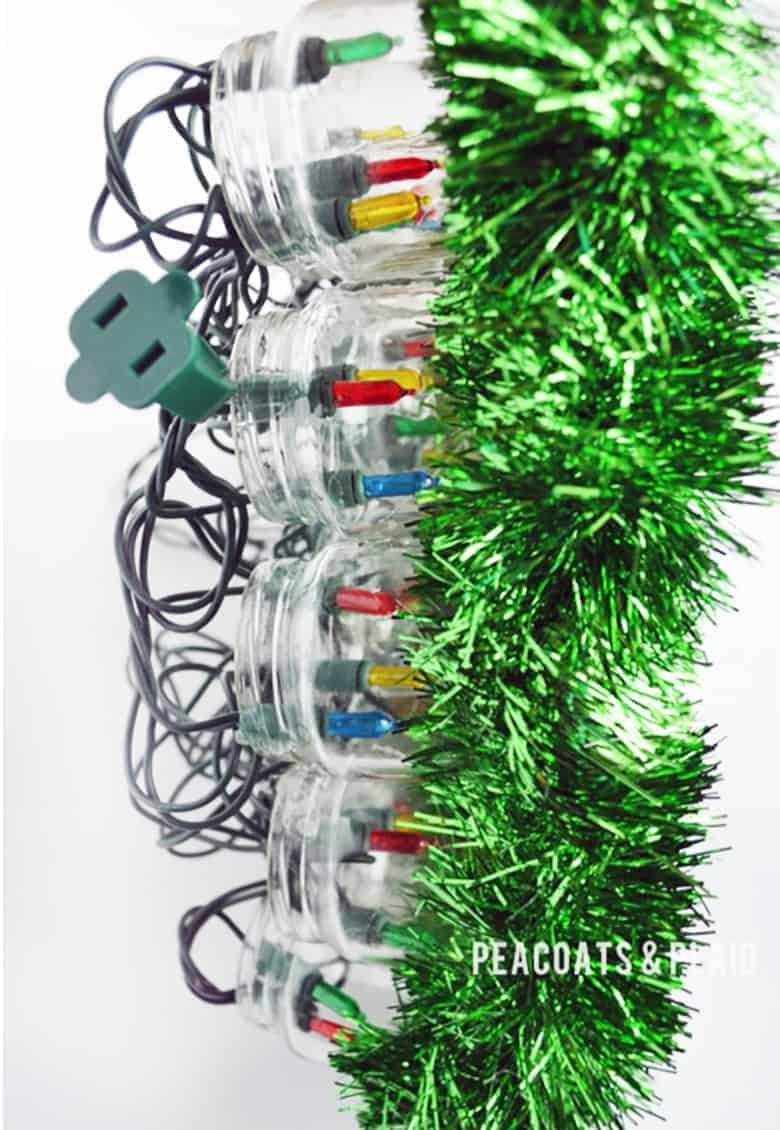
Finish off the tree by making sure all the jars are securely glued to each another.
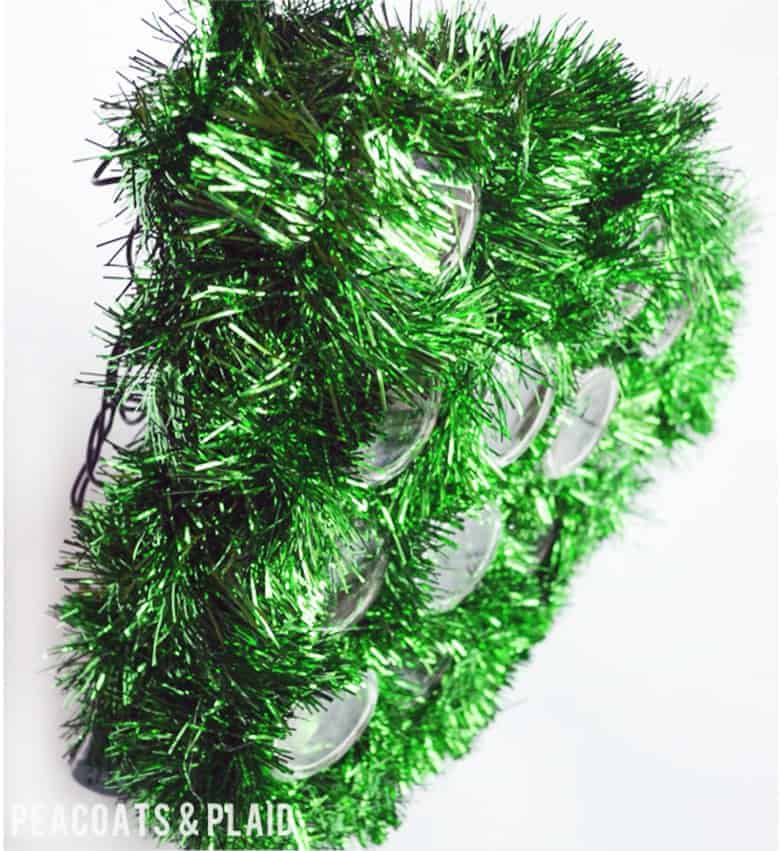
Attach an additional row of tinsel garland with hot glue around the entire tree to cover up the sides of the jars.
And here she is in all her shiny glory, just waiting to be plugged in 🙂
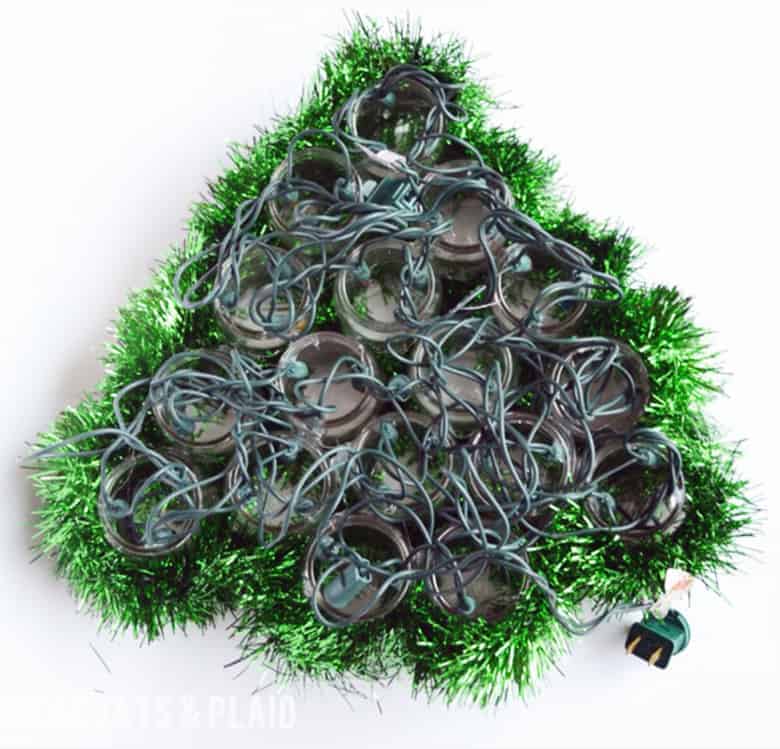
As you can see, the back isn’t the prettiest. You could pretty it up a bit by squeezing the extra cord into each jar better. I didn’t mind because when I display the tree you can’t see the back.
I wouldn’t cover the back with fabric because yes, these are LED lights that don’t put off a bunch of heat, but I think that could still be a fire hazard.
Better safe than sorry 😉
I love the groovy effect the jars give to the lights!

There you have it. Now go make our own kitsch-tastic baby food jar light up Christmas tree! 🙂
What other things should I make out of my leftover baby food jars? Let me know in the comments!
Related Upcycled and Repurposed Tutorials:
- Thrift Store Cookies for Santa Plate Tutorial
- How to Dye Upholstery with Latex Paint
- Coffee Mug Candle Tutorial

LOVE this.
amanda @ we and serendipity
This is awesome and you know what else is?? YOU ARE and your blog!!
LOVE IT!
XO
Ash@ABpetite
http://abpetite.blogspot.com/
LOVE IT! going to check out the steps now! 🙂
Thanks for hosting!!