Pom Pom Filled Clear DIY Christmas Ornaments + 5 Things I Love About My Cricut Explore Air 2
This is a sponsored conversation written by me on behalf of Cricut. The opinions and text are all mine.
Clear Christmas ornaments have so much potential when it comes to making DIY Christmas ornaments.
I found some adorable clear pom pom filled ornaments while online “window shopping” this holiday season and was instantly inspired to make my own.
If you’re looking for a unique handmade Christmas ornament that takes minutes to make, look no further!
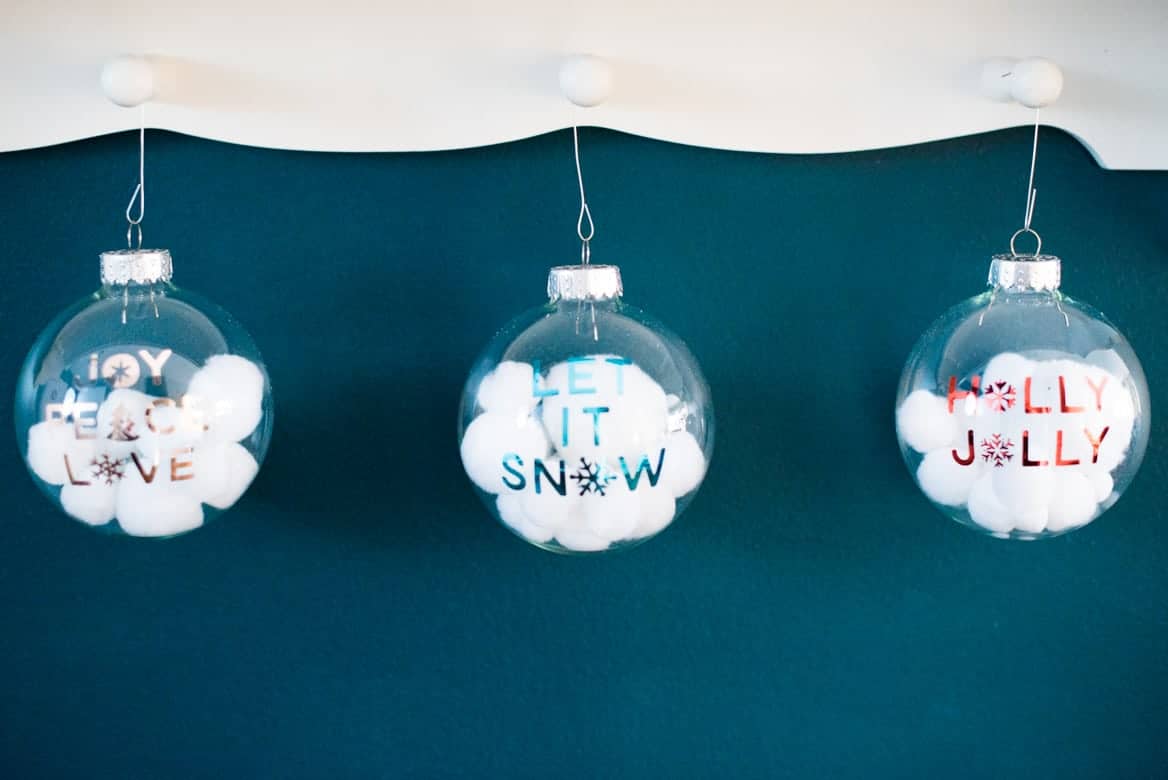
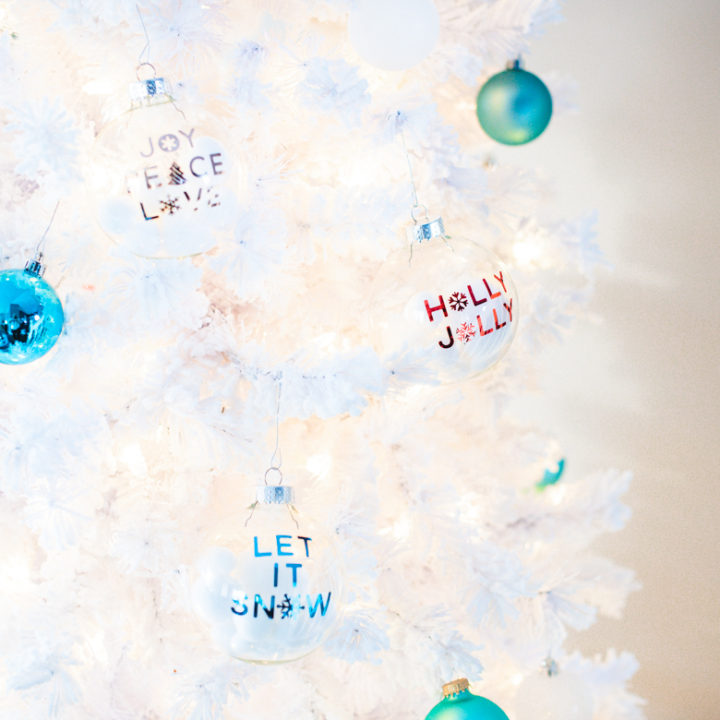
These also make such an easy last minute Christmas gift, perfect for teachers and coaches.

I’m going to show you how you can make these gorgeous pom pom filled clear Christmas ornaments…
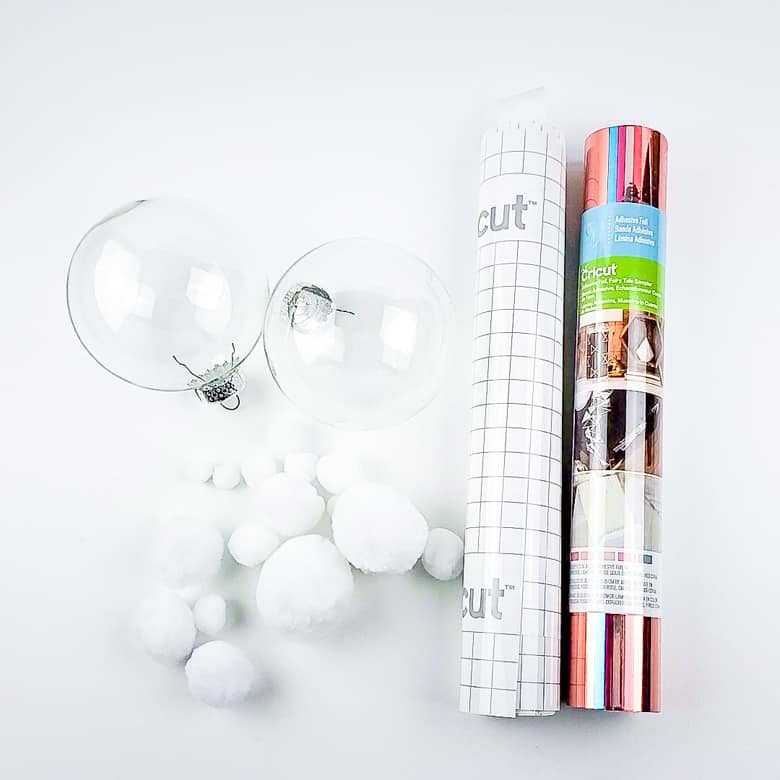
Basically all you’ll need are:
- ornament graphics via Cricut Design Space
- a Cricut Explore Air 2
- foil vinyl + transfer tape
- clear Christmas ornaments
- pom poms
DIY Pom Pom Filled Clear Christmas Ornaments
Make these pom pom filled clear DIY Christmas ornaments!
Materials
- Cricut Adhesive Foil Metallic Sampler
- 4" Clear Ornaments
- White Pom Poms
- Rubbing Alcohol
- Cricut Transfer Tape
Tools
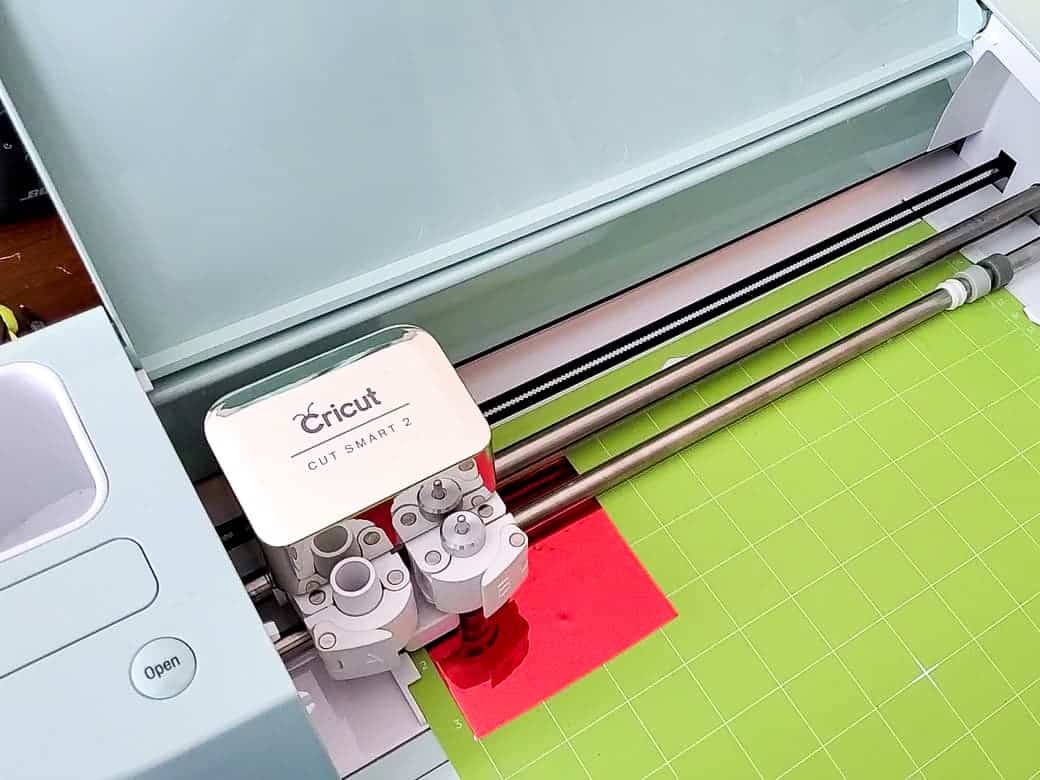
- Cricut Explore Air 2
- Standard Grip Mat
- Scissors
- Cotton Pads
Instructions
- Access the ornament graphics through Cricut Design Space
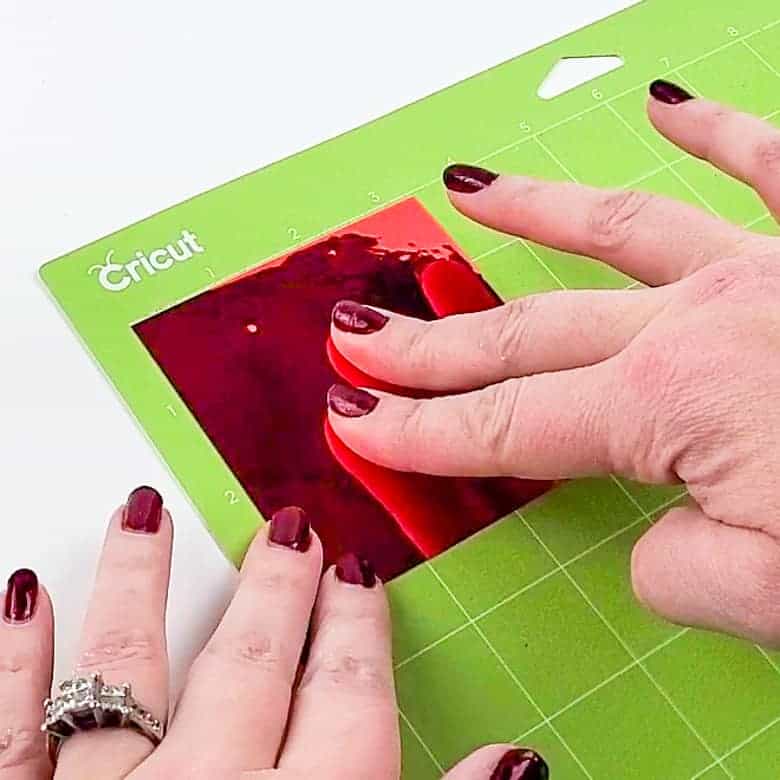
- Cut out a piece of Cricut foil vinyl big enough for your design and place it on to a standard grip mat.
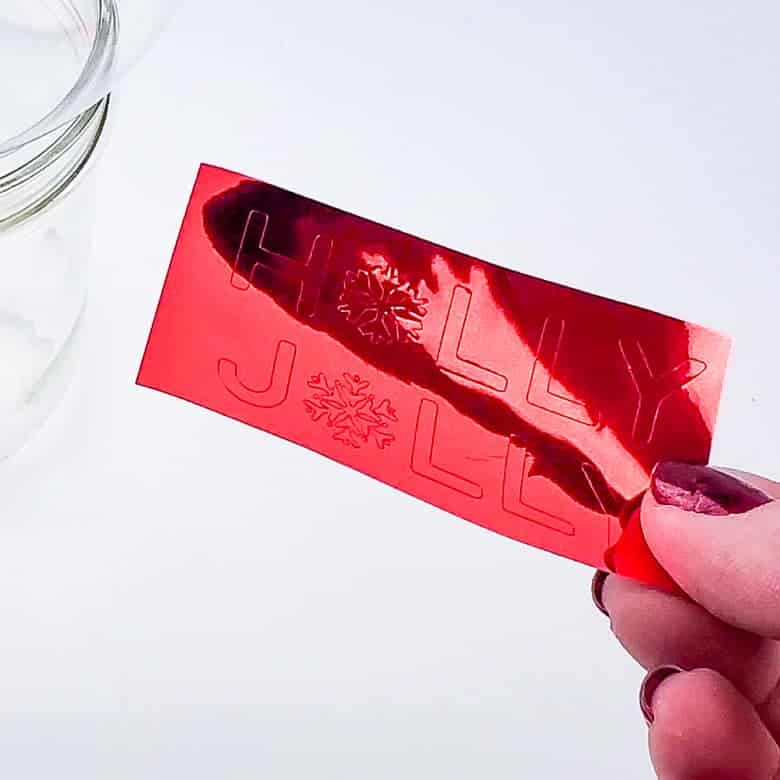
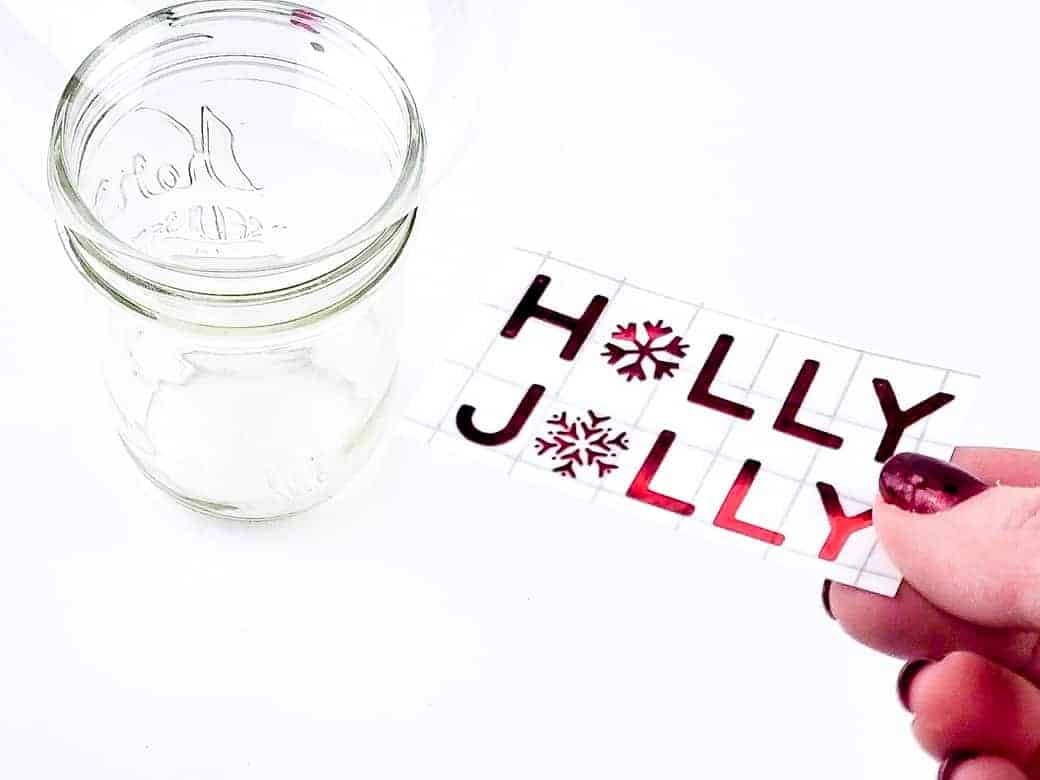
- Using your Cricut machine, cut out the designs on the metallic vinyl. Once they're cut, weed the designs.
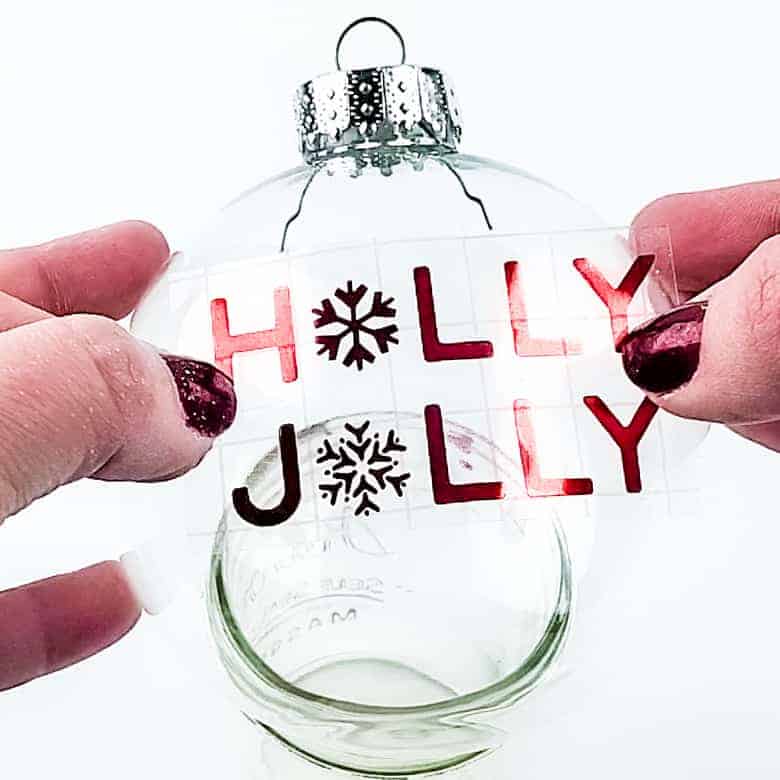
- Apply strong grip transfer tape to your weeded design.
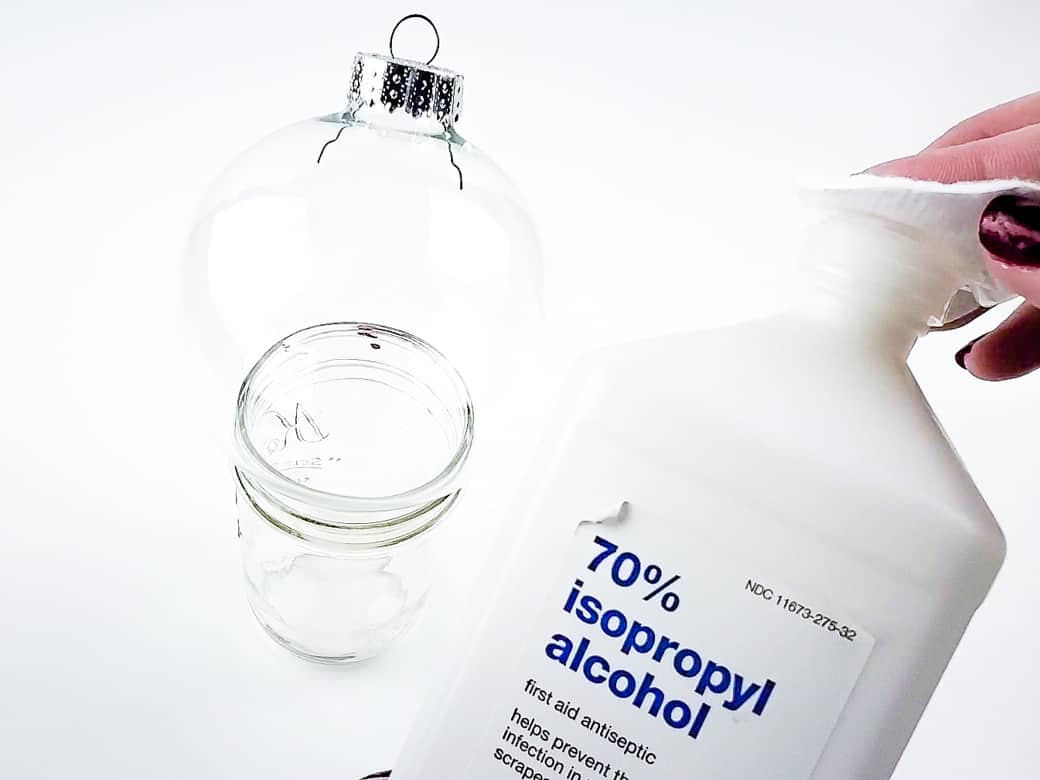
- Prepare the ornament by wiping clean with rubbing alcohol. This helps the vinyl adhere better.
- Cut a few notches into the design to better fit onto the round ornament.
- Remove the top of the ornament and fill with the desired amount of pom poms.
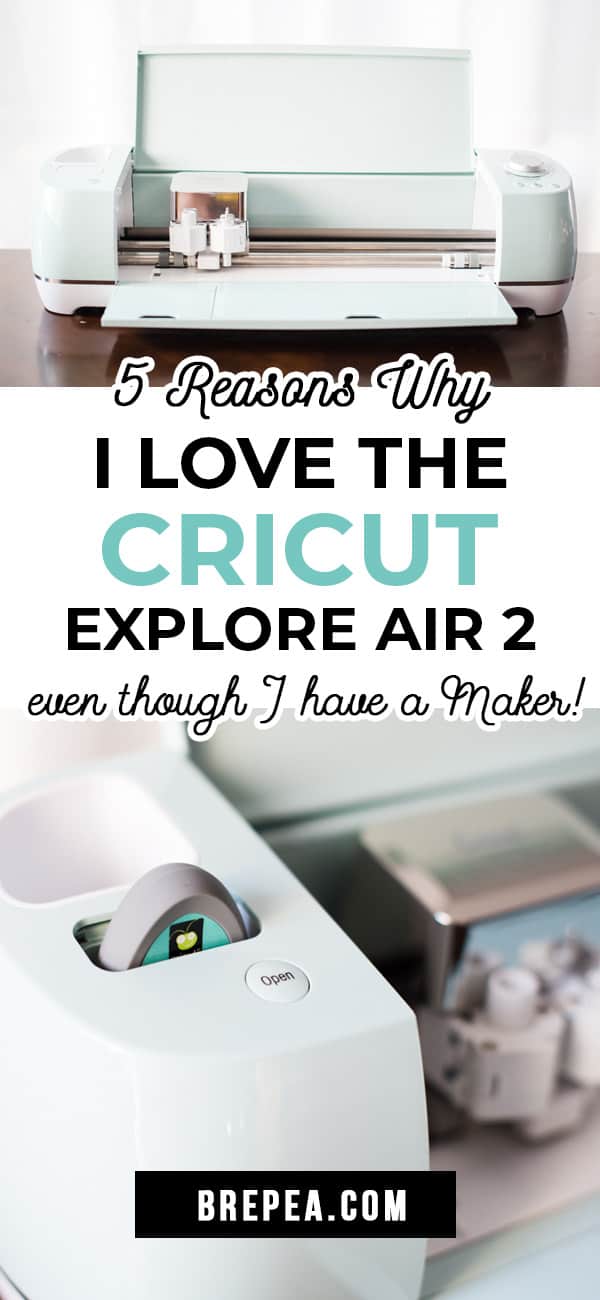
I couldn’t have made these ornaments so quickly and easily if it weren’t for my Cricut Explore Air 2.


You might already know, I own both a Cricut Explore Air 2 and a Cricut Maker. Lately, for my recent Christmas crafting, I find myself grabbing my Explore Air 2 most often for projects!
This is why I’m still in love with my Explore Air 2 even after getting a Maker…
5 Things I Love About my Cricut Explore Air 2
In no particular order:
- It’s light weight
- It can cut over 100 materials
- It’s very easy to adjust the settings for cutting
- It’s affordable
- You can use old cartridges with it
Reason #1: The Cricut Explore Air 2 is lightweight
I’m constantly swapping out crafting equipment on my craft table. And my Maker is so dang heavy! Mostly because it’s a very heavy duty cutting machine 😉
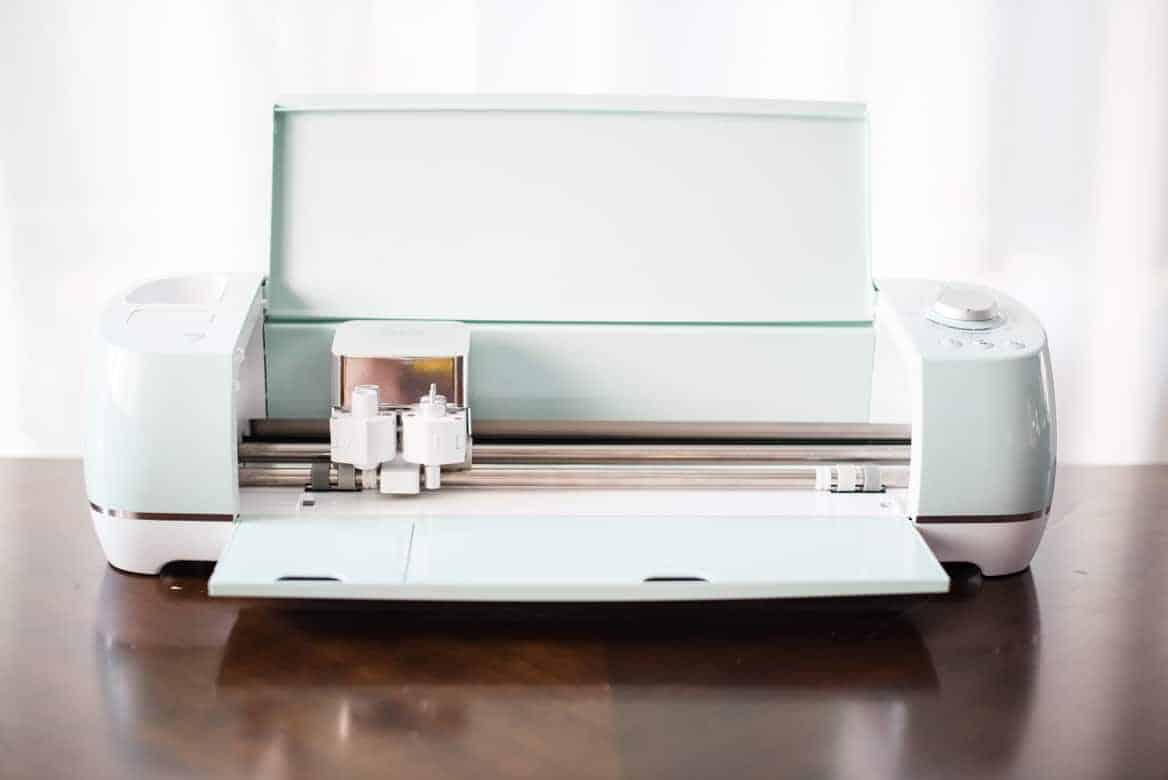
The Explore Air 2 is super easy to move and travel with because of it’s light weight.
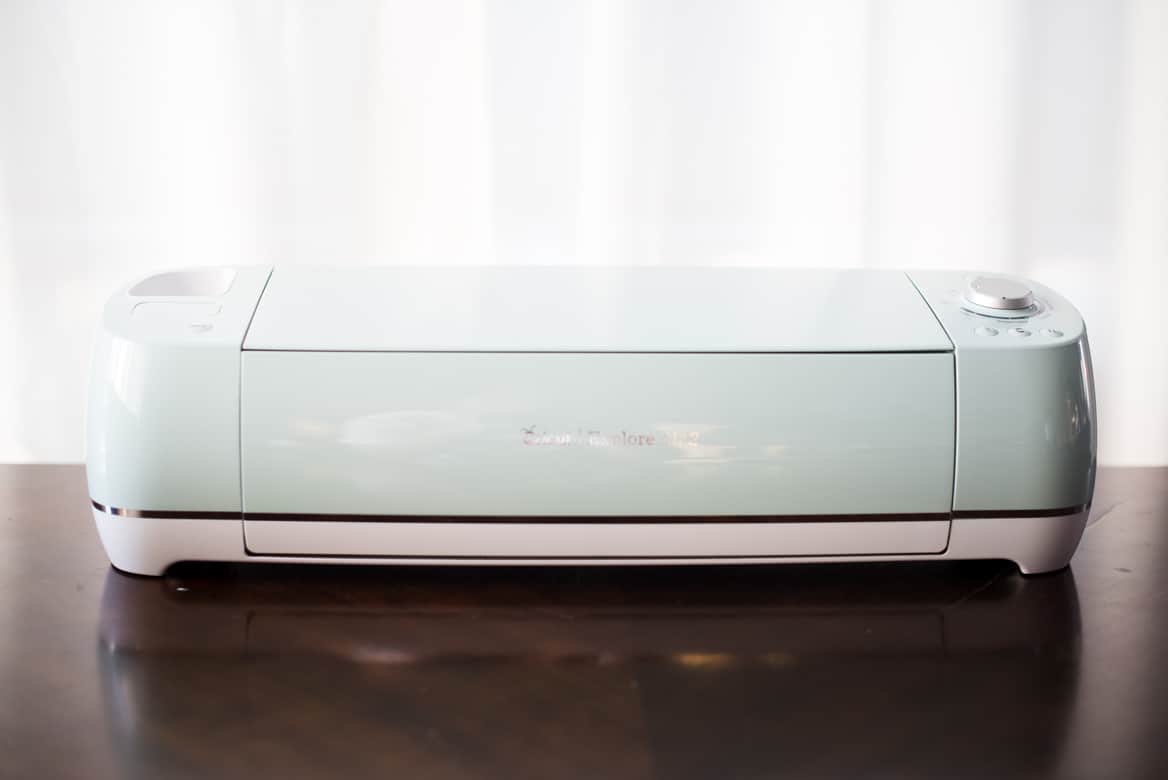
Reason #2: It’s super versatile
For a lot of the crafting that I currently do, my Explore Air 2 can do all of it.
The Explore Air 2 can cut over 100 materials, which covers plenty of the most common craft projects.
Reason #3: It’s really easy to get your settings right
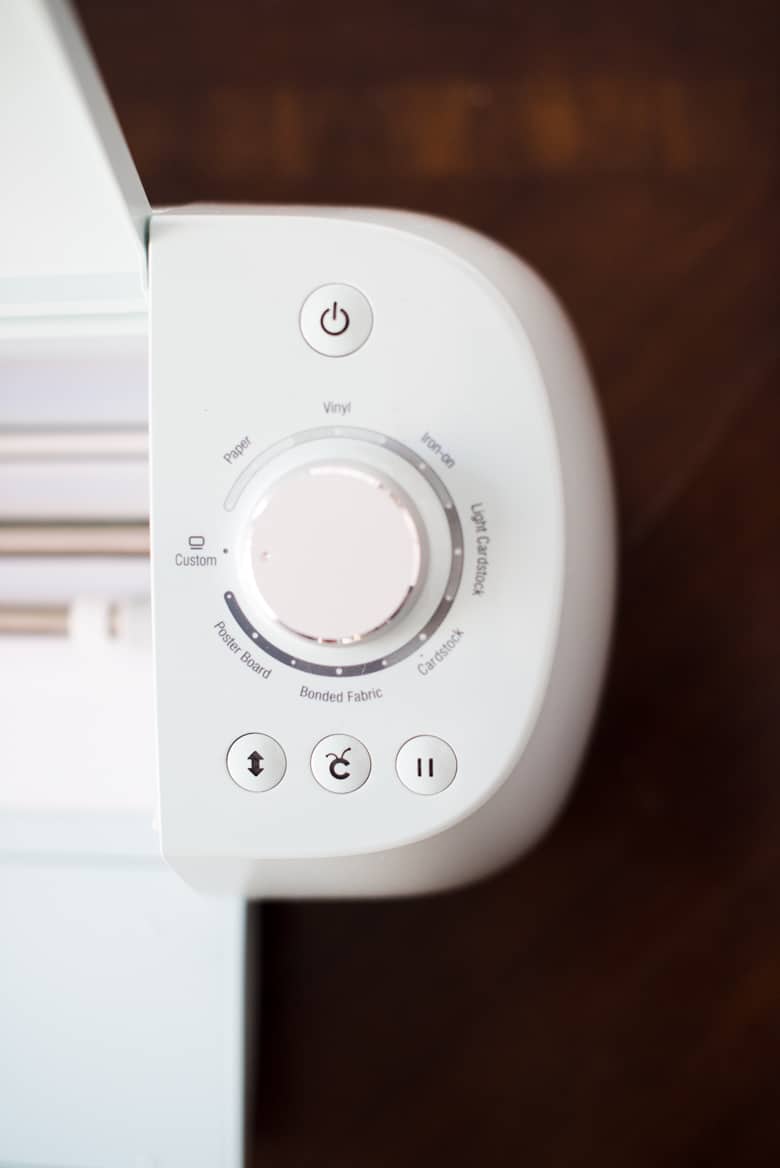
The Explore Air 2 has a convenient knob that you can adjust directly on the machine for the materials that you’re cutting.
If you’re cutting with a Maker, you have to adjust the settings through the Cricut Design Space app.
Reason #4: It’s affordable
The price of the Maker had me super intimidated when I was first updating my ooollllddd Cricut.
The price point of the Explore Air 2 is the perfect way to initiate yourself into the wonderful (modern) world of electronic cutting machines.
Reason #5: It’s compatible with old Cricut cartridges
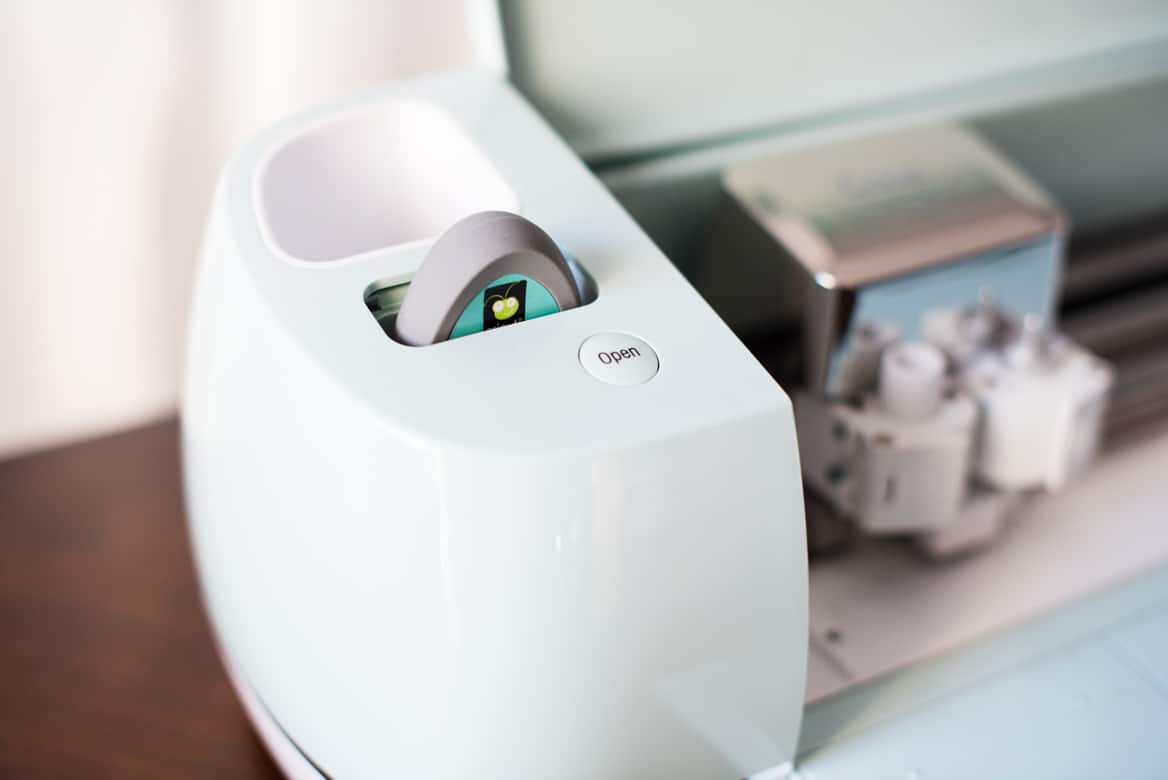
I am an old school Cricut user, so I have a bunch of old cartridges that I had invested in WAY back when.
I love that I can still use them with my Explore Air 2 by easily plugging them into the port!
This is still an option with the Maker, but you will need to purchase an adapter for this.
Even though I own both, my Explore Air 2 has currently been getting a lot more use. Especially now that I’m doing a lot of vinyl crafting for holiday gifts.
Whether you decide to go with the Maker of the Explore Air 2, you’re making a smart choice!
If you’re still wondering which Cricut machine is right for you, check out this post:


![Rustic & chic wedding decor details [tutorial]](https://www.brepea.com/wp-content/uploads/2013/03/71dec-dt5.jpg)

![Funny Boating T-Shirt [No Bleed, No Fail DIY Freezer Paper Stenciling]](https://www.brepea.com/wp-content/uploads/2019/06/freezer-paper-stencil-diy-gift-for-dad-boating-shirt-768x1152.jpg)
These are all so cute! Thanks for sharing!
Paige
http://thehappyflammily.com