Create: Faux Zinc Wall Letters
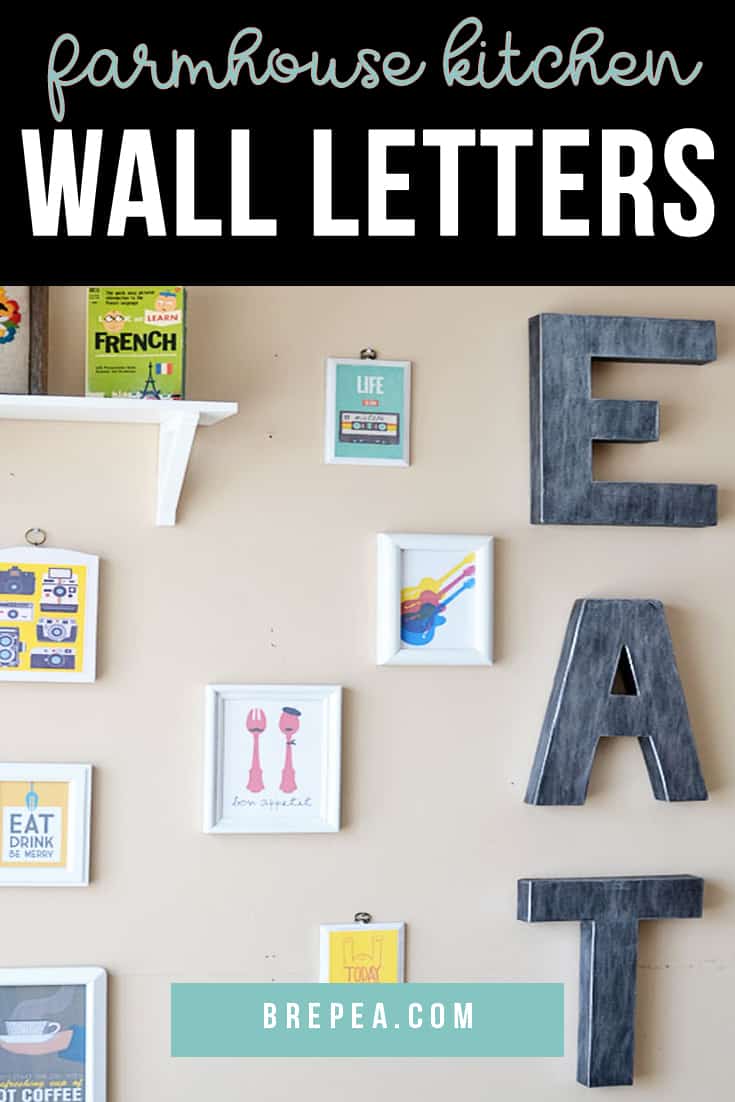
I had seen this photo on Pinterest probably a few years ago. I finally got around to trying it out myself and was so surprised at how easy it was that I wanted to share with you all. Of course I had to put my own twist on it and added a little more textured look.
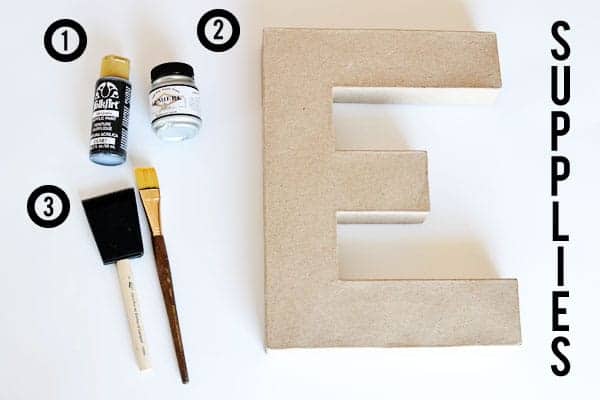
Supplies:
1. Black and silver acrylic paint
2. Paper mache letters
3. Paint Brushes
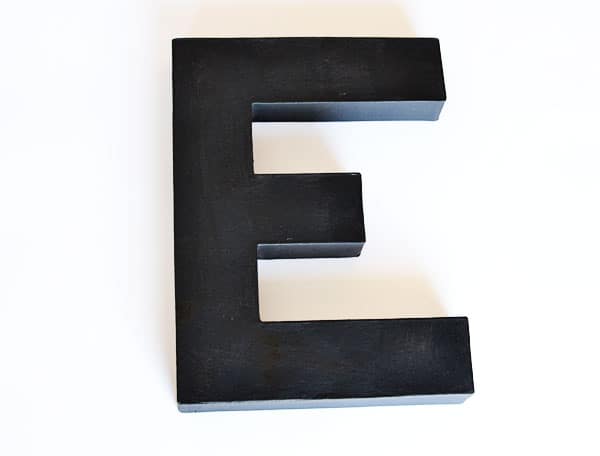
Apply a coat of black acrylic paint to your letter of choice. Let dry completely.
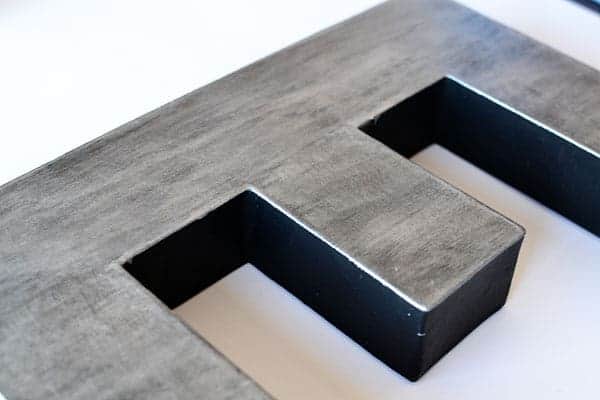
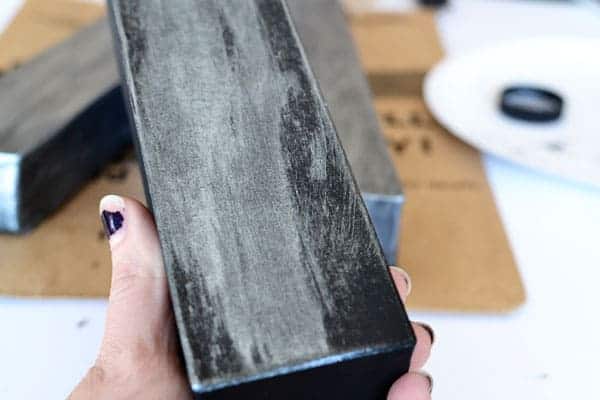
Using the foam brush (I found this gave me the effect better than a regular paint brush) apply a thin layer of silver acrylic paint over the previous layer.
I used a sort of “dry brush ” effect (minimal paint) to give the letter a lot of texture. Lots of brush strokes, not too much paint.
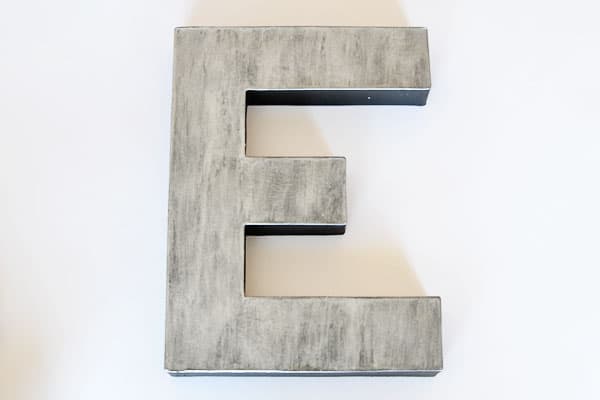
This is how my letter looked with the front complete. Repeat each step for each side.
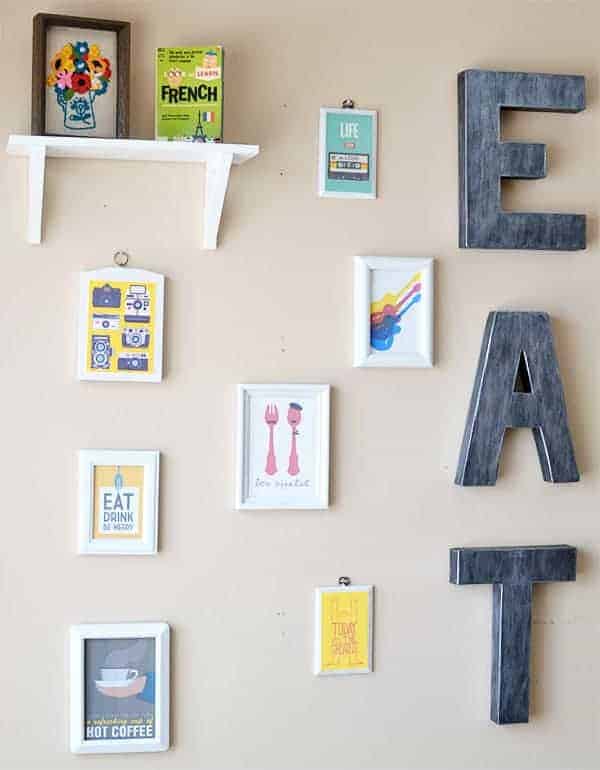
And here are the letters hung on the wall in full glory (ignore the nail holes and wall scuffs.) I bought a box of wall mounts at the hardware store and attached them to the back of each letter to hang. Easy peasy.



These are so neat!
Thank you Katie! And you used one of my favorite descriptions… neat 🙂 I'm a nerd lol
They were super easy! I made them despite having a toddler distracting me the entire time.
These look really good! Ive been saying I want to make letters for my babys nursey. I wonder if these would still look as cool if I made them using different colors
I bet they would look really neat in a different color. You should try it out!