Knock Off Decor: Urban Outfitters Inspired Dreamlight Tutorial
*I was given supplies to complete this mason jar craft from Consumer Crafts, but the idea and all opinions are 100% my own.
I’m sure you’ve seen about fifty billion mason jar crafts on Pinterest alone.
This one is different.
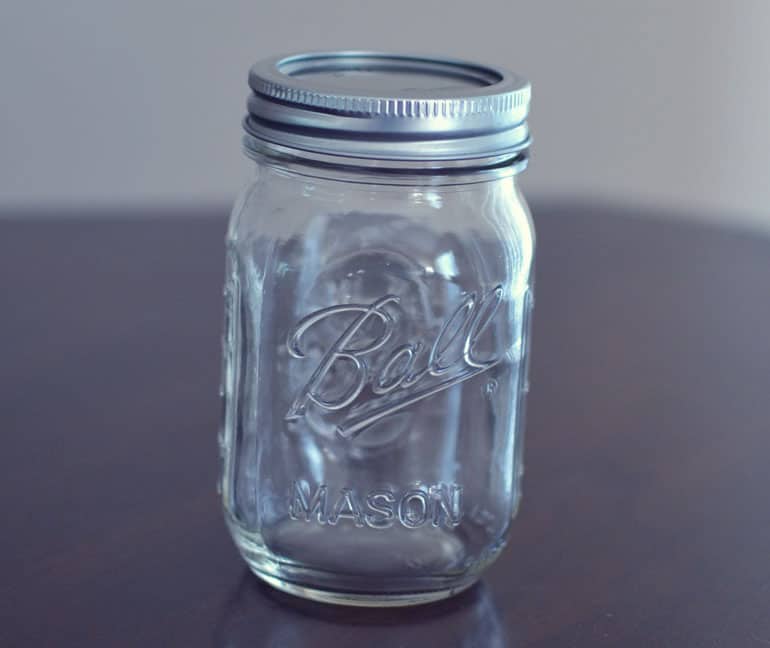
I’m all about taking something you would find in stores and figuring out a way to make it yourself. Two reasons:
- I am a frugal son of a gun and like to save money any chance I get
- Hello, bragging rights? “Did you make that?” “Why yes, yes I did.” “Wow, you’re talented!” 🙂
I spotted this cute lil’ light on the Urban Outfitter’s website:
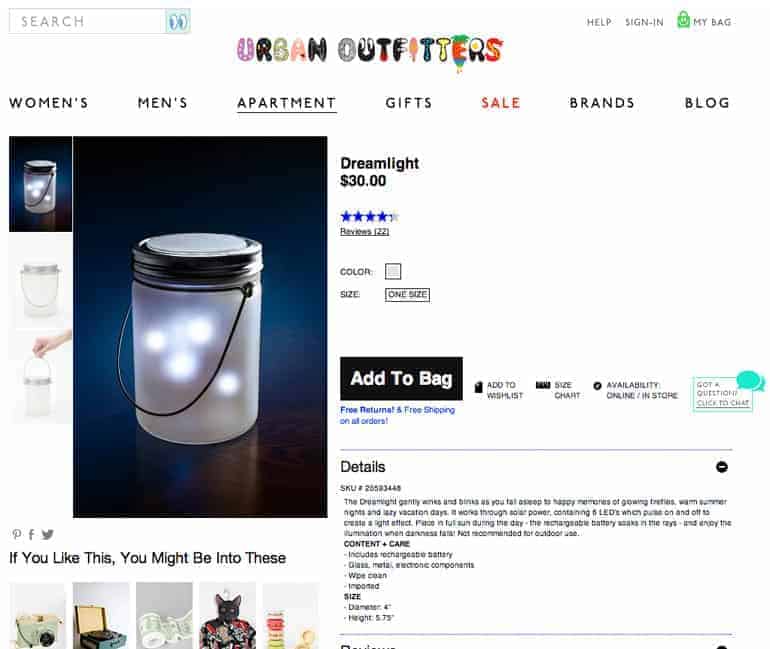
I felt like this was a great opportunity to combine my frugality and also create something useful that I hadn’t seen a tutorial for online.
Knock Off Decor: Urban Outfitters Inspired Dream Light Tutorial
SUPPLIES
Click the links below to purchase your supplies to make your own Dreamlight! Please note these are affiliate links and I may make a small amount off any purchase you might make.
- 16 oz. mason jar
- Gloss Mod Podge
- White or silver chunky glitter
- Diamond Dust
- Battery powered white string clear lights
- 18 gauge craft wire
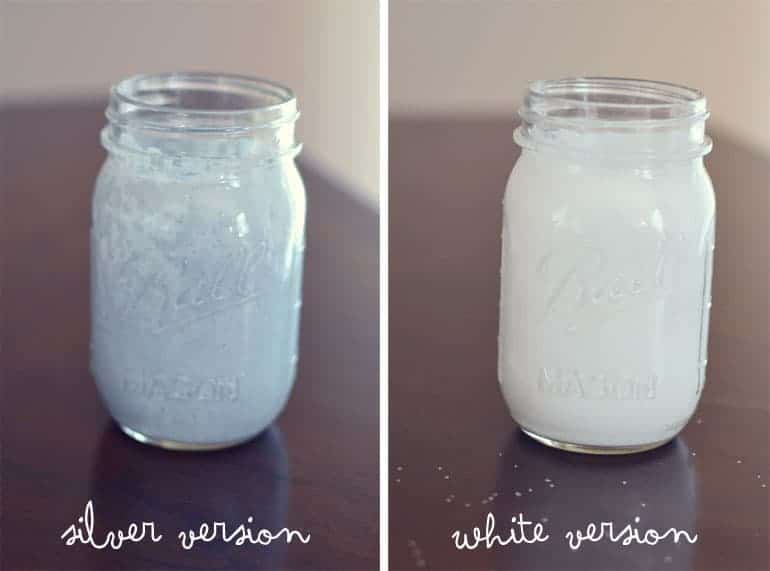
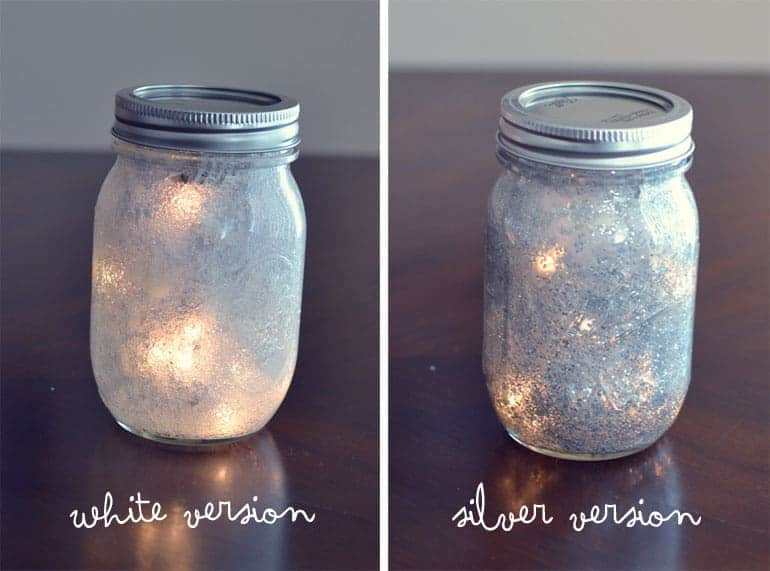
I wanted to make two different versions (white vs silver) to see which turned out better.
SPOILER ALERT: I think the white definitely turned out better.
But if you still want to try it, for the silver version I used Mod Podge, silver glitter, and silver acrylic paint that I had on hand.
For the white version, I used Mod Podge, white glitter, and something called “Diamond Dust” (I wanted to add something in addition to the regular glitter for better coverage).
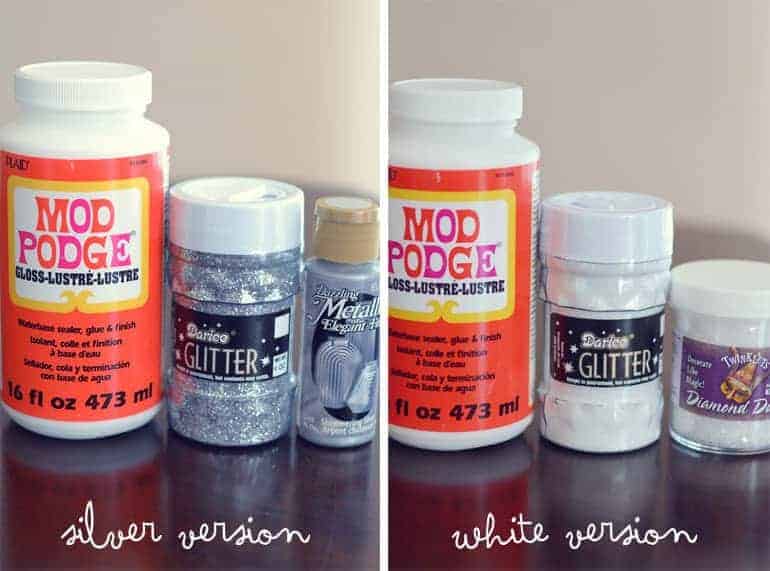
Step One: Mix your Mod Podge and glitters
I’m going to get super detailed here:
Dump a bunch of white glitter and Diamond Dust into a bunch of Mod Podge (for the white version) or a bunch of silver glitter and a bit of silver acrylic paint into a bunch of Mod Podge (for the silver version).
It’s trial and error. Just make sure you don’t put so much glitter into the Mod Podge that it’s hard to spread.
Step Two: Paint the inside of your mason jar
Paint the inside of the mason jar with your Mod Podge/glitter mixture using a paint brush.
Let that coat dry completely (a few hours) and then apply a second coat.
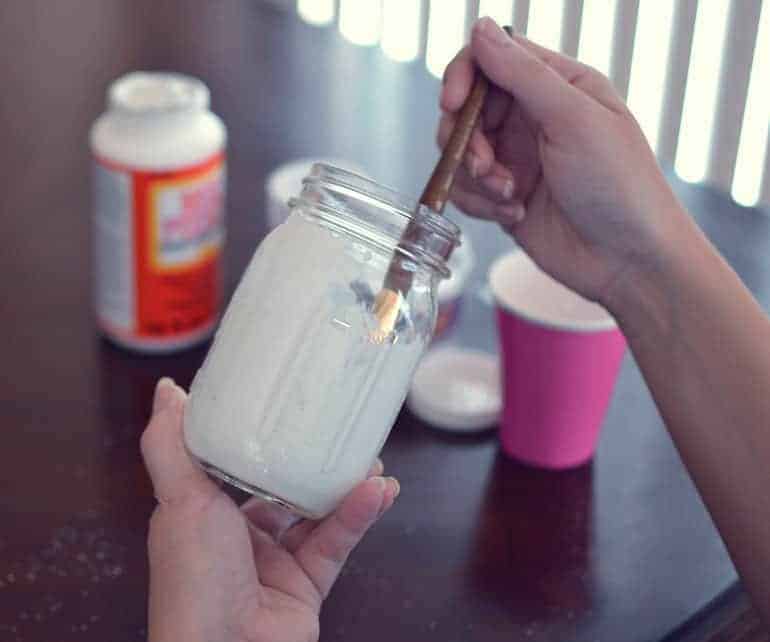
Here are the jars after one thick coat of the glitter/Mod Podge solution (still wet):
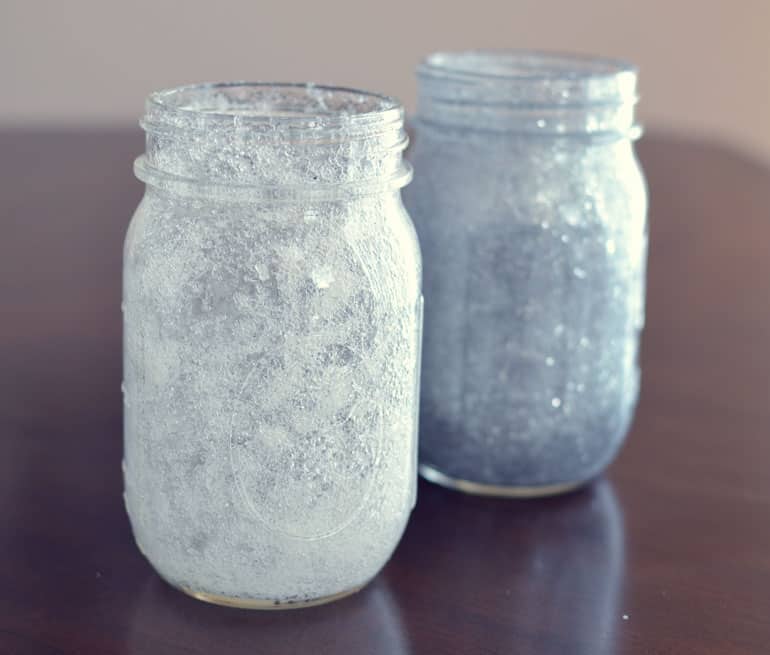
These are the jars after two coats of the solution and totally dry:
Step Three: Insert the lights
Once the jars are totally dry (this is very important, so you don’t ruin them with the next step) stretch out your string of lights and then insert them into the jar.
The more haphazard, the better. You’ll want to make sure to distribute the lights throughout the inside of the jar.
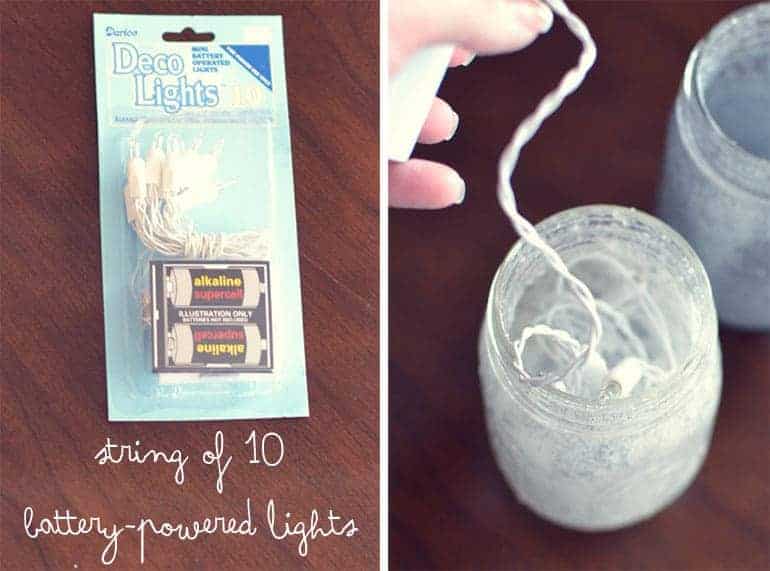
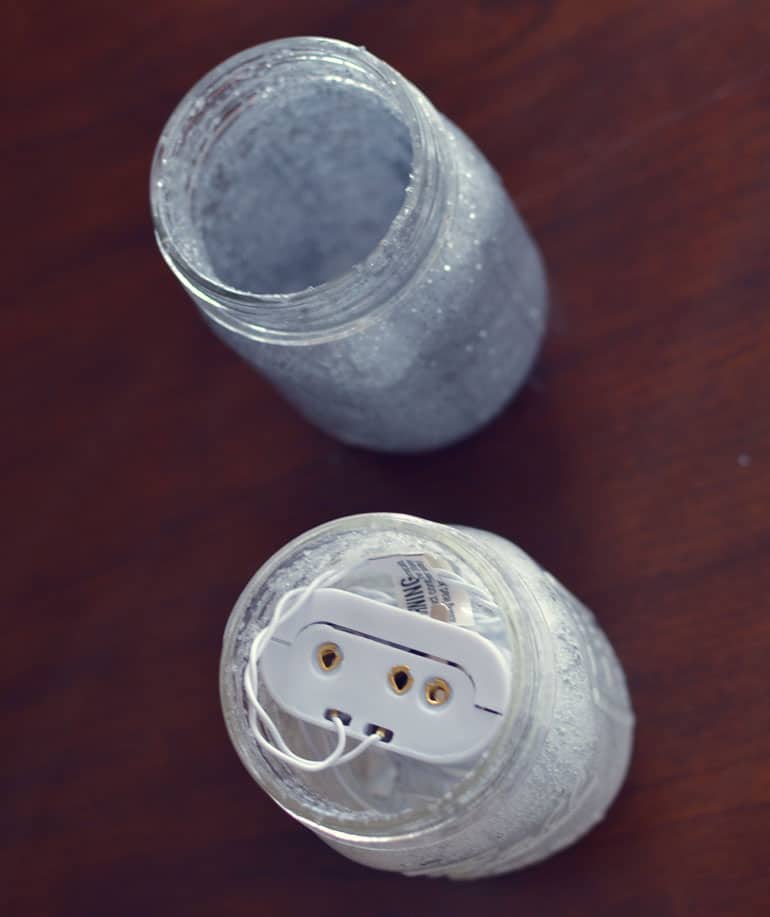
If you’re smarter than me, you’ll make sure the battery pack fits in your jar ahead of time. I was surprised by the size of the battery pack but LUCKILY it barely fit. *this tutorial was originally written in 2013 when evidently battery operated lights came with C sized battery packs
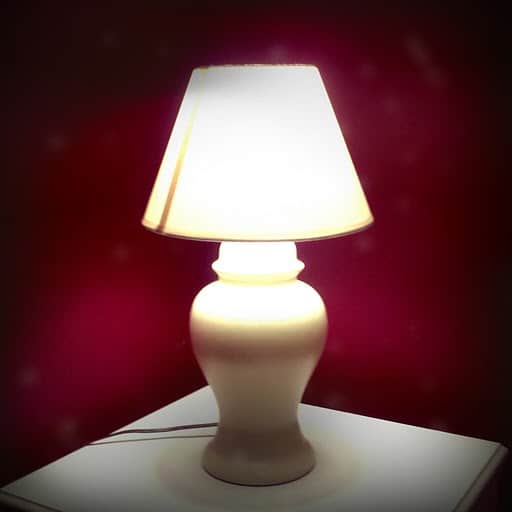
Here are the Dreamlights in the day time. Despite the room being fully lit I was pleased with the glow that came from the jars. I personally like the white version the best.
Step Four: Create the wire handle (optional)
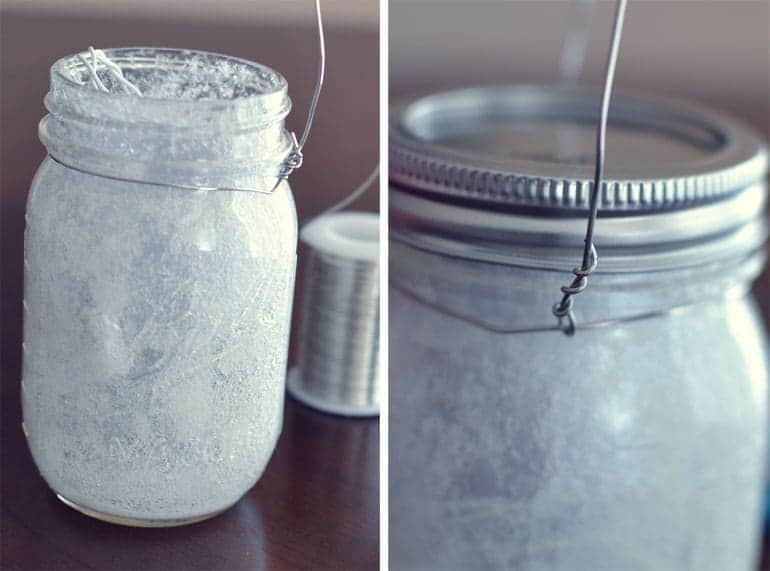
If you want to be really fancy, you can make a handle for your Dreamlight out of 18 gauge wire.
All you have to do is: wrap the end of the wire underneath the lip of the jar, twist the end tight to secure the ring, make a loop for the handle (as long as you’d like), cut the end of the wire leaving about an inch, take the extra inch and loop it under the ring and up the handle.
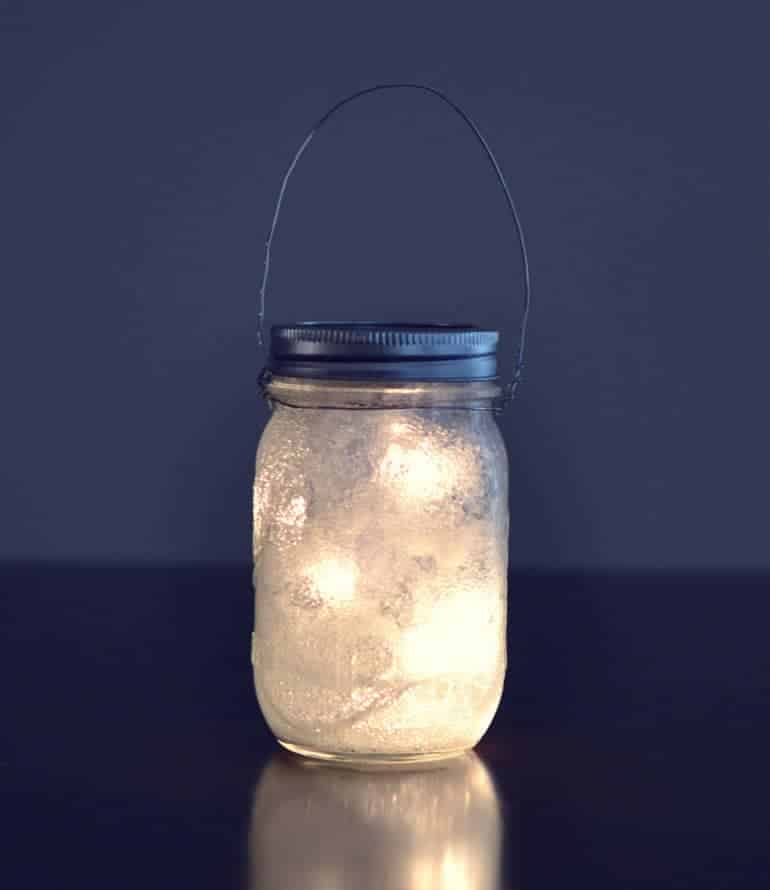
There you have it, your very own Dreamlight for a fraction of the cost!
What other Urban Outfitters products should I tackle for a knock-off tutorial? Let me know in the comments below!
Related retail knock off posts:
- Anthropologie Inspired Shower Curtain DIY
- Pottery Barn Inspired Velvet Table Runner Tutorial
- Store Bought to Handmade: Christmas Edition

Wow! Great job, those are adorable and creative
I really really want to make one for Alea's room now! It looks too easy not to! Thanks for the fun little DIY!
Ooooh I love simple DIYs!
It was super easy, just had to be patient during the drying time between the two coats of Mod Podge.
That's pretty much the only ones I know how to do, pretty much lol
So clever! I love this idea.
x
http://thewearwithal.typepad.com/
These looks better than the one from UO!! Can't wait to try this!
Wow, that's an incredible compliment thank you!
This is adorable! I'd love for you to link up to The DIY'ers. http://homecomingmn.blogspot.com/2013/08/the-diyers-and-last-weeks-top-three.html
Hi there! I just started using Blog Lovin' (talk about obsessed with how easy it is!) and you were a suggested blogger and i've been reading all day!! New follower over here! This dream light is fan-tas-tic. I am going to make a ton for the holidays to hang outside. Thanks for the tutorial, girl!
Kylie
absolutelyarkansas.blogpspot.com
Cute, cute and cute!!! Love this idea! I'm a huge fan of mod podge, and have wanted to try adding glitter to it, so I am putting this one on my list…hoping to have it done by Christmas! :-p
It would be easier to just cover the outside of the jar with a couple coats of Adirondack Mixatives in Pearl and/or Silver. That way, no drying time or messiness of Mod Podge.
I've never used it before, thanks for the suggestion!
I have visited lots of the blogs but this blog is truthfully wonderful.http://instagram.com/bubblegumcasting
Fine method of telling, and enjoyable article to acquire
factual statements.
bubblegum
casting reviews