Disney’s Inside Out Craft: Make Your Own Emoji Magnets
This Disney’s Inside Out Emoji Magnet tutorial has been compensated by Collective Bias, Inc. and its advertiser. All opinions are mine alone. #InsideOutEmotions #CollectiveBias
Looking for fun and creative inside out craft activities to do with your kids? Check out this Disney’s Inside Out Emoji Magnet tutorial!
Have you and your family fallen in love with Disney’s Inside Out? We certainly have! The movie’s brilliant portrayal of emotions resonates with both kids and adults alike.
We love finding our daughter role-playing with Joy, Disgust, Sadness, and Anger while she plays with her Inside Out Console (we’re still on the hunt for Fear!). It’s amazing to see her using the characters to explore her own emotions.

It’s so cute hearing her give them their unique voices, talking happy and bubbly as Joy and slow and depressed as Sadness. We got the toys because we love the movie, but they’re proving to be educational as well! If a toy can help my spirited kiddo tune in to her own emotions better, I’m all for it.
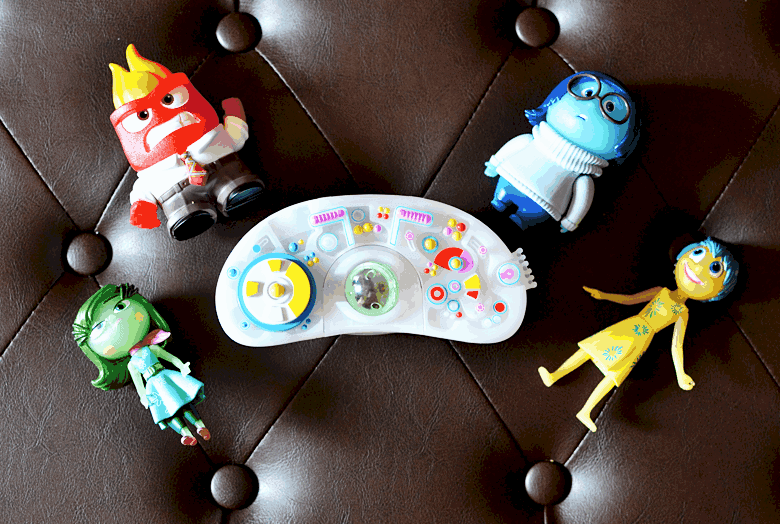
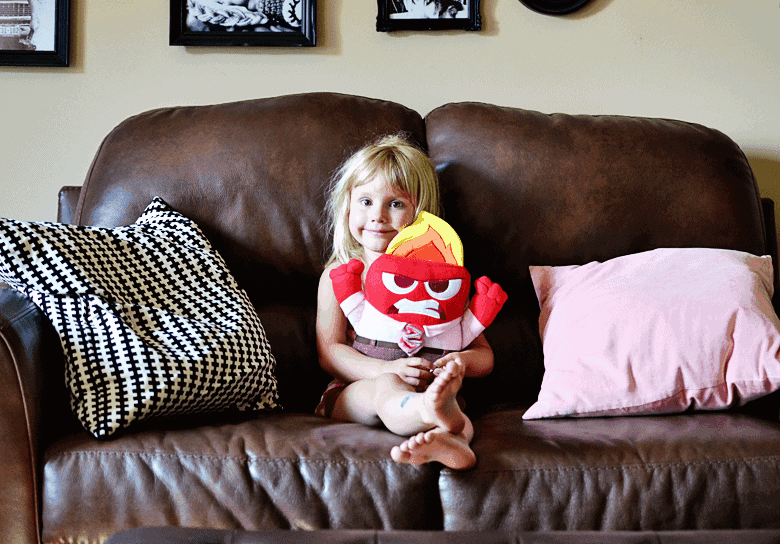
If you’re looking for a way to extend the fun and help your kids explore their own emotions, why not try creating some Inside Out craft activities together?
These adorable Inside Out emoji magnets are a perfect choice!
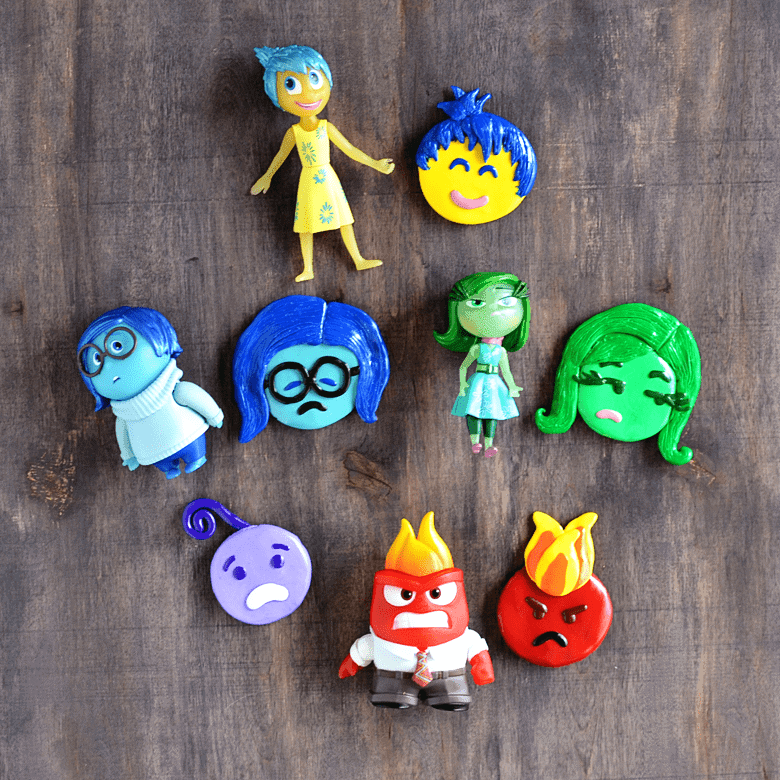
Inside Out Emoji Magnet Supplies You’ll Need
Any links below to supplies or tools used may be affiliate links and might earn me a small commission if you decide to purchase, thank you!
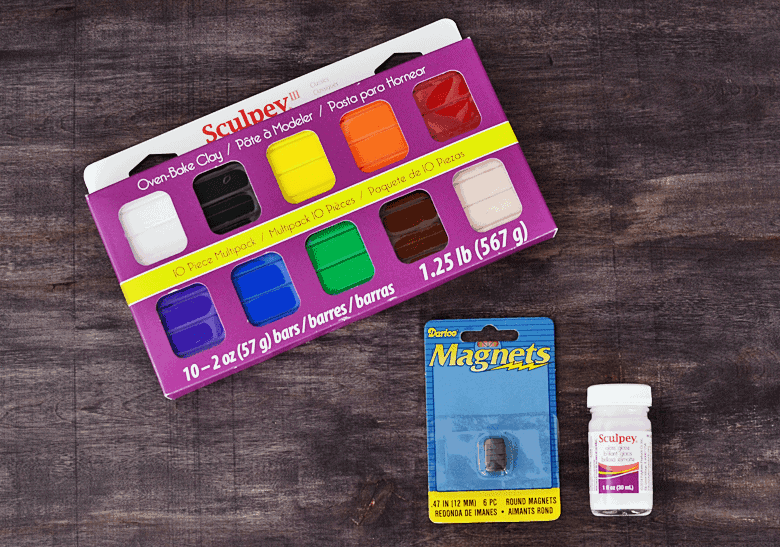
Step-by-Step Inside Out Craft Activity Emoji Magnets
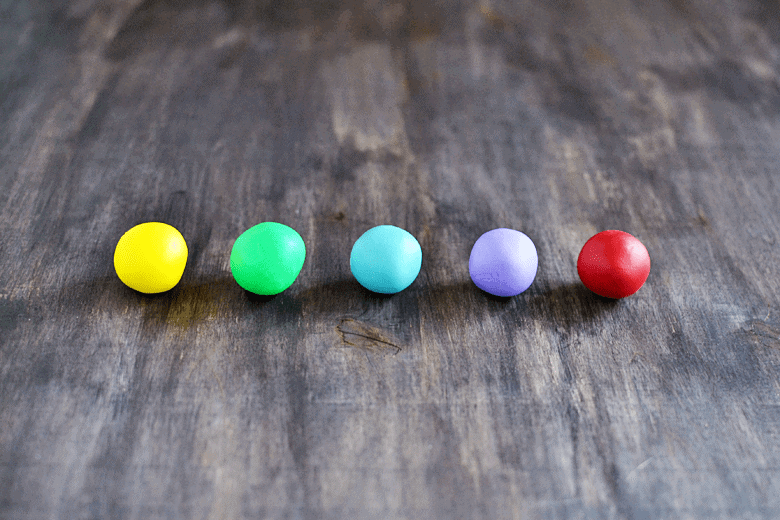
Step One: Make a 1″ Ball for Each Emoji
To keep the size of each magnet about the same, I rolled a ball out of 1 bar from the brick of each colored Sculpey (each brick has 4 bars) which ended up being approximately 1″ wide.
For the green, blue, and purple I mixed equal parts of white and the color to get a lighter shade of each to better match the Inside Out character’s colors.
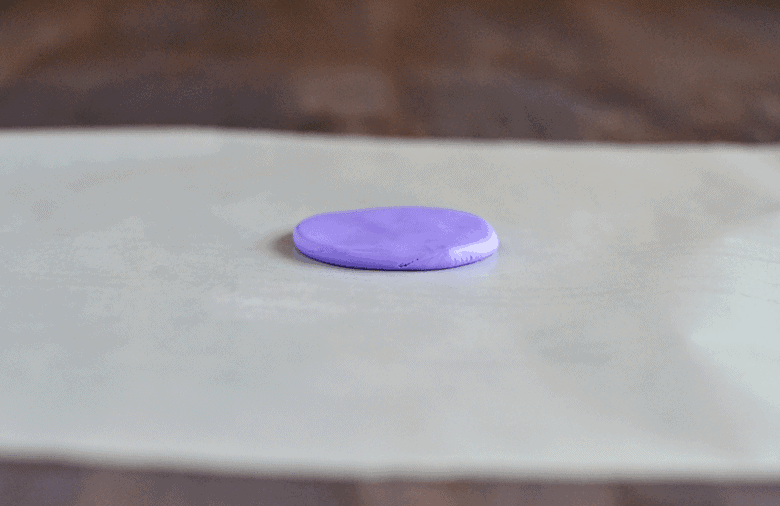
Step Two: Flatten Each Ball
On a sheet of wax paper, flatten each ball to about 1/4″ thick with your hands. Smooth out the edges and bumps with your finger.
Repeat this step for every colored ballthat you have.
Step Three: Make the Facial Features for Each Emoji
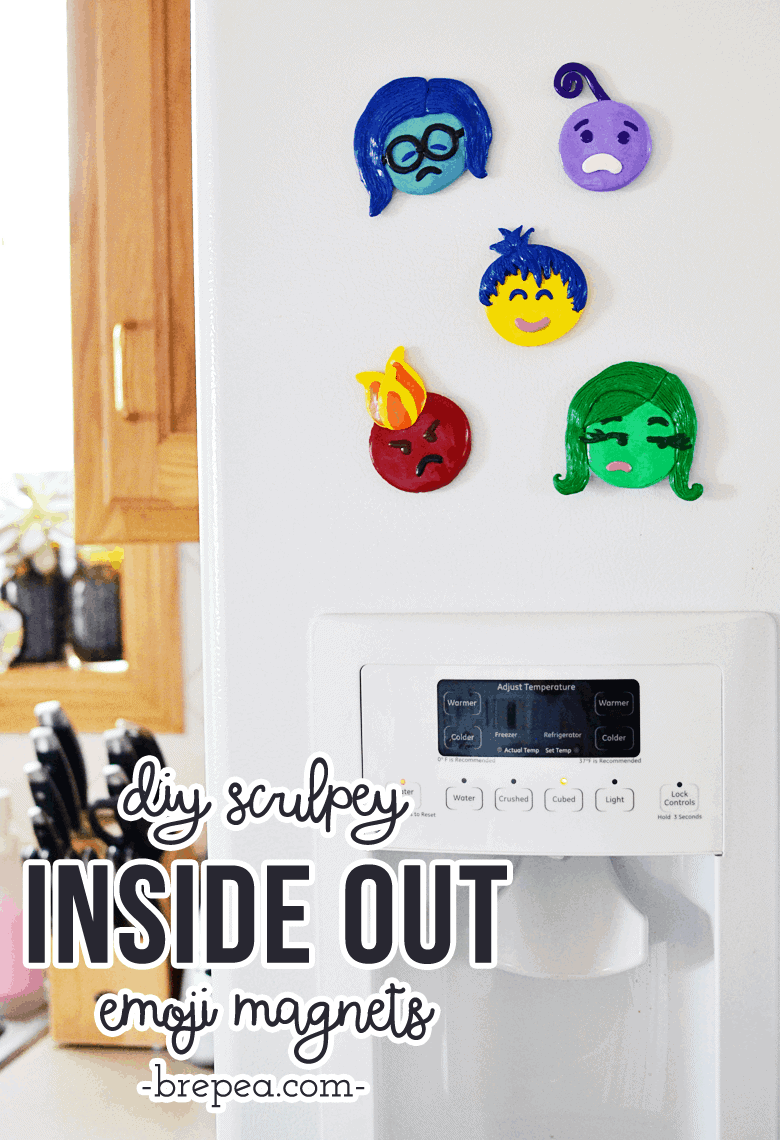
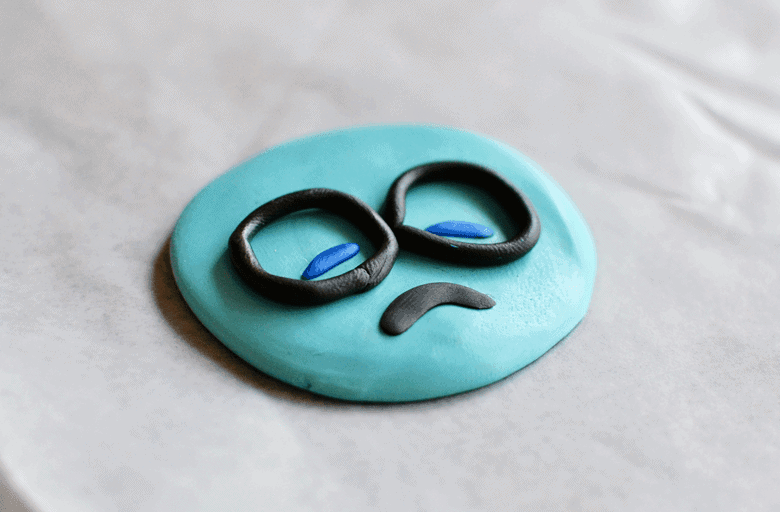
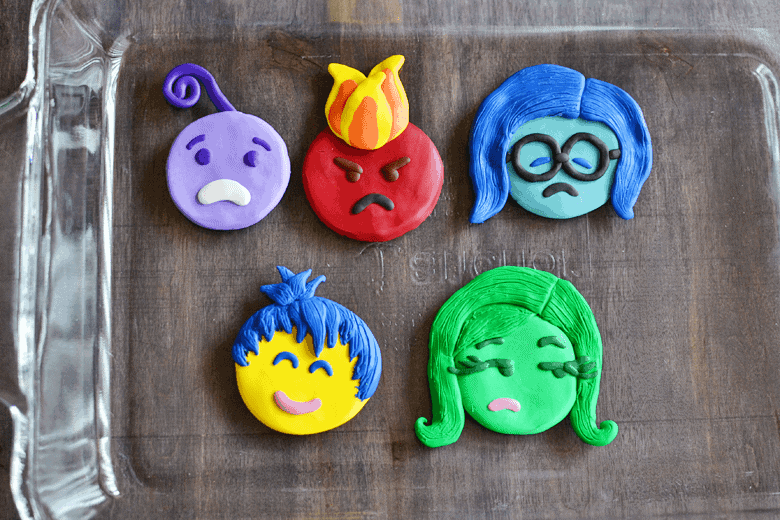
I decided to base Fear off of the “worried face” emoji 😟, Sadness off of the “pensive face” emoji 😔, Joy off of the “smiling face with smiling eyes” emoji 😊, Anger off of the “angry face” emoji 😠, and Disgust off of the “unamused face” emoji 😒.
You could do the same, or pick a different one and match it to the character’s colors, the possibilities are endless!
To make the features for each emoji, I made various tiny ball and rope shapes and pressed them until they were flat against each circle.
Tip: you want the shapes of your features to be extra small to start with because they will expand as you press them into the “face” of each emoji.
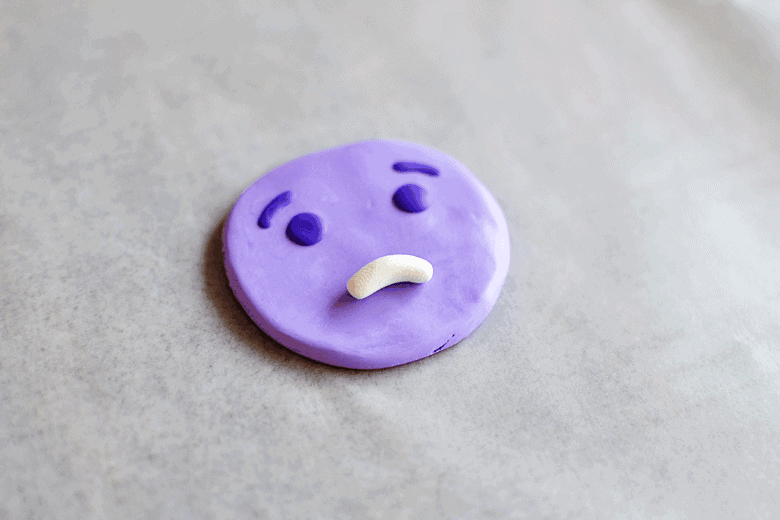
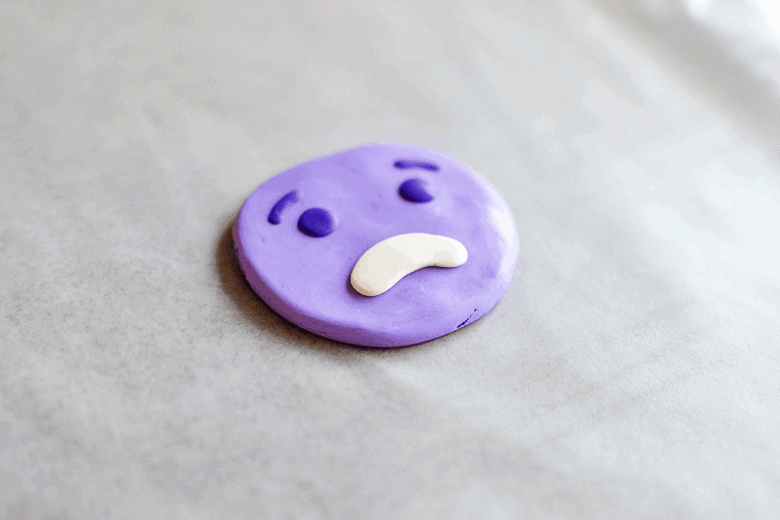
Each of the features (and Sadness’s glasses) were made with a similar technique: roll into a ball (for circles) or cylinder (for mouths, eyebrows, etc.) and flatten onto the face shape.
Tip: Make sure you wash your hands when working with a new color. It tends to stick to skin and you don’t want your white to turn into pink!

Step Four: Add Hair to Each Emoji
To make these look more like the Inside Out characters and not just an emoji, I added hair (or flames in Anger’s case) to each emoji.
Joy’s hair was made with several teardrop shapes layered together. Then, I drew details for the strands of hair with a toothpick and smoothed over with my finger.
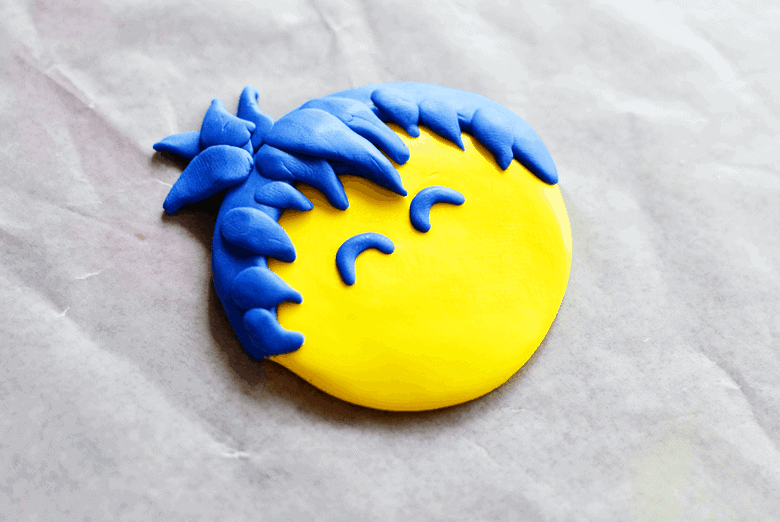
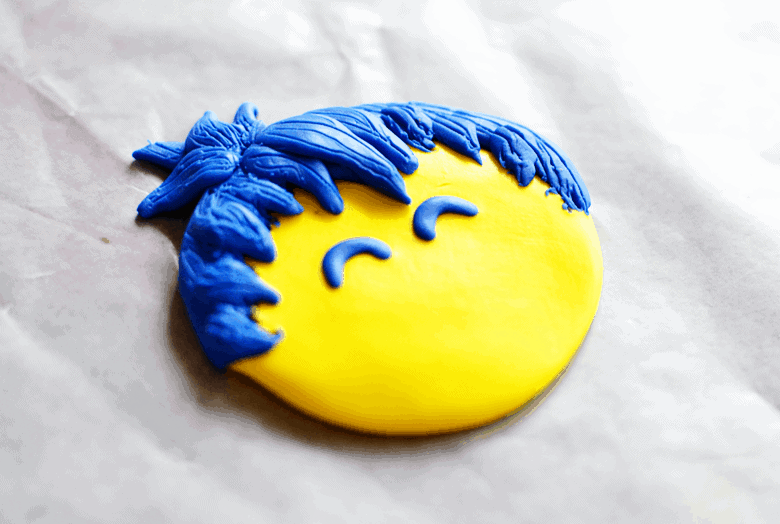
Disgust and Sadness’s hair were done similar but in bigger pieces. Anger’s flames were made by making 3 teardrop shapes and layering them together.
Step Five: Bake The Emojis
Carefully remove each emoji from the wax paper and place into a glass baking dish leaving space between each one.
Bake at 275 degrees for 15 minutes for every 1/4″ of thickness. Since these were all about the same thickness (approx. 1/4″ thick) I baked them for 17 minutes.
My oven tends to run cooler so I added a few minutes to be sure. Make sure you don’t over bake or they could dry out and crack.
Let them cool completely.
Step Six: Apply the Glaze and Magnet
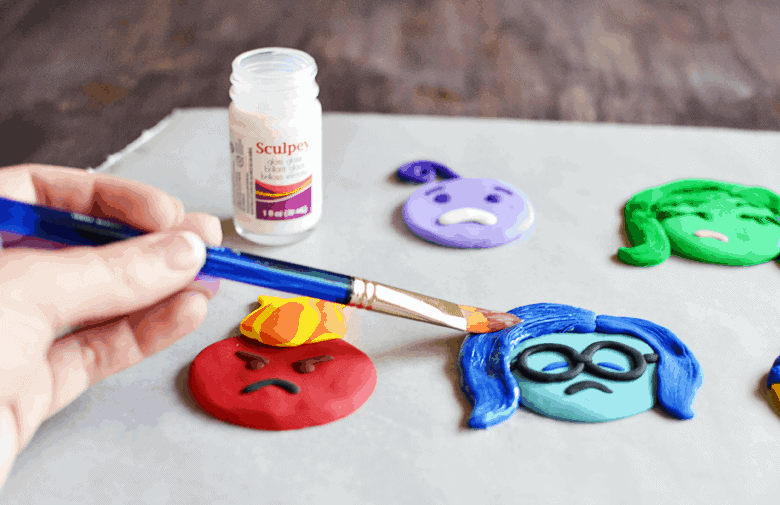
Give each emoji a coat of the Sculpey high gloss glaze with a paint brush. Let dry for about 30 minutes.
If you would like them to be extra glossy, you can give them multiple coats. Just make sure each coat fully dries before applying another.
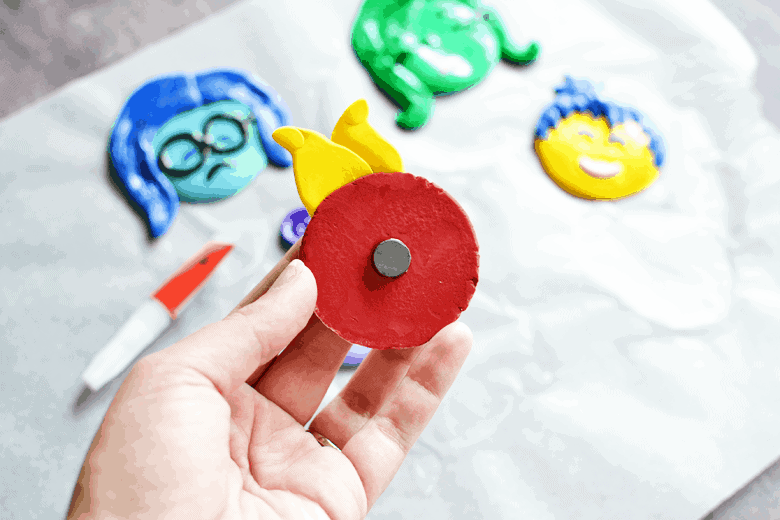
Once the glaze is dry, attach a magnet to the back of each face with a couple drops of super glue. You don’t need much.
Make sure you attach the magnet to counteract any heavy sides (the hair seems to add extra weight on top), otherwise the face will fall upside down once you put it on your fridge.
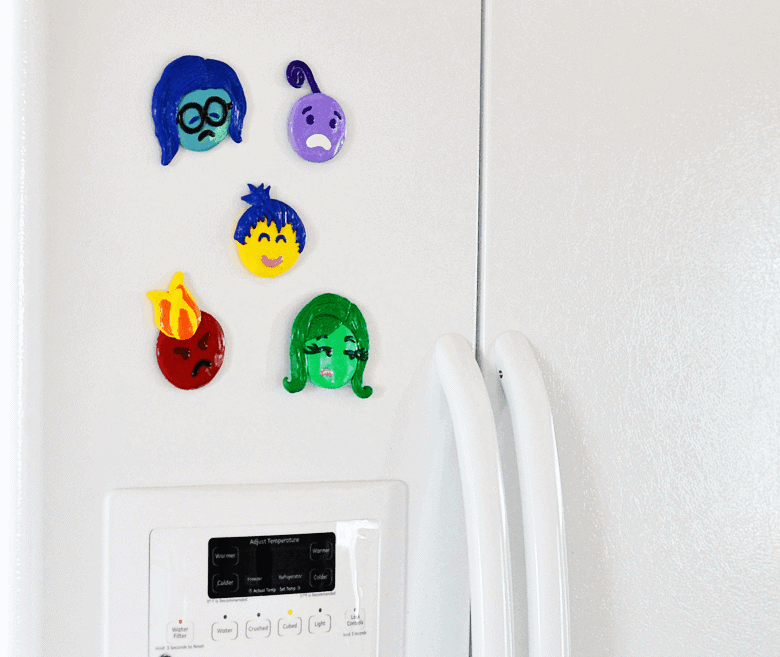
I finished these during Bean’s nap time, I can’t wait for her to wake up and let her imagination run wild with these.
I am so happy with how they turned out! Or should I say, Joy-ful? 😉
