DIY Frugal Furry “Animal” Halloween Costume for Kids
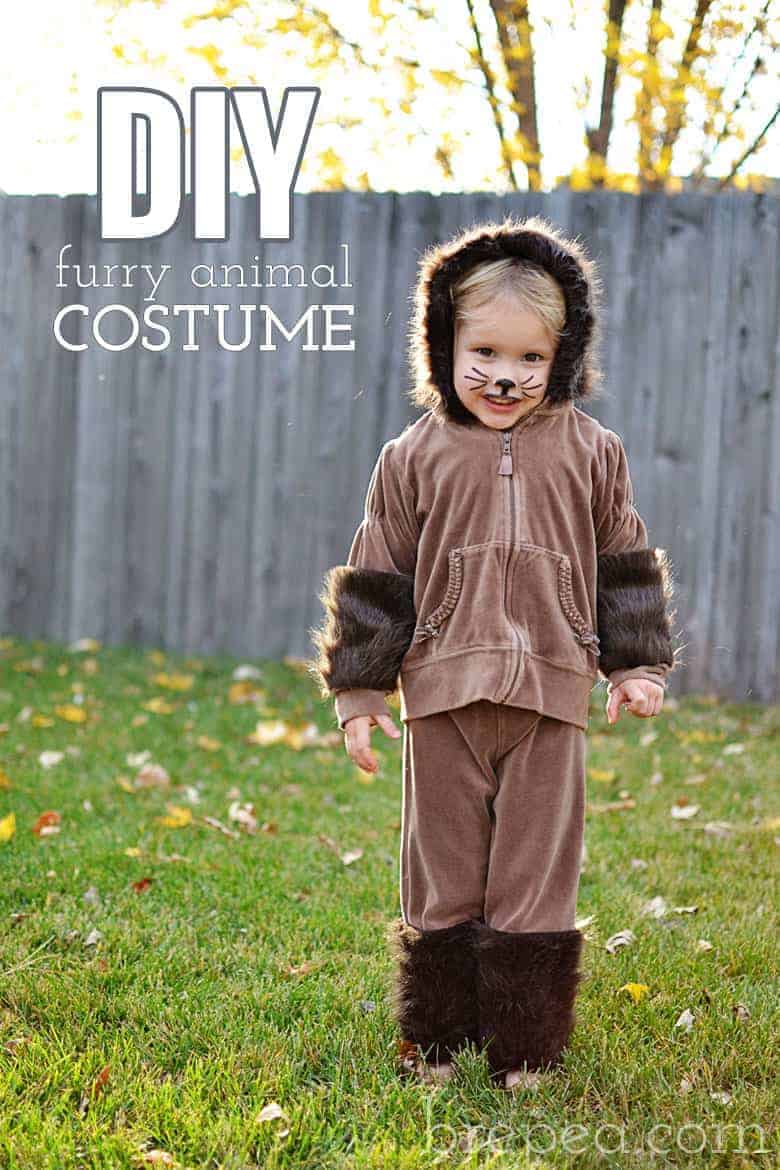
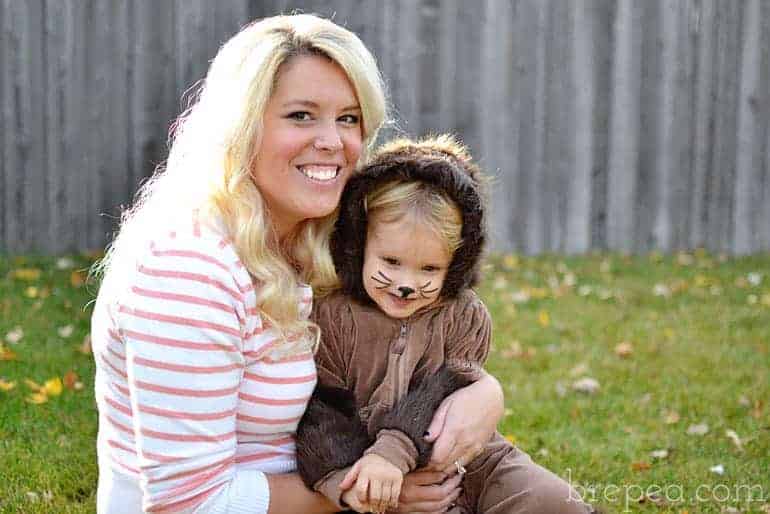
I am definitely one of “those moms” who stubbornly refuses to buy a halloween costume and insists on making it themselves, no matter if the DIY version turns out to cost more. In this case, I totally win. Total cost for Bean’s 2014 halloween costume: $9.13! And that’s even with me forgetting my Jo-Ann Fabric mailer coupons (shame on me).
The inspiration behind her costume came from an adorable pin I saw on Pinterest. I thought it was to-die-for-cute and looked super easy to make yourself, if you could find the right stuff. Well, as it turns out the type of fur needed for that was not easily found in any of the semi-local craft stores I visited. I decided to set out and make a version of my own.
DIY Furry Animal Kids Halloween Costume
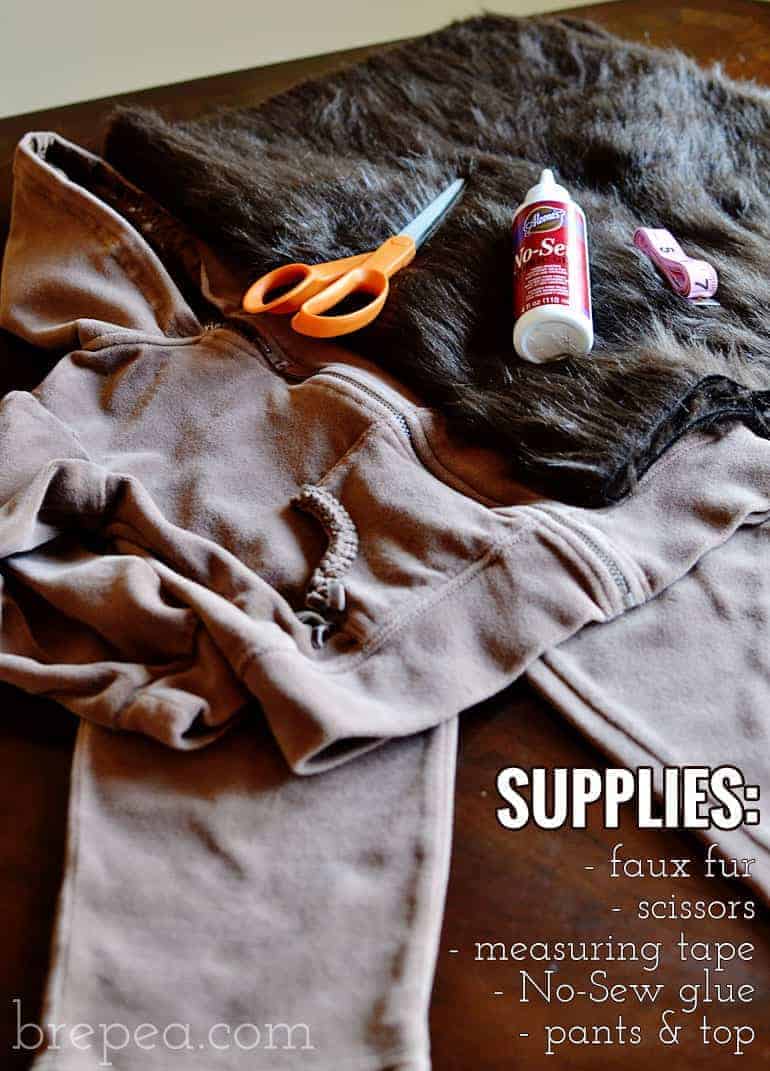
All you need are a few very simple supplies, no sewing needed!
- faux fur (I bought 1/2 yard but had PLENTY left over. Better safe than sorry.)
- scissors
- measuring tape
- No-Sew fabric glue (this is the brand and type I used, held up really well under active kiddo testing and didn’t cost an arm and a leg)
- pants and shirt
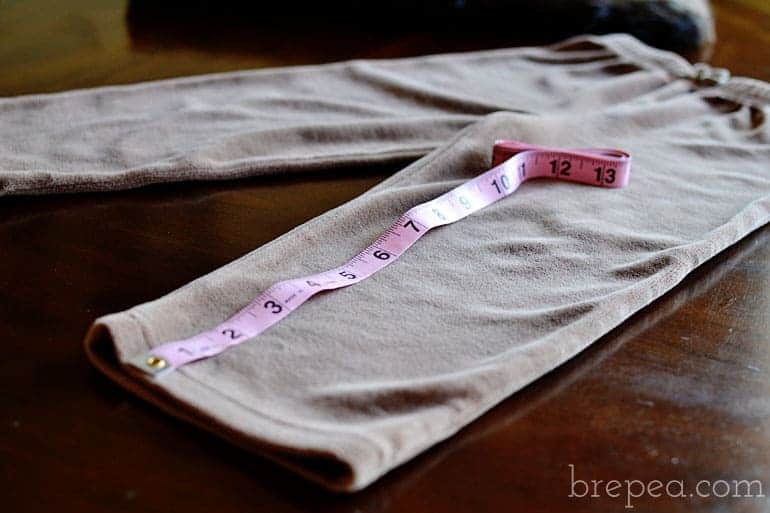
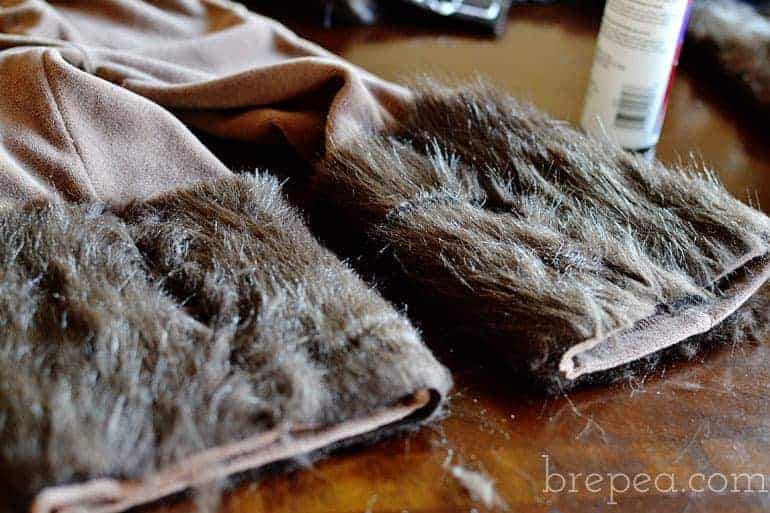
Taking it piece by piece, I measured how far up I wanted the fur to go on the pants. Because the pants were sewn in 2 pieces, I thought it might be easiest to apply 2 pieces of fur to either side.
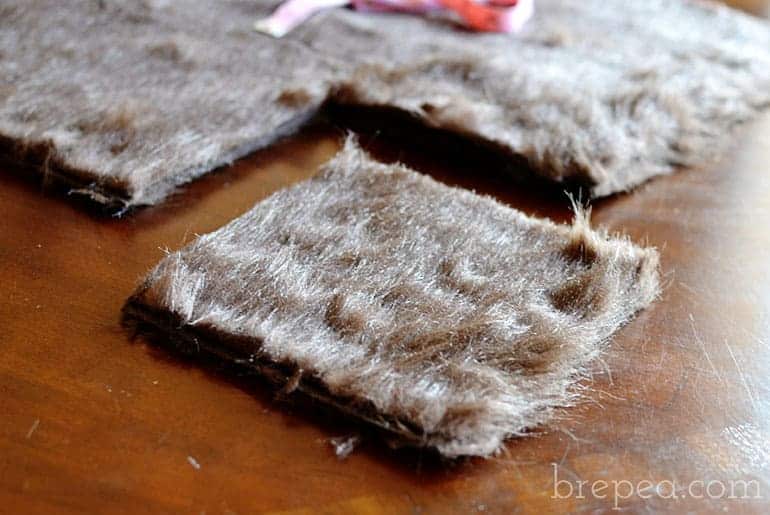
I ended up cutting out 4 squares of 6″ x 6″ fur for the pants. Some might say that you really need to keep in mind the direction that the fur lays. I did, but in the end it probably wouldn’t have mattered because I wanted a fluffy “unkempt” look anyways.
Originally, the glue said to “apply a coat and let dry until a skin forms, and then re-apply a light coat and glue together” or something to that affect. I was all like, “ain’t nobody got time fo dat” Bean has to wear this in t-minus 2 hours, so I applied a gloppy smattering of glue to each pant piece, cut out all the other pieces while letting the pant pieces slightly dry, and then applied the pant pieces to the pants. I turned the pant legs so that the seams were both in the middle while drying because it helped hold the edges down flat while drying. Did I say “pant” enough times in that paragraph? Pant.
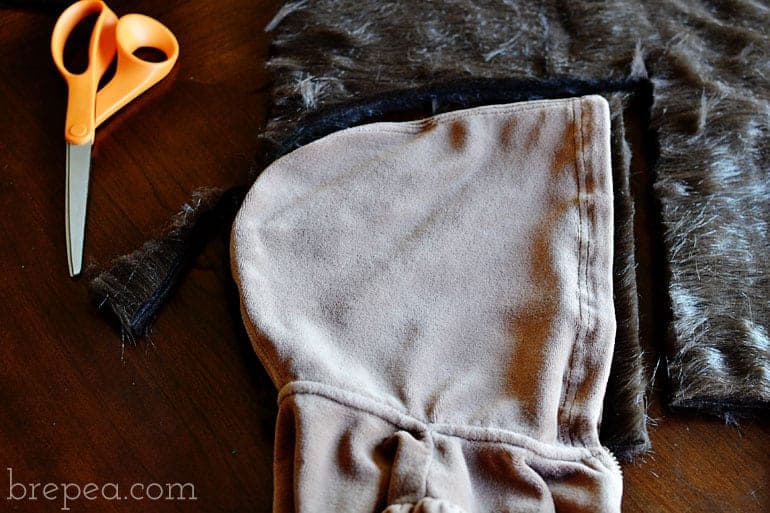
To figure out the pieces for the hood, I laid the hoodie down on the fur and cut around it leaving a little (but not enough, in hindsight) around the front of the hood so that I could wrap it into the inside. I applied glue to the fur like I did with the pant pieces, let it dry slightly, and then glued it to the hood.
For the sleeves, I repeated a similar process as I did for the pants. Measured the size I wanted to be covered in fur, cut out the pieces, and glued. After all was slightly dried, I fluffed up the fur to hide any seams. Magically, it worked out quite well. Now, the make-up (Bean’s favorite part, I’m convinced)…
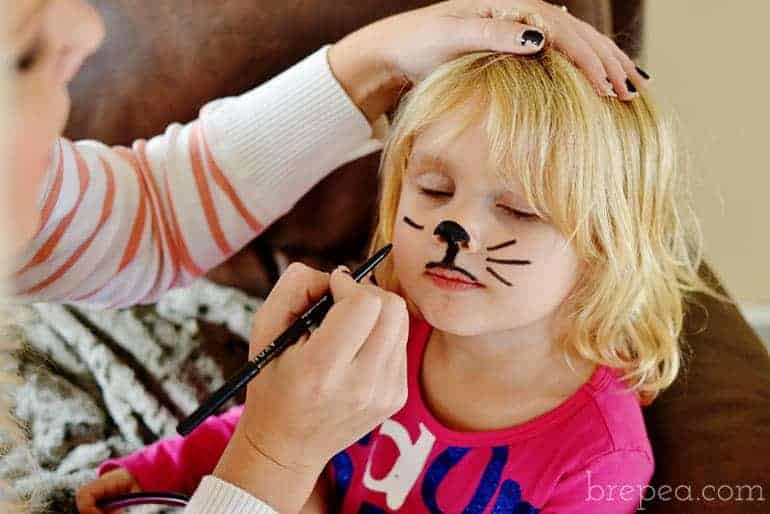
She absolutely LOVED this and followed every single one of my instructions, “sit still… look up… don’t move your mouth…” you know, everything I say to someone three times her age while doing their makeup. Although, I started with gel liner applied with a brush and, “That tickles!” so I ended up finishing with a soft smudge black liner.
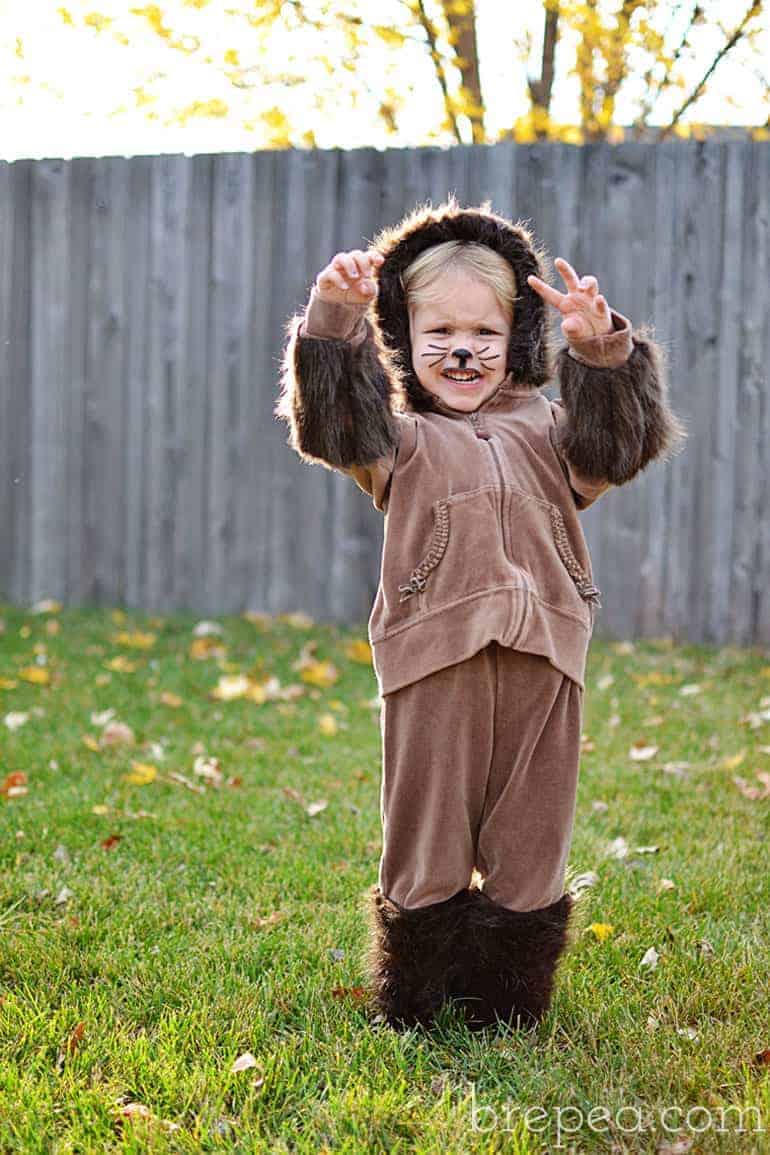
“RAWR!!!” She’s a lion… or a bear… or a… puppy? Well, the original inspiration was a lion. No, I get it now. “Lions and tigers and bears, oh my!” she’s a walking Wizard of Oz costume, I’m a genius! 😉 What I learned from this whole process is, depending on the color of the materials, this tutorial could be tailored to fit many a number of furry animals.
We visited our church’s annual pumpkin festival in costume and it humored me to see what everyone guessed her to be. The majority: puppy. Sure, I’ll take that. Cutest darn puppy there ever was.

So freaking adorable! I love that it is no sew because I can't sew to save my life!
What a super cute little costume and I have to admit I would prefer the DIY version over store bought. However this year we raided the costume chest because my sewing machine is on the blink. THE WOES! haha. Anyways, she really is super cute!!! x
wonderfully done!
The glue worked so well! It held up through the crazy toddler durability test, too 😉
Ya gotta do what ya gotta do 🙂 I'm tempted to go the easy route and just buy one every year, but my stubborn DIY self usually wins.
Thank you!!!