DIY Wrapping Paper (That’s Too Pretty to Rip Open!) Tutorial
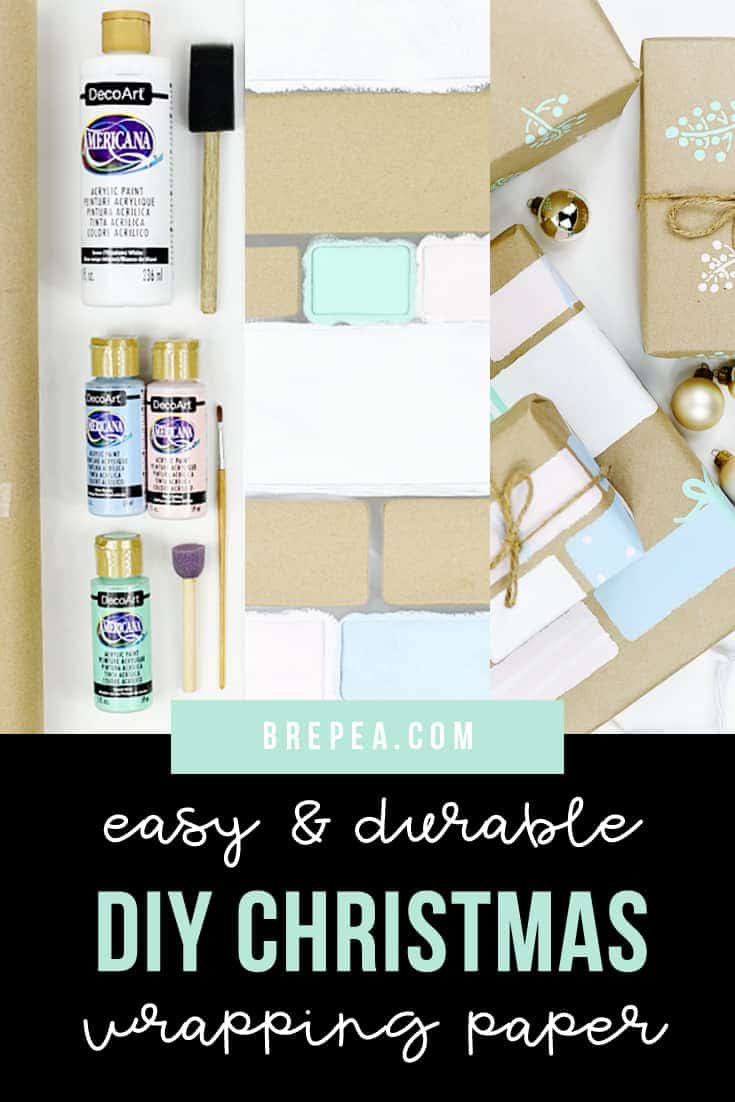
Make this durable and cute, easy DIY wrapping paper that’s perfect for Christmas! All you need is a roll of brown kraft paper and some stencils, finish it off with some twine bows.
For all the projects that I have DIYed, wrapping paper has not been one. Until now!
I’ve made the mistake of buying the “cheap” rolls of Christmas wrapping paper that you’ll find in stacks upon stacks this time of year.
You know, the kind that rips before you can even finish wrapping the gift?
I partnered with DecoArt to create this The kraft paper that I’m using for this tutorial not only looks cute and homey, it’s incredibly durable. I dare you to make this stuff rip as you’re wrapping, I DOUBLE DOG DARE YOU! 😉 (A Christmas Story, anyone?)
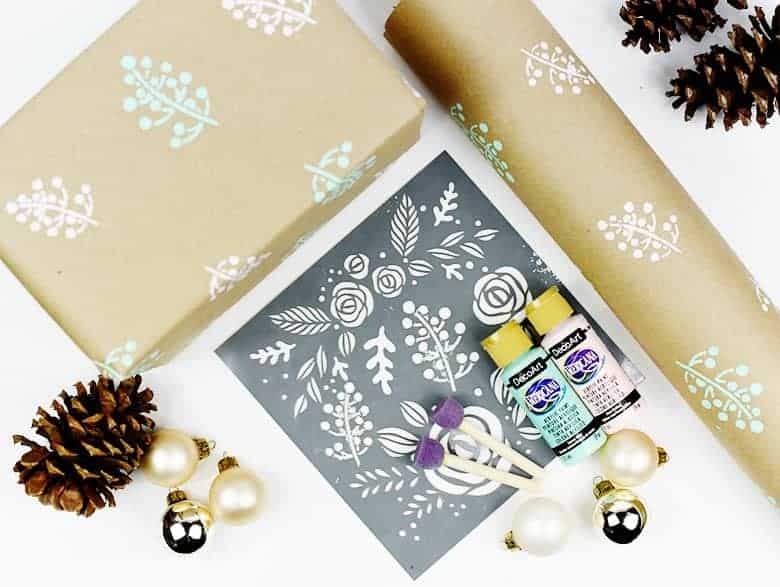
DIY Wrapping Paper Supplies
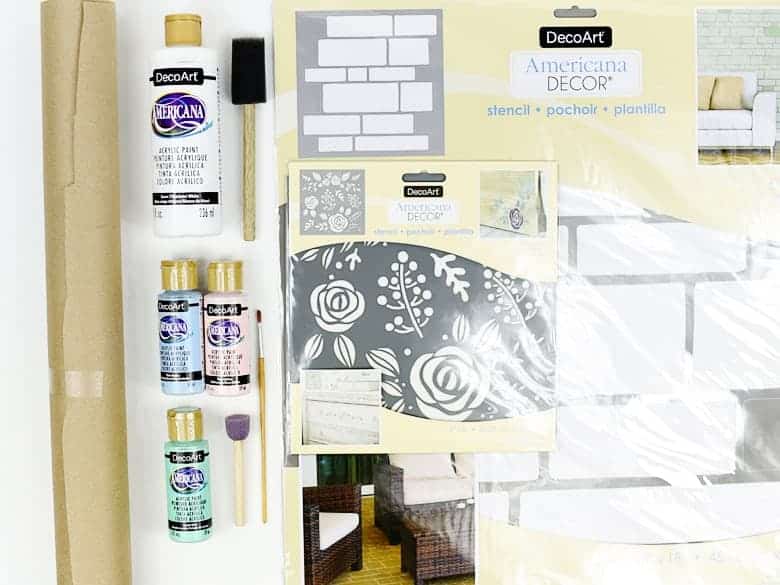
- Americana Decor Brick Path 18″ Stencil & *the original stencil I used is sold out, but this is a great replacement -> Fun Floral 10″ Stencil
- DecoArt Americana Acrylics Paint in Snow (Titanium) White, Sweet Mint, Pink Chiffon, and Blue Haven
- Sponge Spouncers
- Paint Brushes
- Brown Kraft Paper Roll
- Painters Tape
- Scissors
Step One
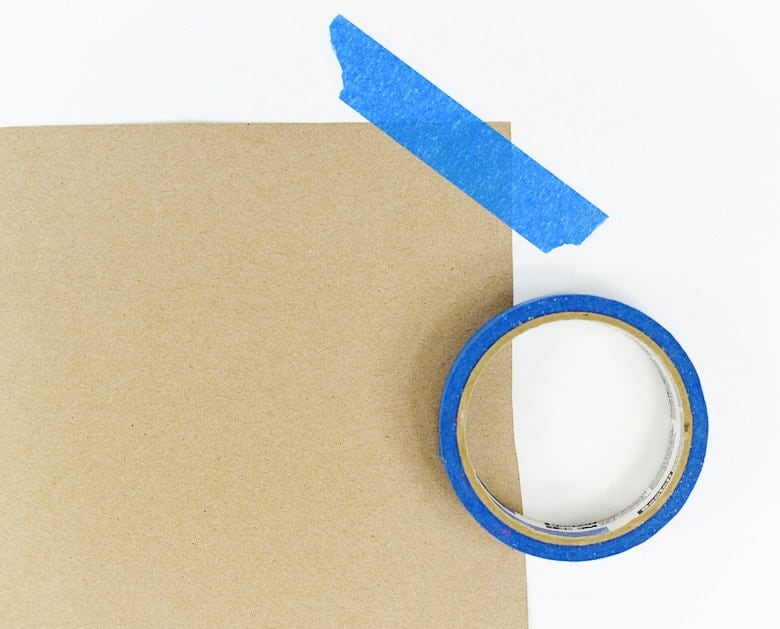
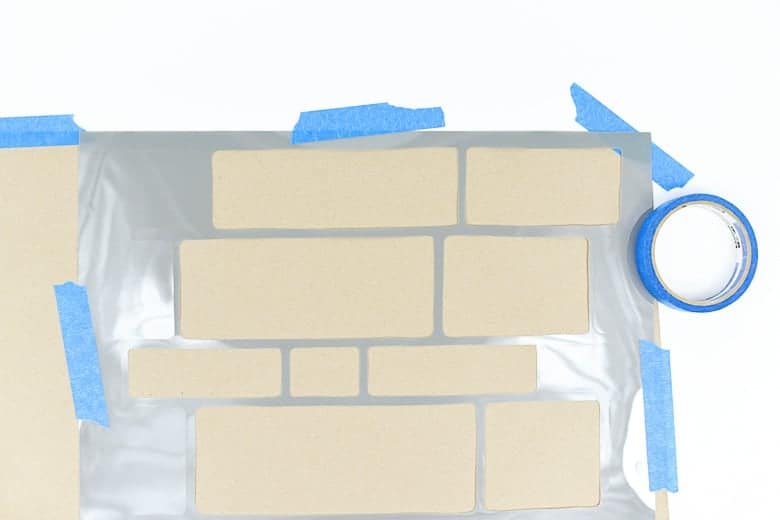
Cut out a piece of kraft paper to fit the gift that you’re about to wrap. Tape it down with blue painter’s tape to keep it flat.
You could also give an entire roll the same treatment and keep it in storage for future use. But for the sake of this tutorial, we’re going to work one gift at a time.
Step Two
Place your stencil lined up starting in one of the corners. Use some more blue painter’s tape to keep it in place.
Step Three
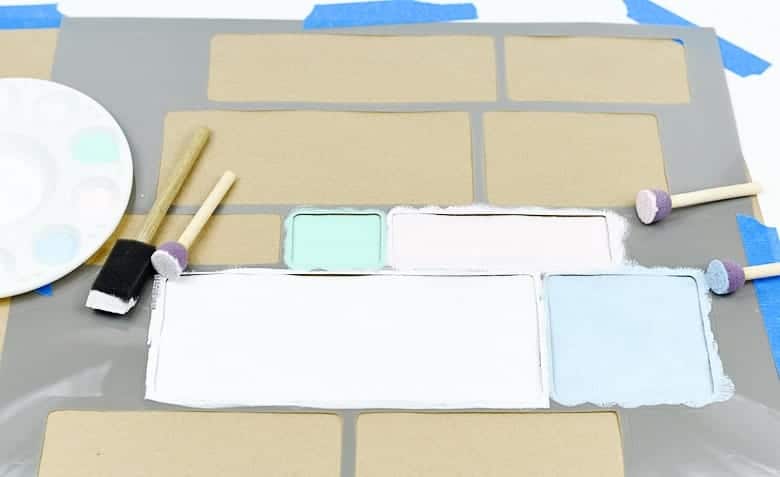
Use your foam spouncers to paint in your stencil. Along the edges of the stencil, be careful how much paint is on your spouncer so there isn’t any paint bleed.
I thought that it would be faster to use a foam brush for the larger rectangles, but I ended up using the spouncers anyways. That way I only had to do one coat of paint and you couldn’t see brushstrokes.
Step Four
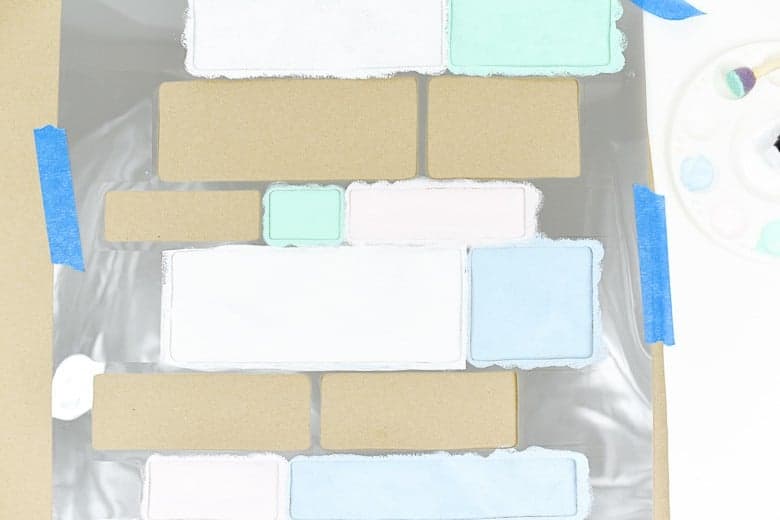
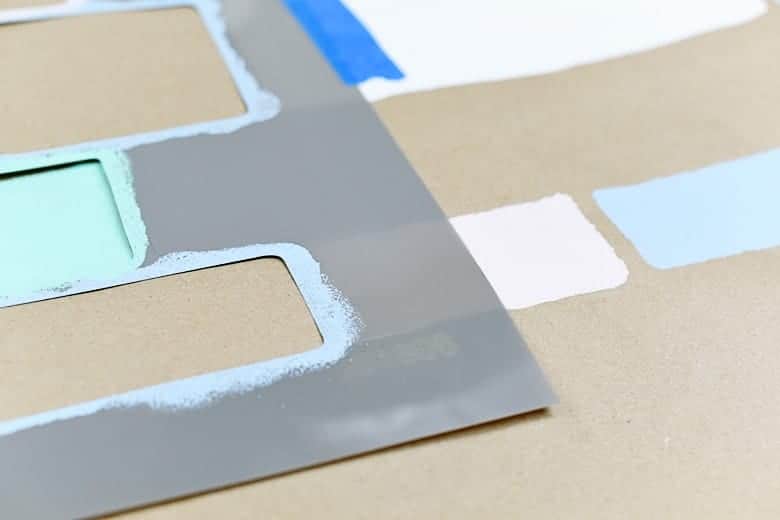
Allow the paint to dry (which luckily, acrylic craft paint does pretty quickly!) and move on to the next section lining up with your first using the guides on the stencil.
I didn’t want the whole paper covered, so I painted in the row of “bricks” that I hadn’t done in the step above. Repeat steps 3 and 4 until your whole sheet of paper is covered.
Step Five
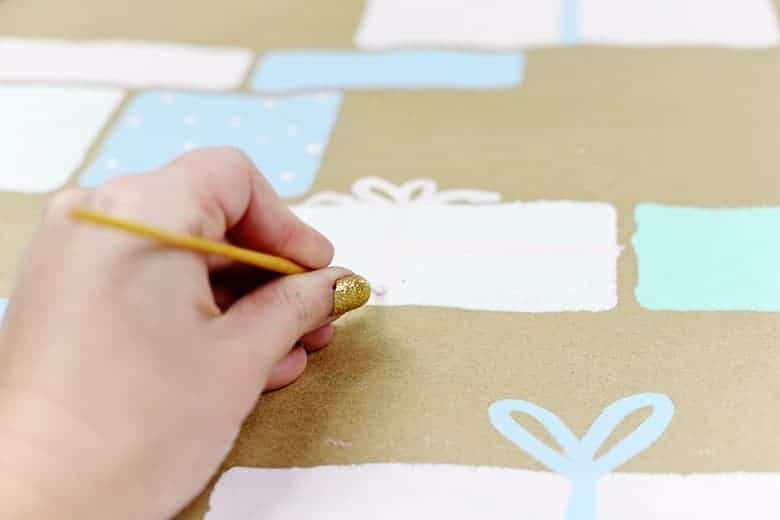
I wanted the brick stencil to resemble packages, so after the whole sheet was completely dry, I went back in with my brushes and painted on ribbons and bows.

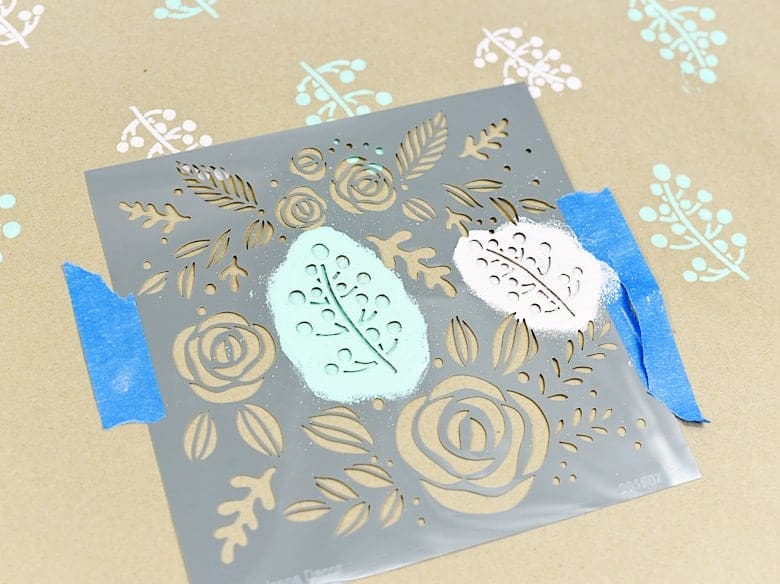
For the other wrapping paper that I made, I simply stenciled in pink and aqua boughs and alternated them in a row facing up and the next down.
Now you have your own durable, adorable DIY gift wrap to go with your adorable handmade gifts! 😀


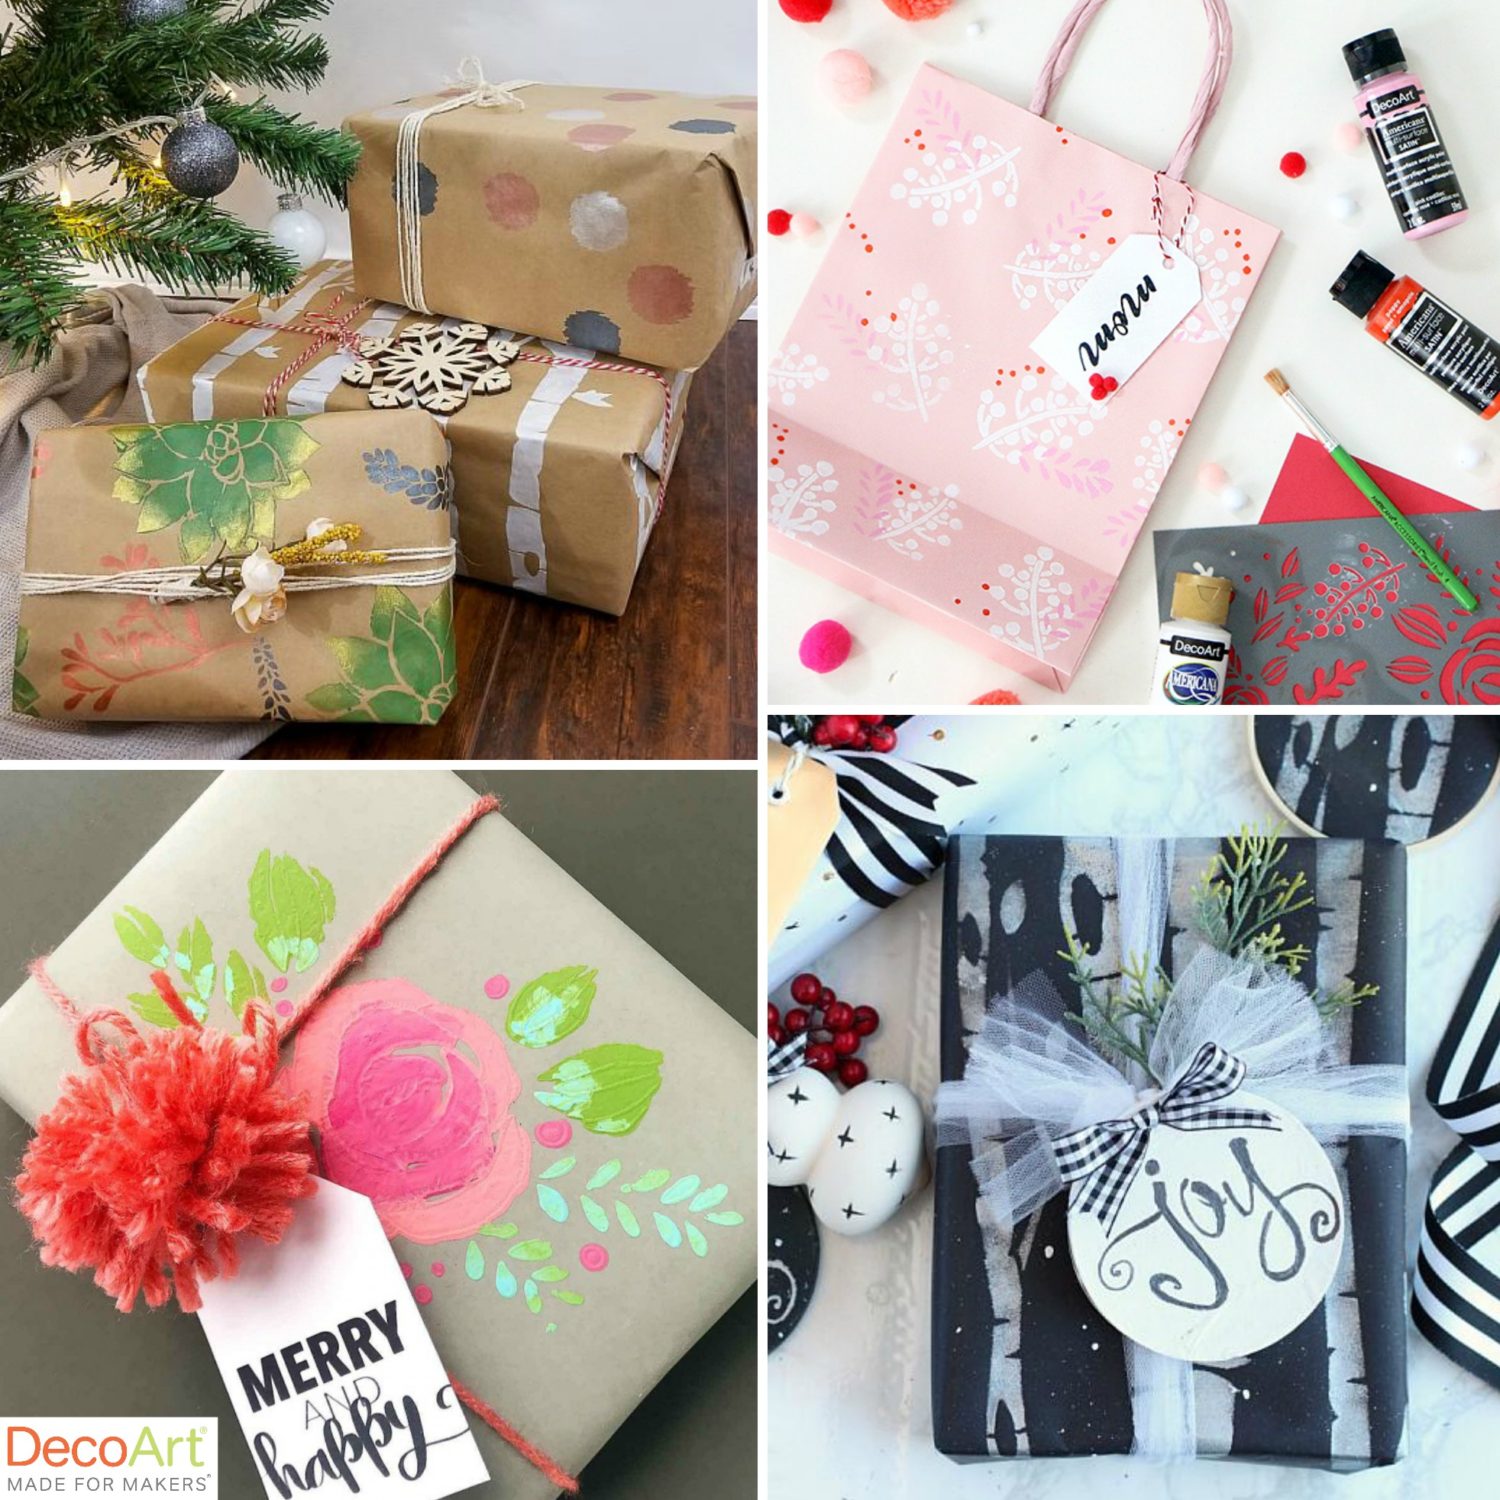
For even more DIY wrapping paper ideas using stencils, head over to the DecoArt blog: Custom Wrapping Paper Inspiration
