Easy DIY Marble Toilet Tank Tray for Small Bathrooms
This shop has been compensated by Collective Bias, Inc. and its advertiser. All opinions are mine alone. #GentleHydration #CollectiveBias
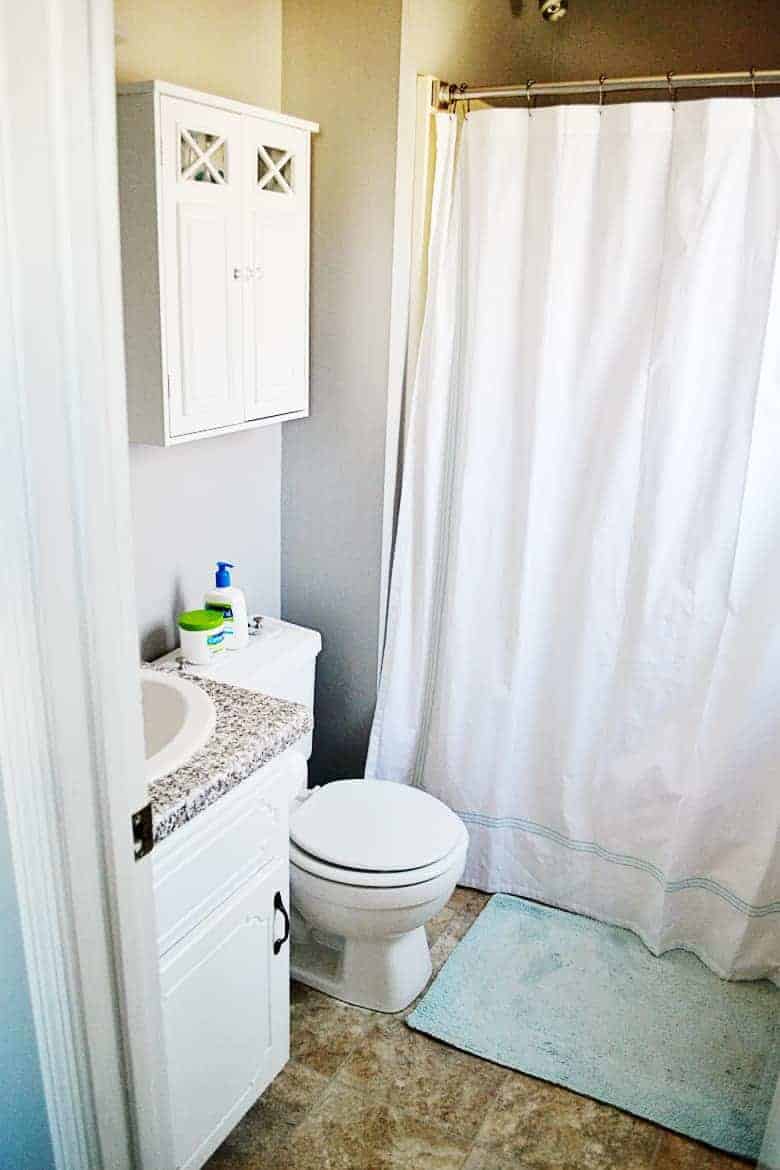
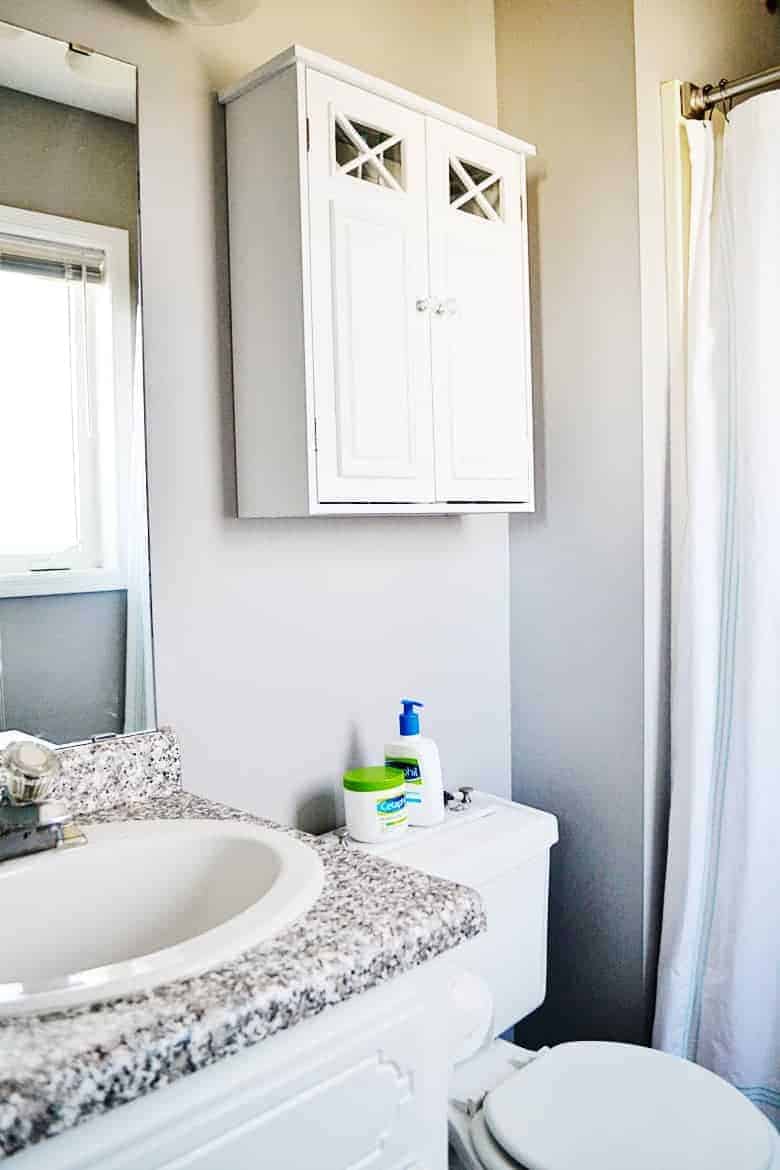
I have a teeny, tiny little master bathroom. I love having a bathroom steps from my bed when I have to inevitably pee in the middle of the night (mom probs), but it’s barely a bathroom.
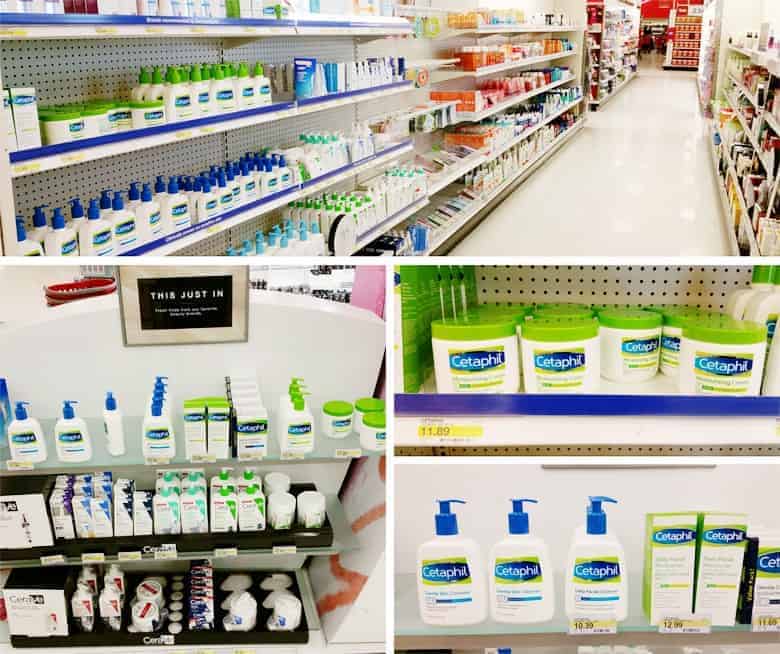
I bought a wall cabinet to hang above the toilet to give some additional storage space since there was ONE cabinet below the sink when we moved in. But, being the girl that I am, constantly pulling my daily products (like my after shower Cetaphil® Moisturizing Cream, because who can shower without putting on body moisturizer after?!) in and out of the cabinet over and over again got old REAL fast.
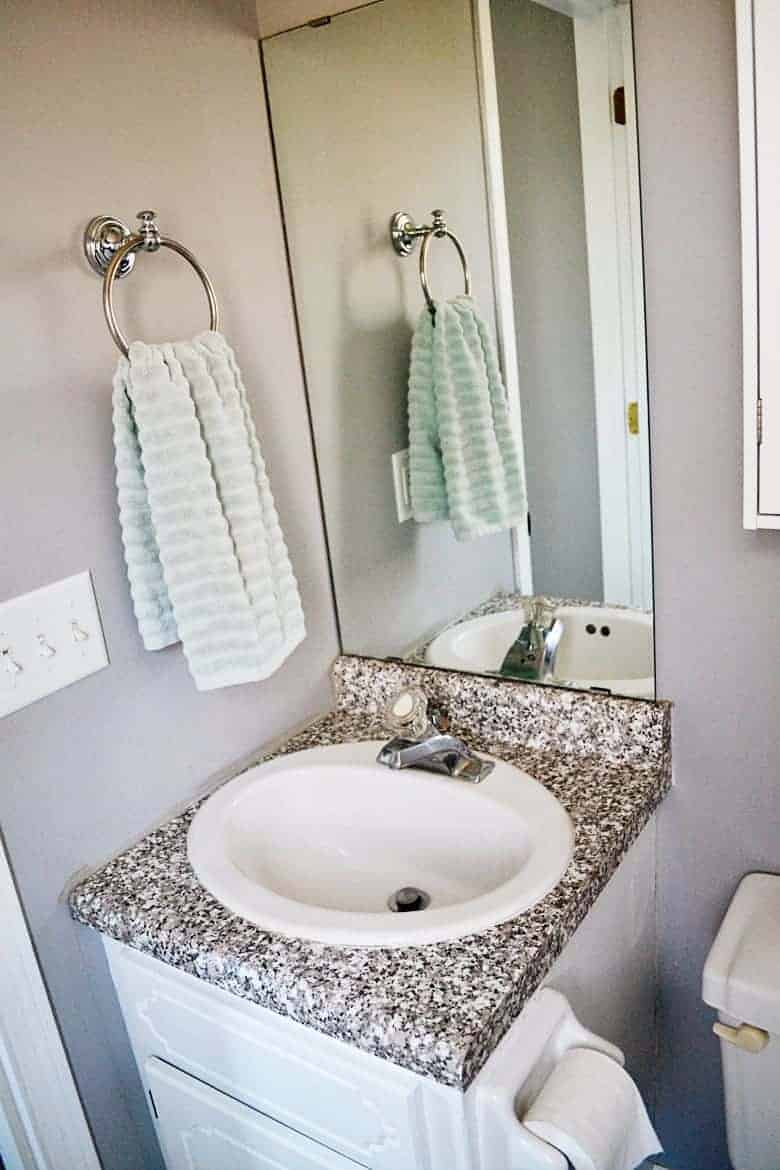
Unfortunately, the small vanity has little to no counter space available for keeping products out. I’ve tried keeping my after shower body moisturizer and daily face wash on the top of the tank of the toilet, but it’s got a slightly rounded top and they kept falling off of it.
Then, I found a pretty marble tray online… but it was $130! Yeah, no. And I didn’t really like the gold handles it had.
So I put on my DIY cap and headed to the hardware store to gather the supplies needed to make my own. And guess what, it only cost a grand total of $15.91. BOOYAH!
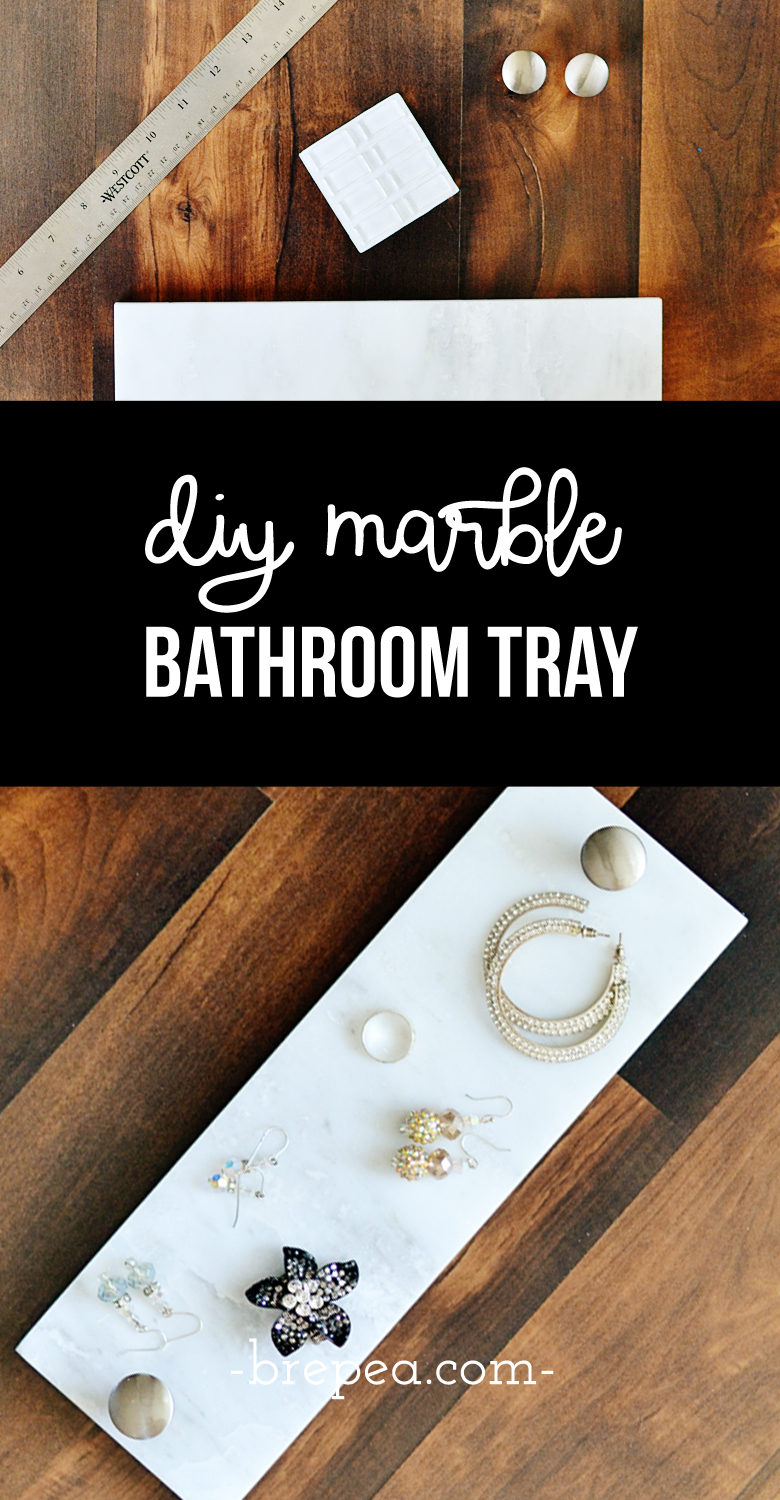
Easy DIY Marble Toilet Tank Tray
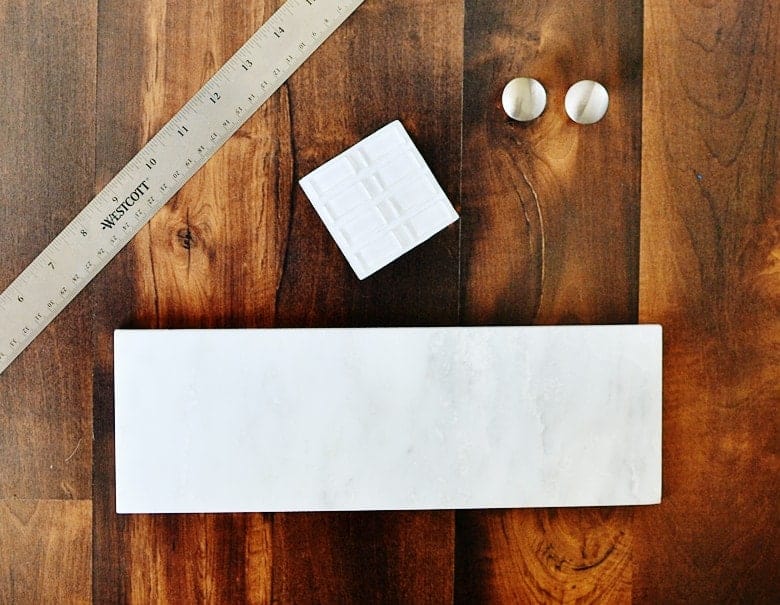
SUPPLIES
- 4″ x 12″ genuine marble tile
- 2 brushed silver knobs
- clear rubber bumpers
- industrial strength glue
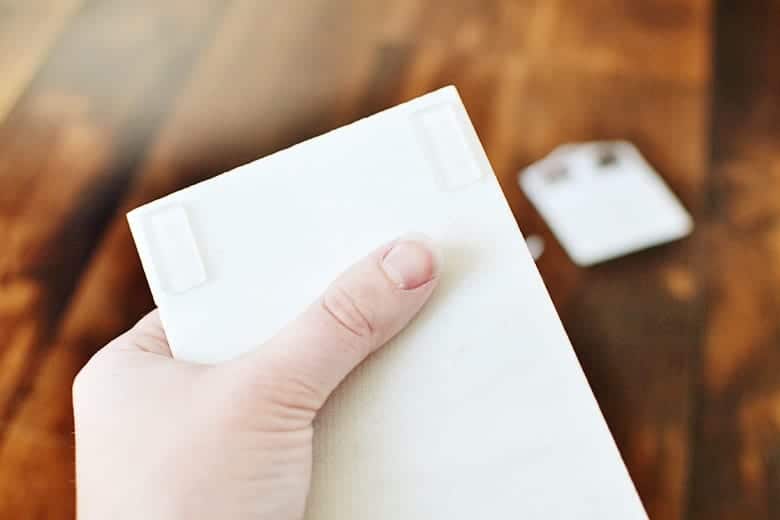
STEP ONE
Attach 4 rubber bumpers to each of the bottom corners of the tile. Press firmly to secure.
STEP TWO
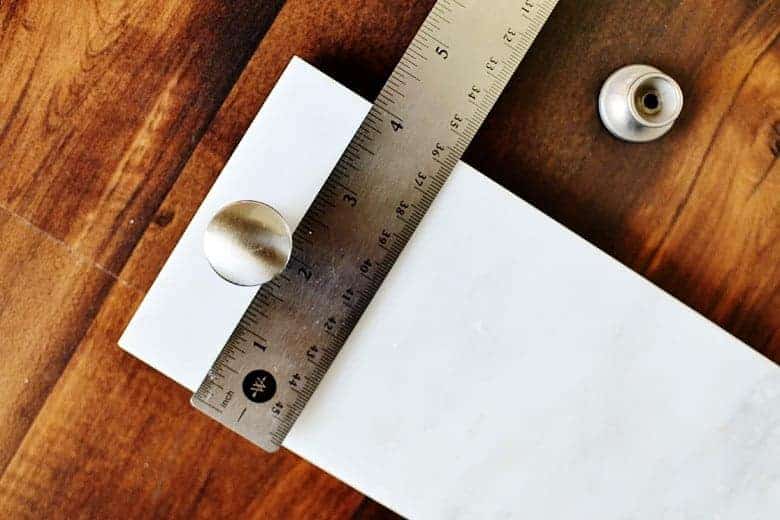
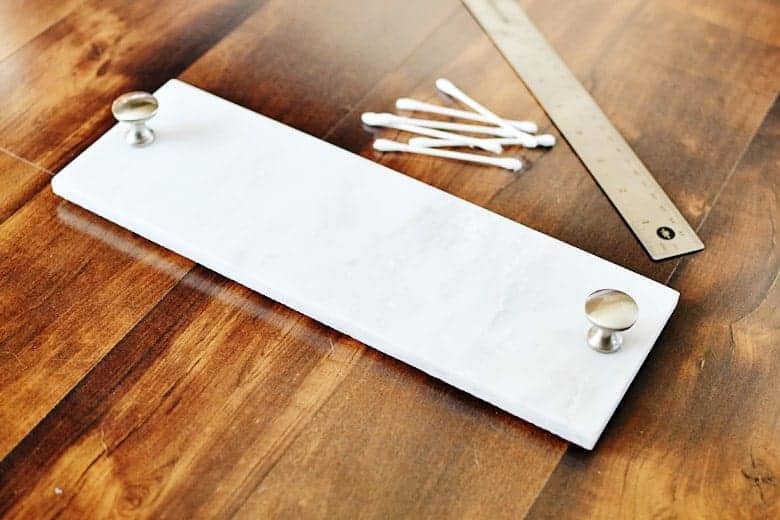
Measure the center of the tile with a ruler and glue the knobs to either end of the tile with the industrial strength glue. Let dry for 24 hours before attempting to pick up the tile with the knobs (trust me!)
STEP THREE
Clean up any excess glue around the knobs with a q-tip.
STEP FOUR
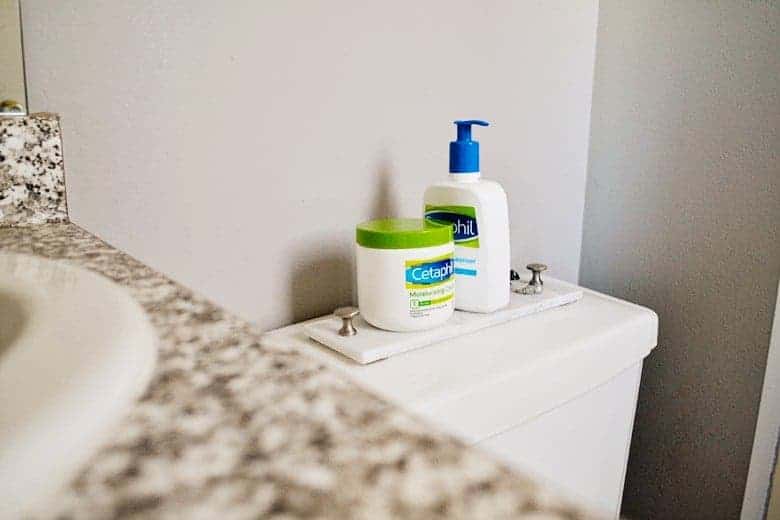
Place on the top of the tank of the toilet and fill with your daily essentials. Tah-dah!
This DIY was so quick and easy, and now I don’t have to constantly reach into the cabinet to use my daily products! I seriously can’t get out of the shower without using body moisturizer first.
It used to be SO ANNOYING to have to go in and out of the cabinet (and get ready to catch falling products before they fell into the toilet) every time I wanted to use my daily Cetaphil® Moisturizing Cream to bind the post-shower water and moisture. Now I just have to grab it from my pretty marble tray, massage in that intense and lasting moisture, and replenish my dry and sensitive winter skin 🙂
Visit the Social Hub here for even more Cetaphil® inspiration!



Great idea, will try this in my bathroom
So pretty! And very well done. Thanks for all the pretty photos and how to on this.
Thanks Audria!
Love the bathroom, great idea for a small room.
What a great way to make the area nicer. It’s simple too! I like the design and ease.
It’s so pretty! I love DIY projects that are simple to do but result in a glam (and useful) project!
Me too, it’s gotta have a purpose otherwise why DIY? Right? lol
I love this idea- I need to make something like this for our bath! #client
Very cool small bathroom. The DIY project makes me want to create somethings!
Wow, it was awesome. I never knew it could be a DIY! Loving DIY projects more & more!
That such a cute and simple idea! Thanks for sharing!
How cute is this! Such a cute idea. Thanks for sharing.
What a fun idea!! I love simple DIY’s that look so cute!!
Simple DIY’s are my fav 🙂
Oh my gosh, how is your master bathroom still bigger than ours?! I bought wire rack shelving to go above our commode so that there was no build up of unnecessary and that way I wouldn’t have to constantly have to open doors.
Really? I feel like ours is practically the size of a closet lol Maybe my photos are deceiving? Wall storage is so essential for a tiny bathroom.