Thrift Store DIY Christmas Mug Candles
Ever notice how practically every thrift store has an abundance of coffee mugs?
Especially holiday themed coffee mugs.
Mugs aren’t just for drinking delicious, life-enhancing coffee out of. They make the perfect (and cutest) vessel to turn into a custom scented candle!
And I don’t know about you, but I always feel a little like I’m rescuing poor, forgotten relics of holidays past when I take them home and give them new life.
So let’s get started and turn these old, forgotten holiday mugs in yummy-scented candles!
Thrift Store DIY Christmas Mug Candles
You’ll need…
- holiday mugs (or any kind of mugs, for that matter)
- microwaveable soy wax
- pre-waxed wire wick w/clip
- hot glue/gun
- candle fragrance (I found this perfect set of holiday-themed candle fragrance oils, I wish I had these when I made mine!)
- pencil (for keeping the wick vertical during cooling time)
- cooking thermometer
- microwave safe container
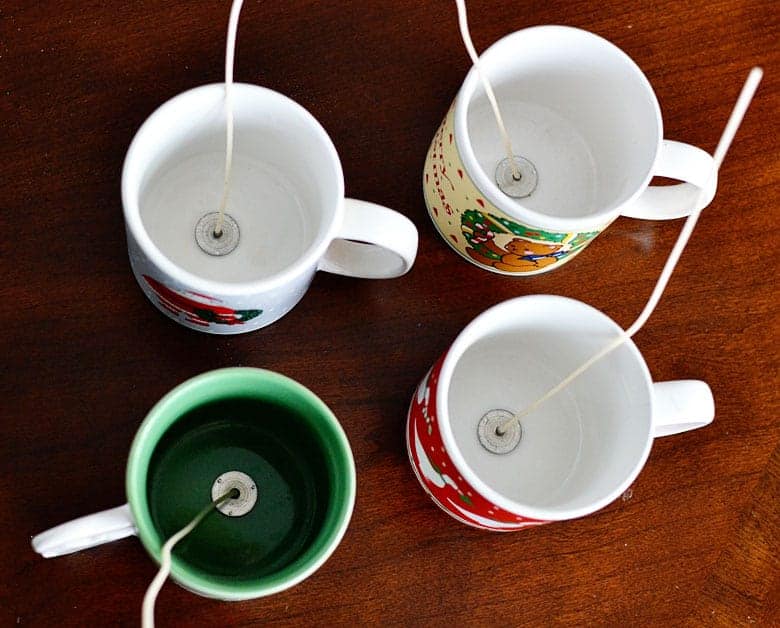
Step One: Attach the candle wicks
Hot glue the wicks to the center of the bottom of the mugs. Make sure the mugs are clean and dust free before doing this.
Step Two: Prepare the soy wax
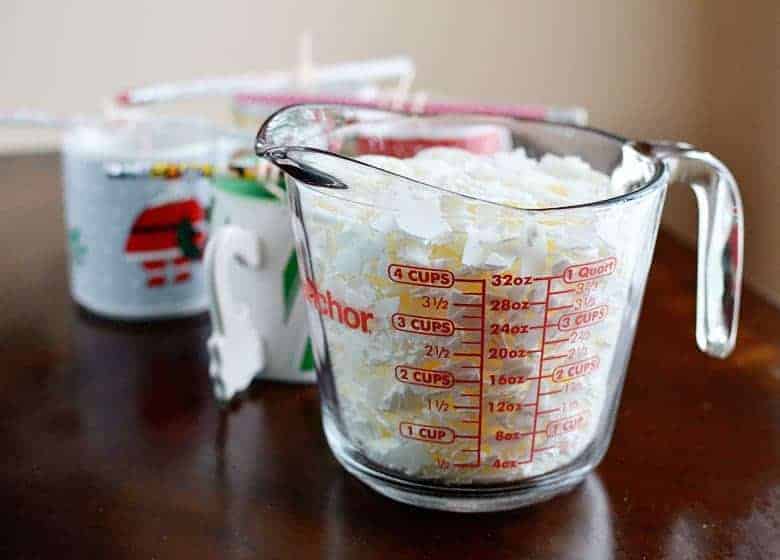
While the wicks are setting, microwave the wax following the instructions included. I used one of my glass measuring cups because it was microwavable and had a pour spout.
While the wax was heating up, I would periodically stir the wax with a long, wooden, disposable coffee stirrer that I happened to have at home.
Step Three: Add the fragrance
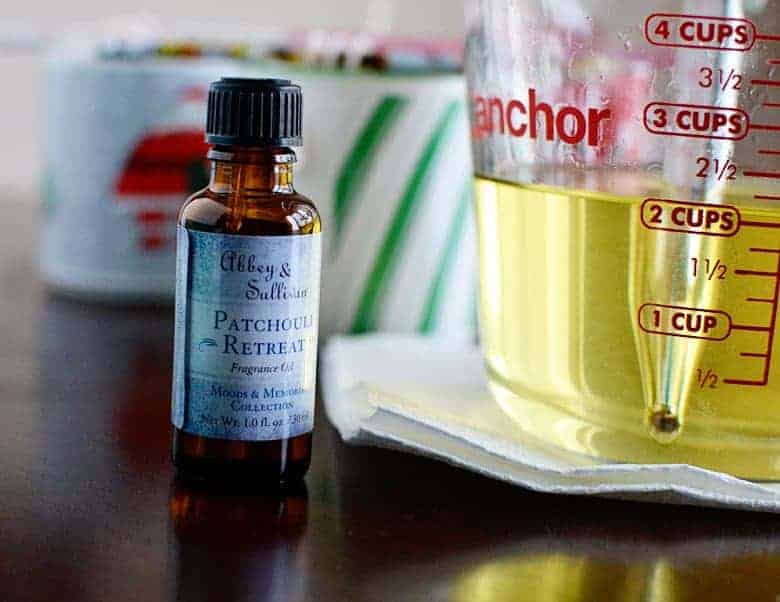
Once the wax fully melts and cools to the appropriate temperature (about 125˚F), add a full bottle of the fragrance.
According to the directions on the bottle, I could have added up to 1 1/2 oz. of fragrance for 1 pound of wax.
The next time that I make candles I will make sure to at least add this much because when I burn the candles the smell isn’t as strong as I would like.
Step Four: Secure the candle wick
Lay a pencil across the top of the mug and wrap the wick around the pencil a few times. This will ensure that the wick stays centered as you pour in the wax.

Step Five: Pour the wax into the mugs
This step is pretty self explanatory. Pour the wax into the mug and leave about 1/4″ from the top.
I overestimated how far a pound of soy wax would really go once it was melted. I was only able to make 2 mug candles out of it. If you want to make more, you’ll obviously have to buy more wax. Let the wax cool for about an hour.

Once the wax has cooled entirely (you’ll be able to tell by the color), trim the wick down to about 1/4″ inch.
Bean wanted to help me take photos of the mugs. She’s such a good helper 😉 And by helper, I mean she likes to step in front of the camera as I’m trying to snap pictures.

And there you have it, you have now given new life to a forgotten vintage treasure.
Given the fact that this technique was so incredibly easy, I want to return to the thrift store and hunt for more fun things to turn into candles!

If you liked this holiday DIY mug candle tutorial, check out these tutorials:
- Thrifted Vintage Wooden Christmas Ornament Wreath Tutorial
- DIY Pottery Barn Knock Off Velvet Table Runner
- Christmas Front Porch Holiday Makeover







Super cute idea! I love thrift stores! You can find the best nostalgia there sometimes.
Oh wow! So cute. What a fabulous idea for gifts or just a rainy day (or snowy day) craft. Definitely doing this.
Oh wow! So cute. What a fabulous idea for gifts or just a rainy day (or snowy day) craft. Definitely doing this.
That's one of my favorite things about thrift stores 🙂
Thank you! And it was so quick and easy! (except for the drying time of course)
Question
4 cups of wax before melted makes two mugs?
2oz of oil fragrance to make 2 mugs?