No Sanding DIY Thrift Store Headboard Makeover
Not a fan of sanding? Intimidated by tackling your own wood furniture makeovers?
I totally feel you. I was there.
That’s why I was SO excited to discover that you don’t have to sand or strip your thrift store finds if you use this primer!
UPDATE 2019: I originally published this tutorial in 2011, and this is still our headboard to this day. This primer works!
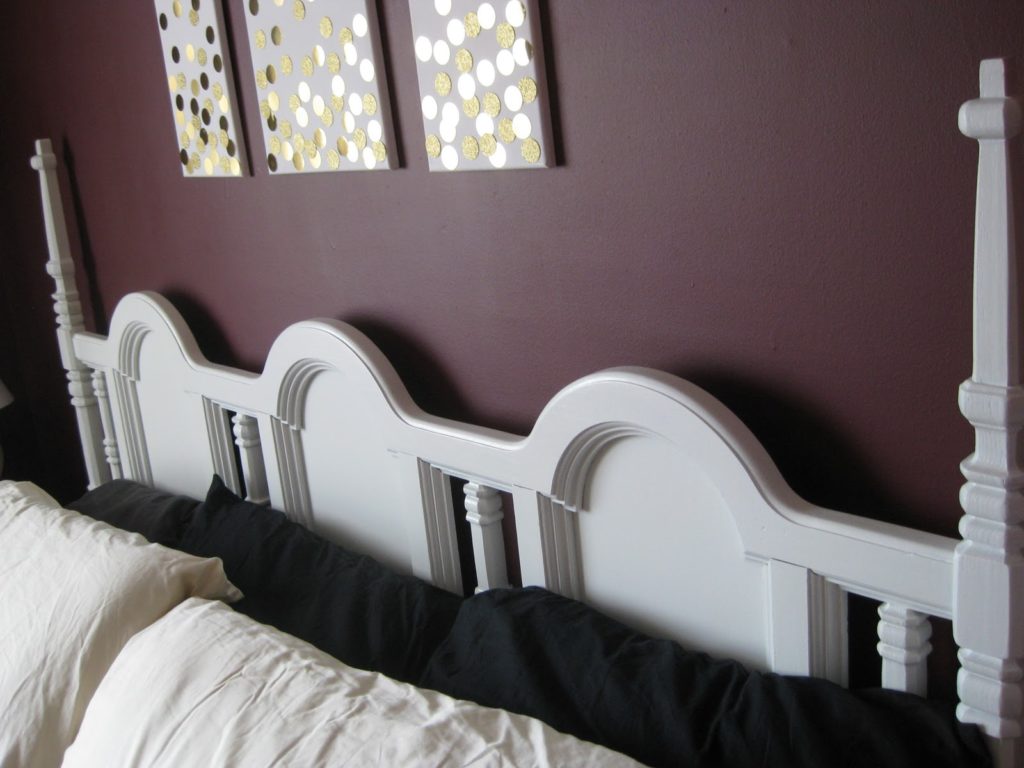
I’ve been on the lookout for a king sized bed frame and/or headboard every time I go thrift store shopping. We got our king sized bed over a year ago and I FINALLY found one a couple weeks ago.
It was such a steal:
$24.95 for the headboard and rails, plus when I went to go pay for it I found out it was also 25% off! So total, I spent about $18 for a king size headboard and rails.
I knew that I could definitely afford to put some money into painting it for that price.
Here is what it looked like BEFORE:
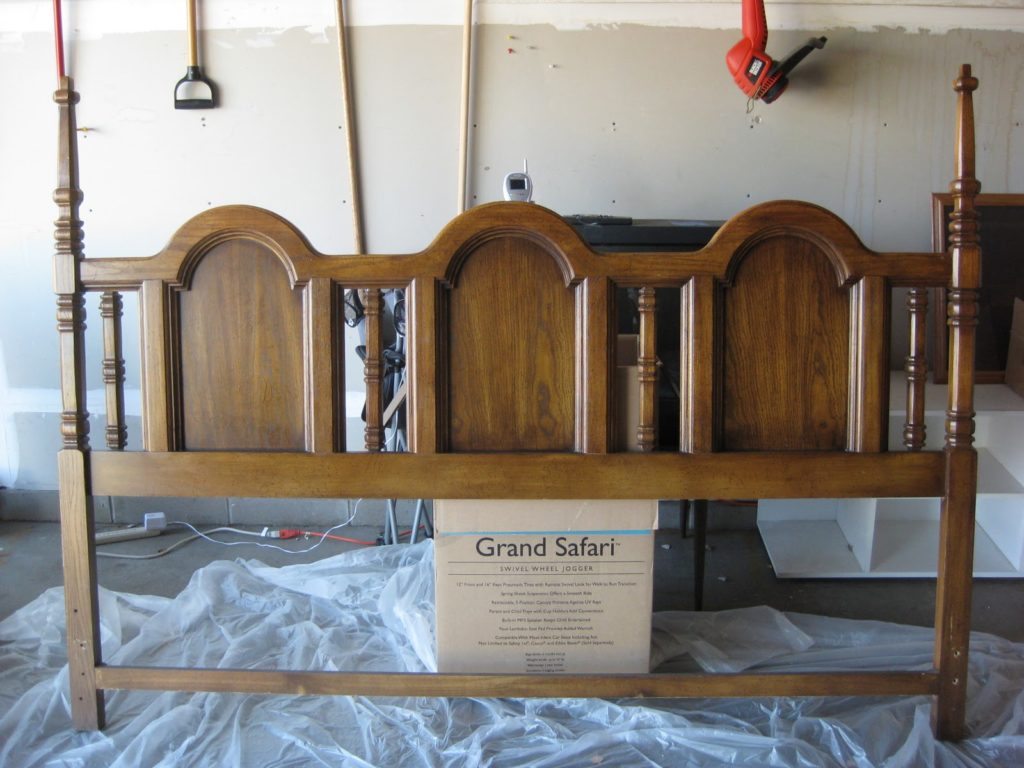
I primed with a thin coat of white primer (this now is my go-to primer for all thrift store makeovers) and painted with an off white/ivory color.
Remember, this was my first time using primer and I wasn’t sure how thick to go.
What I SHOULD have done is primed with one thick coat as it took 4 COATS of paint to cover the streaks (I’m also a perfectionist which doesn’t help).
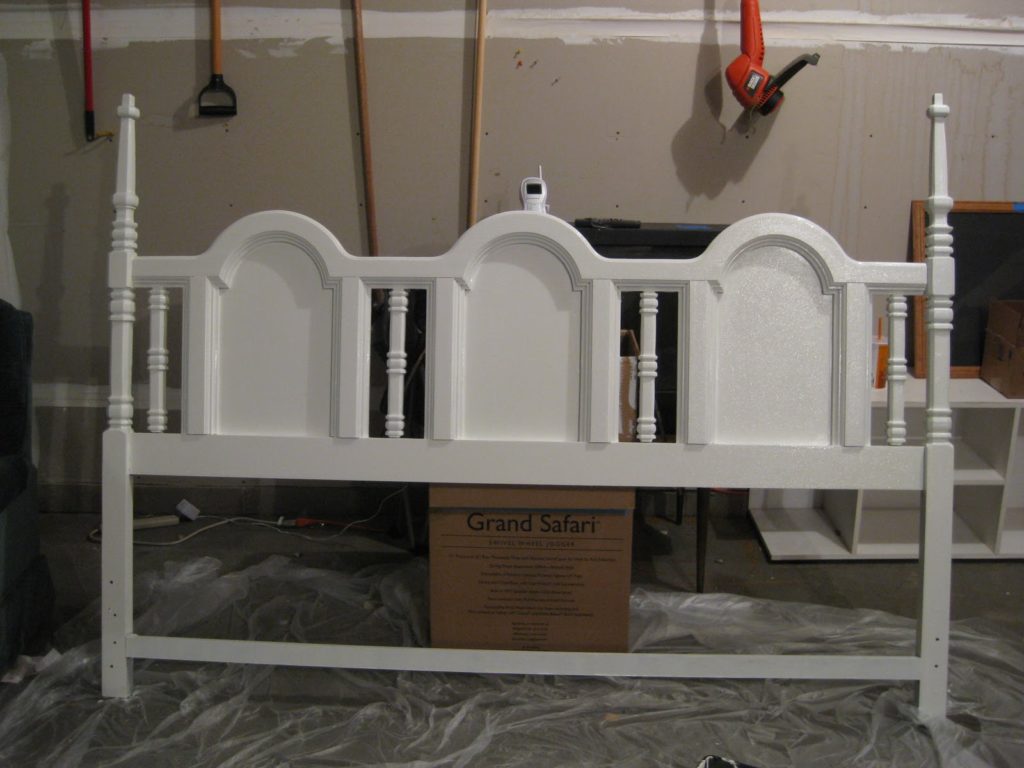
When all was said and done, I was very happy with the results!
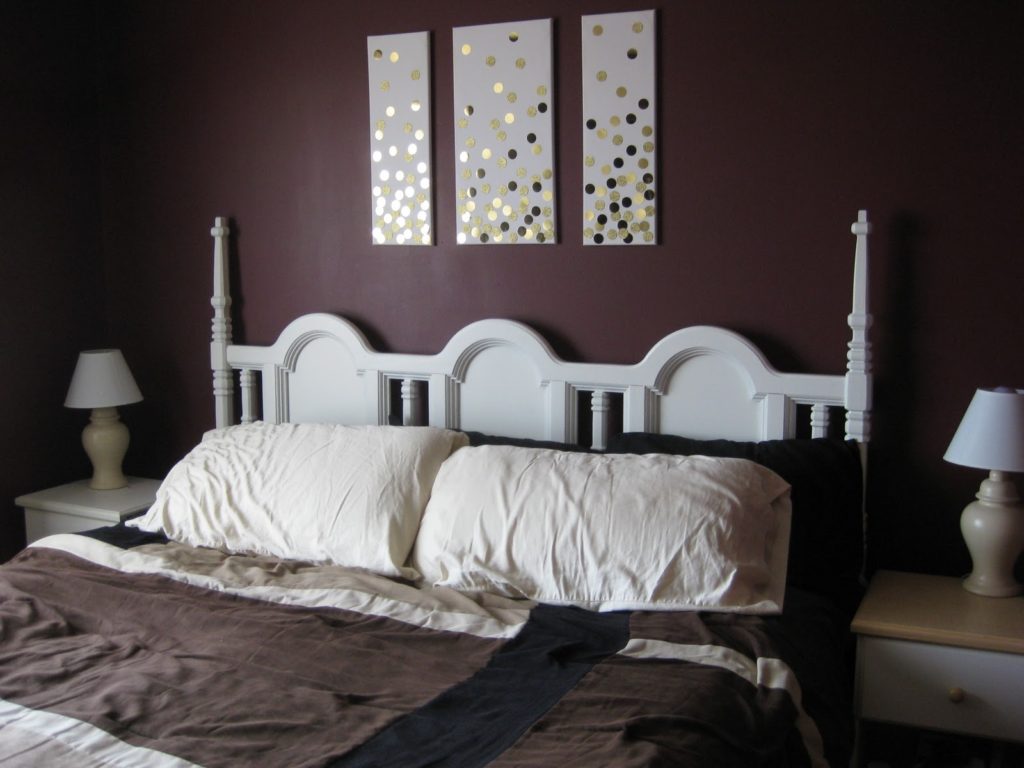
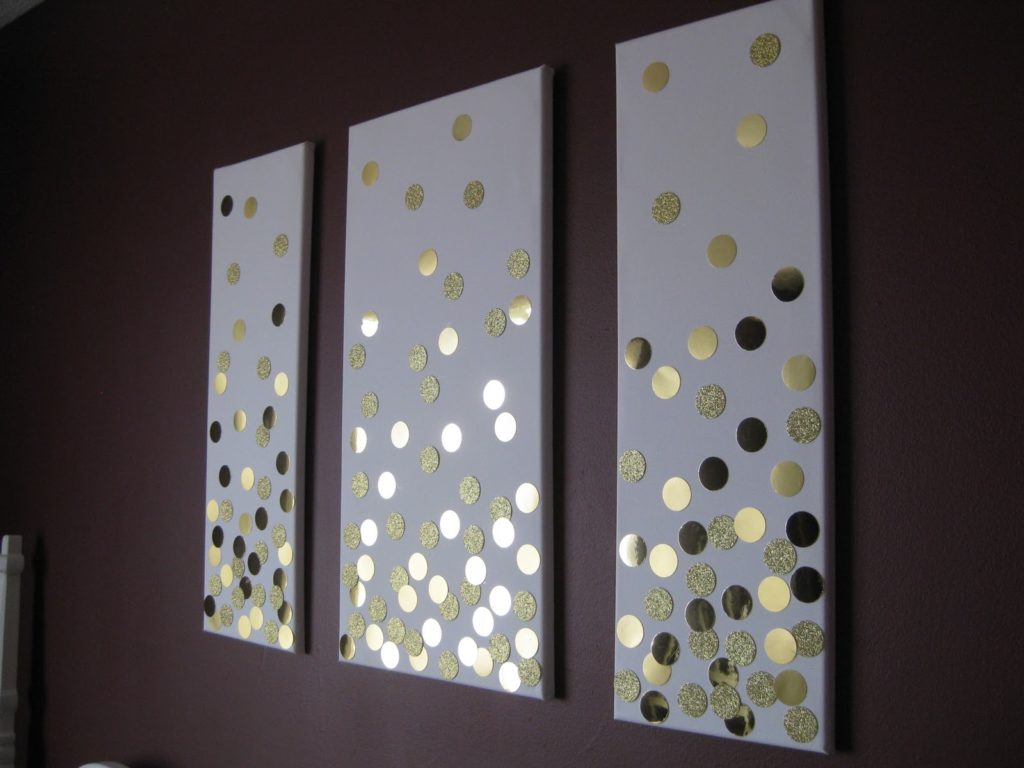
Above our bed you can also see another recently completed project of mine.
If you want to make them for yourself, all you’ll need are:
- 2- 12×24″ canvas
- 1- 18×24″ canvas
- 1.5 inch circle punch
- gold glitter cardstock
- gold metallic cardstock
- glue or double-sided tape
All you have to do is punch out a bunch of circles with the hole punch and attach them to the canvas with either glue or double-sided tape (I used a glue stick).
I wanted an “ombre” effect, so I put more circles towards the bottom of the canvases and fewer towards the top.
So that’s what I’ve been up to lately. My next project is a gallery wall for my living room. Stay tuned!

![Rustic & chic wedding decor details [tutorial]](https://www.brepea.com/wp-content/uploads/2013/03/71dec-dt5.jpg)


So cute! And what a great and timeless design! Come on over for a visit!
Love the white headboard against the dark wall!
What a transformation! Love the white!
Love how the headboard looks against the deep paint on your wall! Gorgeous! Such a nice shape and what a steal! Love the artwork, too! Thanks for sharing.
I really love this:) It caught my eye on the Tator Tots and Jello site. I'd love to find an awesome headboard like that at a local thrift store. I just don't seem to find many cool things where I live, though. Oh well, some people have all the luck:)
http://designfluff.blogspot.com
Thanks for the positive feedback! It's nice to hear that my hard work turned out good.
Gorgeous! Amazing job 🙂
Jenny
http://www.simcoestreet.blogspot.com
Love it. I also want to do the heart collage thing. I find it best to just do it without asking hubby's opinion. lol. I'm hosting a GIVEAWAY on DIY Home Sweet Home. Would love you to check it out.
http://diyhshp.blogspot.com/2011/11/giveaway-shabby-apple-dress.html
great job! It looks beautiful!!!
thank you! I sure worked hard on it-the headboard that is. The artwork above the bed was soooo easy.
So cute girl! Love your style! Very similar to my own!
http://www.showeredwithdesign.blogspot.com
Where did you buy the canvas? I’ve never seen long slender ones like that.
This is truly a wonderful post!!!!
Hi! I was trying to do something similar to your canvas project but the link didn’t go anywhere anymore. I was just trying to determine what you used to adhere the circles? Did you spray anything overtop of it all? Thanks so much!